Table of Contents
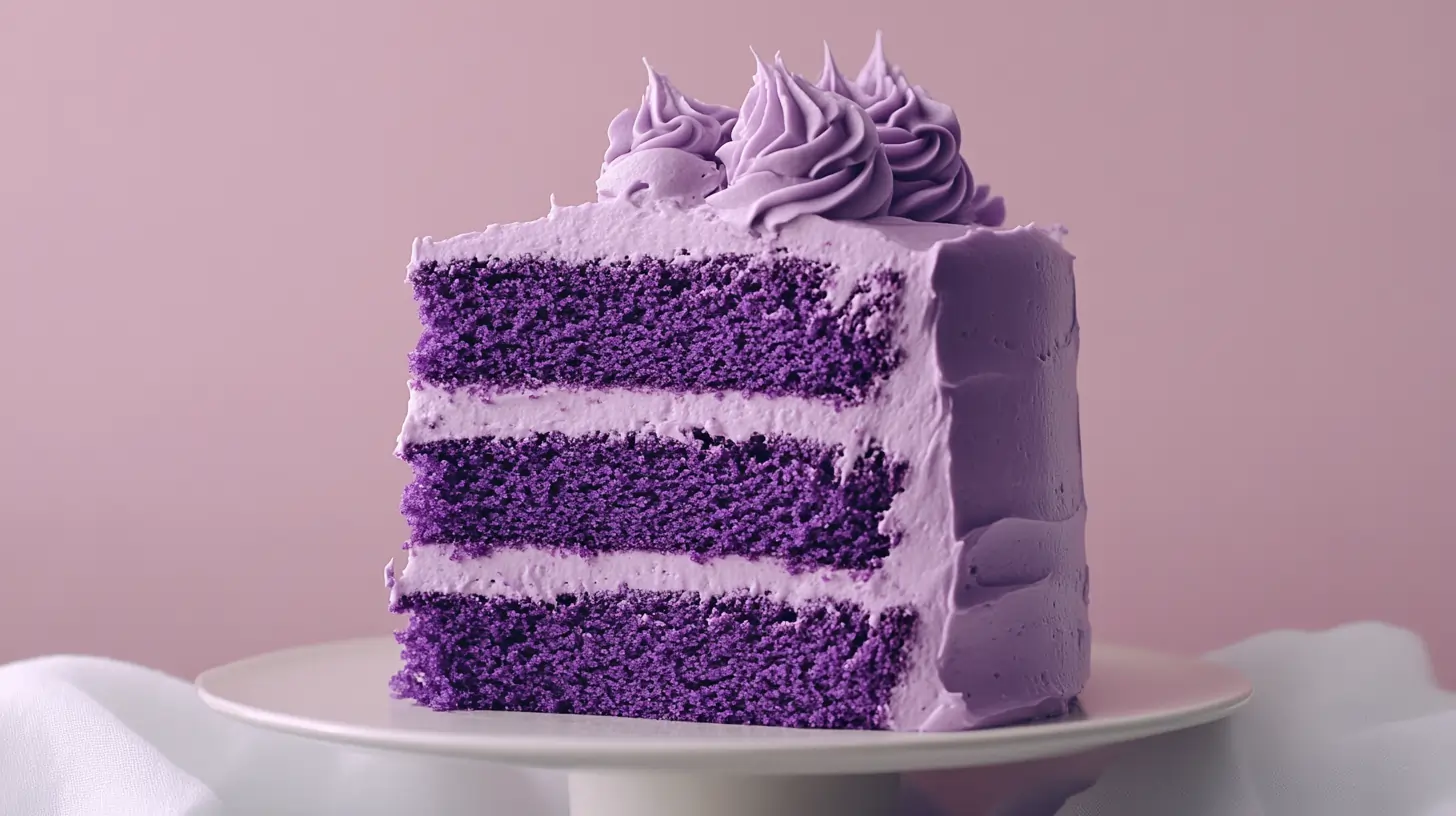
Violet Velvet Cake is a vibrant and visually stunning dessert that combines the classic soft texture of a velvet cake with a bold and unique violet hue. The cake is typically flavored with subtle floral or berry undertones, such as lavender, blackberry, or blueberry, which complement its striking color. It’s an elegant twist on the traditional red velvet cake, appealing to those who want a luxurious and eye-catching treat for special occasions.
Origins and History of Velvet Cakes
Velvet cakes have their roots in the 19th century when they were celebrated for their soft, “velvety” crumb achieved by using ingredients like buttermilk and vinegar. These cakes became especially popular in the Southern United States, with red velvet emerging as a classic due to its distinct red color derived from natural cocoa reactions or added food coloring. Over time, variations of velvet cakes in different hues, such as blue, green, and now violet, have emerged, adding diversity to the classic dessert.
Ditch Dinner Stress — Cook Smart, Not Hard 🍽️
35 quick & budget-friendly 5-ingredient dinners to save your evenings. Simple. Delicious. Ready in 30 minutes or less.
Why Violet? The Inspiration Behind the Color
The choice of violet for this velvet cake draws inspiration from its association with luxury, creativity, and mystique. Violet shades are often linked to royalty and sophistication, making them an ideal choice for a dessert intended to make a statement. Additionally, the color is usually achieved using natural ingredients like purple sweet potatoes, blackberries, or food-grade coloring, providing a subtle connection to nature and creativity in culinary artistry. Violet Velvet Cake is perfect for those who wish to combine visual appeal with a touch of whimsy and refinement in their dessert.
Ingredients Breakdown
Key Ingredients for a Perfect Violet Velvet Cake
Creating a flawless Violet Velvet Cake requires a thoughtful balance of ingredients that ensure the cake’s signature velvety texture, vibrant color, and delightful flavor. Key components include:
- Flour: Use all-purpose or cake flour to achieve a soft crumb.
- Sugar: Granulated sugar for sweetness and balance.
- Buttermilk: Adds moisture and tang while reacting with other ingredients for the cake’s tender texture.
- Cocoa Powder: Used in small quantities to enhance depth of flavor and contribute to the “velvet” texture.
- Violet Coloring: Achieved through natural sources like purple sweet potatoes, blueberries, or blackberries or with food-grade artificial coloring.
- Leavening Agents: Baking powder and/or baking soda for a balanced rise.
- Oil or Butter: Keeps the cake moist and rich.
- Vanilla Extract: For a subtle, aromatic undertone.
Natural vs. Artificial Coloring Options
The vibrant violet hue can be achieved through both natural and artificial methods:
- Natural Coloring: Ingredients such as beetroot, purple sweet potatoes, blueberries, or blackberries can provide a beautiful, earthy violet shade. These options appeal to those looking for a clean-label or health-conscious choice.
- Artificial Coloring: Food-grade violet gel or liquid coloring offers a more predictable and vibrant result, ensuring consistency across batches.
The Role of Cocoa in Velvet Cakes
Cocoa powder is a signature ingredient in velvet cakes, lending them a subtle chocolate flavor and enhancing the cake’s overall richness. In small quantities, cocoa interacts with acidic ingredients like buttermilk and vinegar to create a characteristic velvety texture. However, in Violet Velvet Cake, the amount of cocoa is kept minimal to avoid overpowering the delicate flavors and to allow the violet hue to remain prominent.
Alternatives for Dietary Preferences
Violet Velvet Cake can be adapted to suit a range of dietary needs:
- Gluten-Free: Use a gluten-free, all-purpose flour blend.
- Dairy-Free: Replace buttermilk with plant-based alternatives like almond or soy milk, soured with a splash of vinegar. Use dairy-free butter or oil for the fat component.
- Vegan: Combine dairy-free substitutions with egg replacers like flaxseed meal or applesauce.
- Sugar-Free: Opt for natural sweeteners such as stevia or erythritol to reduce sugar content.
With these thoughtful adjustments, Violet Velvet Cake can be enjoyed by everyone, regardless of dietary restrictions.
Equipment and Tools Required
Baking Essentials for Success
To bake a perfect Violet Velvet Cake, having the right tools ensures even baking, smooth mixing, and professional results. Here are the essentials:
- Mixing Bowls: At least two large bowls for wet and dry ingredients.
- Measuring Cups and Spoons: Precise measurements are key for accuracy.
- Whisk or Hand Mixer: This is used to blend ingredients uniformly.
- Stand Mixer (Optional): Ideal for creaming butter or achieving a fluffy batter.
- Spatula: A flexible silicone spatula helps scrape down the sides of bowls for minimal waste.
- Cake Pans: Typically 8-inch or 9-inch round pans, depending on the desired cake size.
- Parchment Paper: To line cake pans and prevent sticking.
- Cooling Rack: This allows the cake to cool evenly and avoid condensation at the base.
- Oven Thermometer: Ensures the oven is at the correct temperature for precise baking.
Specialty Tools for Creative Decorations
For those looking to elevate their Violet Velvet Cake with intricate decorations, specialty tools are indispensable:
- Offset Spatula: This is for smooth and professional frosting application.
- Cake Turntable: This makes it easy to rotate the cake for even frosting and design.
- Piping Bags and Tips: Essential for creating decorative borders, rosettes, or intricate designs.
- Edible Flowers: Use tweezers to place edible blooms delicately for a natural and elegant finish.
- Fondant Tools: If fondant decorations are incorporated, tools like smoothers and cutters will help craft precise shapes.
- Airbrush Kit (Optional): This is for adding subtle gradients or shimmery effects to the frosting.
- Cake Stencils: For dusting powdered sugar or cocoa in beautiful patterns.
With these tools, whether focusing on flawless baking or artistic flair, your Violet Velvet Cake will shine both in taste and presentation!
Step-by-Step Recipe
Preparing the Batter
- Preheat and Prepare Pans:
- Preheat your oven to 350°F (175°C).
- Grease two 8-inch or 9-inch round cake pans and line them with parchment paper for easy removal.
- Combine Dry Ingredients:
- In a large bowl, sift together 2 ½ cups of all-purpose flour, two tablespoons of unsweetened cocoa powder, one teaspoon of baking powder, ½ teaspoon of baking soda, and ½ teaspoon of salt. Set aside.
- Blend Wet Ingredients:
- In another bowl, whisk together 1 cup of buttermilk, two teaspoons of vanilla extract, and violet food coloring (adjust the quantity to achieve your desired shade).
- Cream Butter and Sugar:
- In a stand mixer or with a hand mixer, beat ½ cup of unsalted butter (softened) and 1 ¾ cups of granulated sugar until light and fluffy (about 3-5 minutes).
- Two large eggs should be added one at a moment, mixing well after each addition.
- Incorporate Dry and Wet Ingredients:
- Gradually add the dry ingredients to the butter mixture, alternating with the buttermilk mixture, starting and ending with the dry ingredients. Mix until just combined—avoid overmixing to keep the texture tender.
- Activate the Batter:
- In a small bowl, mix one teaspoon of white vinegar and ½ teaspoon of baking soda. It will fizz; quickly fold this into the batter to create a light, airy texture.
Mixing Techniques for Optimal Texture
- Avoid Overmixing: Overmixing can lead to a dense, tough cake. Stop mixing as soon as the ingredients are combined.
- Room Temperature Ingredients: Ensure that the eggs, butter, and buttermilk are at room temperature for a smooth and cohesive batter.
Baking and Cooling
- Bake the Cakes:
- Divide the batter evenly between the prepared pans.
- Bake in the preheated oven for 25-30 minutes or until a toothpick inserted into the center comes out clean.
- Cool the Cakes:
- Let the cakes rest in their pans and cool for about ten minutes and then transfer them to a rack on wire to completely cool before frosting.
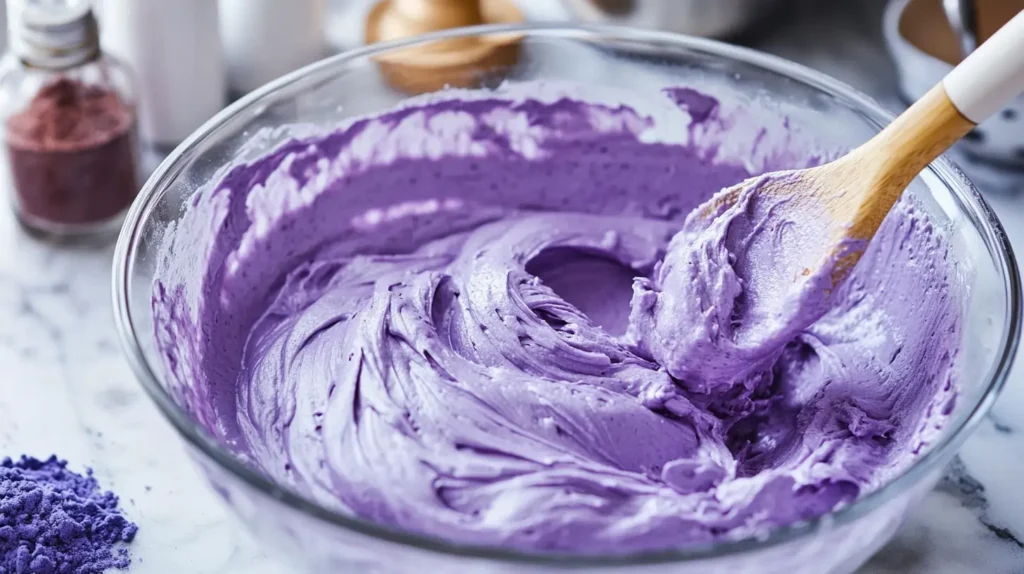
Crafting the Cream Cheese Frosting
Gather Ingredients:
- 8 ounces of cream cheese (softened)
- ½ cup of unsalted butter (softened)
- 4 cups of powdered sugar
- 1 teaspoon of vanilla extract
- A pinch of salt
Whip the Base:
In a large bowl, beat the cream cheese and butter together until smooth and creamy.
Add Sugar and Flavoring:
Gradually add the powdered sugar, one cup at a time, while continuing to mix. Stir in the vanilla extract and salt for balance. Beat until the frosting is fluffy and spreadable.
For more inspiration, explore unique ways to incorporate cream cheese into your desserts, such as in Cream Cheese and White Chocolate Instant Pudding Mix Recipes. This resource offers creative combinations that can elevate your frosting game further.
Frost the Cake:
Place one cake layer on a serving plate and spread an even layer of frosting on top. Add the second layer and frost the top and sides. Use an offset spatula for a smooth finish.
Your Violet Velvet Cake is now ready to dazzle with its vibrant color, tender crumb, and luscious cream cheese frosting.
Decoration and Presentation
Simple Yet Elegant Decorating Techniques
- Smooth Frosting Finish:
- Use an offset spatula to apply the frosting evenly across the cake for a clean and polished look.
- Run a bench scraper or spatula along the sides for a smooth edge.
- Swirls and Textures:
- Create soft waves or patterns in the frosting using the back of a spoon or a spatula for an artistic yet simple finish.
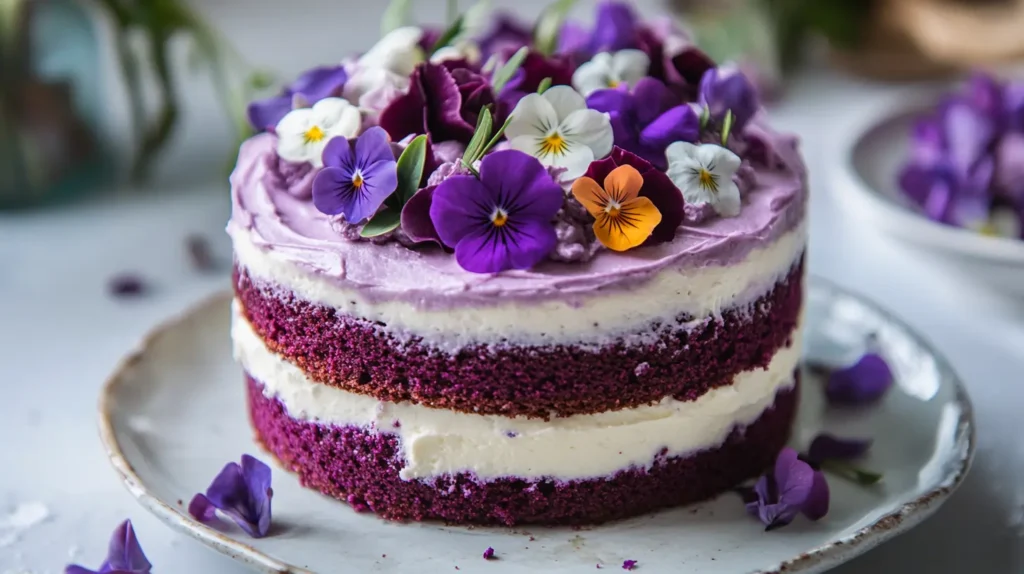
- Minimalist Garnish:
- Add a dusting of edible glitter or a sprinkle of purple sanding sugar for a subtle shimmer.
- Place a few fresh or edible flowers (such as violets or lavender) on top for a natural and delicate touch.
Themed Designs for Special Occasions
- Birthday Celebration:
- Pipe rosettes or borders using a star tip for a festive flair.
- Add colorful sprinkles or edible pearls to match the occasion’s theme.
- Wedding or Anniversary:
- Cover the cake with smooth frosting and adorn it with cascading fondant flowers in shades of violet and white.
- Add a gold or silver cake topper for elegance.
- Seasonal Holidays:
- For spring, use pastel colors in piping to create floral motifs.
- For winter, sprinkle edible snowflakes or powdered sugar for a frosty effect.
Adding a Gourmet Touch
- Drip Effect:
- Drizzle a purple or white chocolate ganache around the edges for a trendy and indulgent look.
- Edible Art:
- Add hand-painted edible designs or watercolor effects using food-grade gel paints.
- Use a stencil to dust cocoa powder or powdered sugar in intricate patterns.
- Layered Additions:
- Between cake layers, add a surprise filling like blackberry compote, lavender-infused cream, or candied nuts.
- Top the cake with macarons, truffles, or sugared fruit for a luxurious finish.
- Serving Style:
- Present the cake on a cake stand with a decorative base to elevate its appeal.
- Add a touch of ambiance by surrounding the cake with fairy lights or fresh greenery.
These decorating techniques and ideas will ensure your Violet Velvet Cake is not only delicious but also a visual masterpiece, suitable for any occasion.
Pairing Ideas and Serving Suggestions
Best Drinks to Complement Violet Velvet Cake
- Tea:
- Pair your Violet Velvet Cake with herbal teas like lavender, chamomile, or Earl Grey to enhance its subtle floral or berry notes. Iced hibiscus or blueberry tea also makes a refreshing match for warmer days.
- Coffee:
- A creamy latte or cappuccino complements the richness of the cream cheese frosting, while a bold dark roast or espresso provides a contrasting depth.
- Wine:
- Sweet dessert wines like Moscato or a light Riesling beautifully balance the cake’s flavors. For a touch of sophistication, try a sparkling Prosecco or a fruity rosé.
- Non-Alcoholic Options:
- For a playful twist, offer a blueberry lemonade or a violet-infused mocktail. Classic milk or plant-based alternatives, like almond or oat milk, provide a creamy and familiar contrast to the cake’s sweetness.
For a truly indulgent dessert experience, consider pairing Violet Velvet Cake with another delightful treat, like this Easy Peach Crumble Recipe: Sweet and Buttery Dessert. The crumble’s warm, fruity flavors create a complementary medley of tastes that will impress your guests.
Side Dishes for an Elevated Dessert Experience
- Fresh Berries:
- Serve the cake with a side of fresh blackberries, blueberries, or raspberries for a complementary tartness.
- Ice Cream:
- A scoop of vanilla bean, lavender, or blackberry ice cream enhances the dessert’s luxurious feel.
- Whipped Cream:
- Lightly sweetened whipped cream adds an airy contrast to the dense cake.
- Consider flavoring it with a hint of vanilla or violet extract.
- Fruit Compote:
- A warm blueberry or blackberry compote makes a delightful topping or side.
- Cheese Plate:
- For a sophisticated touch, pair the cake with a small selection of soft cheeses like mascarpone or brie.
Storing and Preserving Your Cake
Tips for Refrigeration and Freezing
- Refrigeration:
- Cover the cake tightly with plastic wrap or store it in an airtight container to prevent it from drying out.
- If frosted, refrigerate for up to 3-5 days to keep the cream cheese frosting fresh.
- Allow the cake to sit at room temperature for about 30 minutes before serving to soften the texture.
- Freezing:
- For unfrosted cakes, Wrap each layer individually in plastic wrap, then aluminum foil, and store in a freezer-safe bag or container. This prevents freezer burn and maintains freshness for up to 3 months.
- For frosted cakes: Freeze the cake uncovered for about 1-2 hours to harden the frosting. Then, wrap it tightly in plastic wrap and aluminum foil before returning it to the freezer.
- Thawing:
- Move the frozen cake to the refrigerator and let it thaw overnight. For frosted cakes, unwrap them once they are mostly thawed to avoid condensation on the frosting.
Ensuring Freshness Over Time
- Use a Cake Dome:
- Store the cake under a dome at room temperature if it will be consumed within 1-2 days. This helps retain moisture without refrigeration.
- Avoid Sunlight and Heat:
- Keep the cake in a cool, dry place away from direct sunlight to prevent color fading and frosting melting.
- Refresh Before Serving:
- If the cake feels dry after storage, brush the layers with a simple syrup or fruit glaze before serving.
By following these tips, you can ensure your Violet Velvet Cake stays delicious and visually stunning, whether serving it fresh or saving it for later.
Frequently Asked Questions
What flavor is purple velvet cake?
Purple velvet cake typically has subtle floral or berry undertones, often flavored with ingredients like lavender, blueberry, or blackberry, alongside the slight tang and sweetness characteristic of velvet cakes.
Is purple velvet the same as red velvet?
No, purple velvet is a variation of red velvet. While both share a soft texture and slight cocoa flavor, purple velvet features a violet hue and may incorporate unique flavors like berries or floral notes.
What does purple cake taste like?
Purple cake offers a rich, moist texture with a balance of sweetness and tang. If naturally colored, it might have earthy or fruity hints from ingredients like purple sweet potatoes or berries.
What’s the difference between red velvet cake and blue velvet cake?
The main difference lies in the color and slight flavor variations. Red velvet has a classic red hue, while blue velvet uses blue coloring and may include flavor twists, such as a subtle vanilla or almond profile. Both share a soft, cocoa-touched base.
Conclusion
Why You Should Try Making Violet Velvet Cake
Violet Velvet Cake is more than just a dessert—it’s a showstopper that combines elegance, flavor, and creativity. Its tender texture, subtle hints of cocoa, and vibrant violet hue make it a unique alternative to traditional cakes. Whether for a special occasion or simply to try something new, this cake offers a delightful experience for both bakers and guests alike.
Inspiring Creativity in Your Baking Journey
Baking a Violet Velvet Cake is an opportunity to explore your creative side. From experimenting with natural colorings to designing intricate decorations, this cake allows you to personalize and innovate. Whether you’re a beginner or an experienced baker, crafting this beautiful dessert can inspire confidence and joy, transforming your kitchen into a hub of artistic expression. So, gather your ingredients and tools, and let your imagination take the lead.