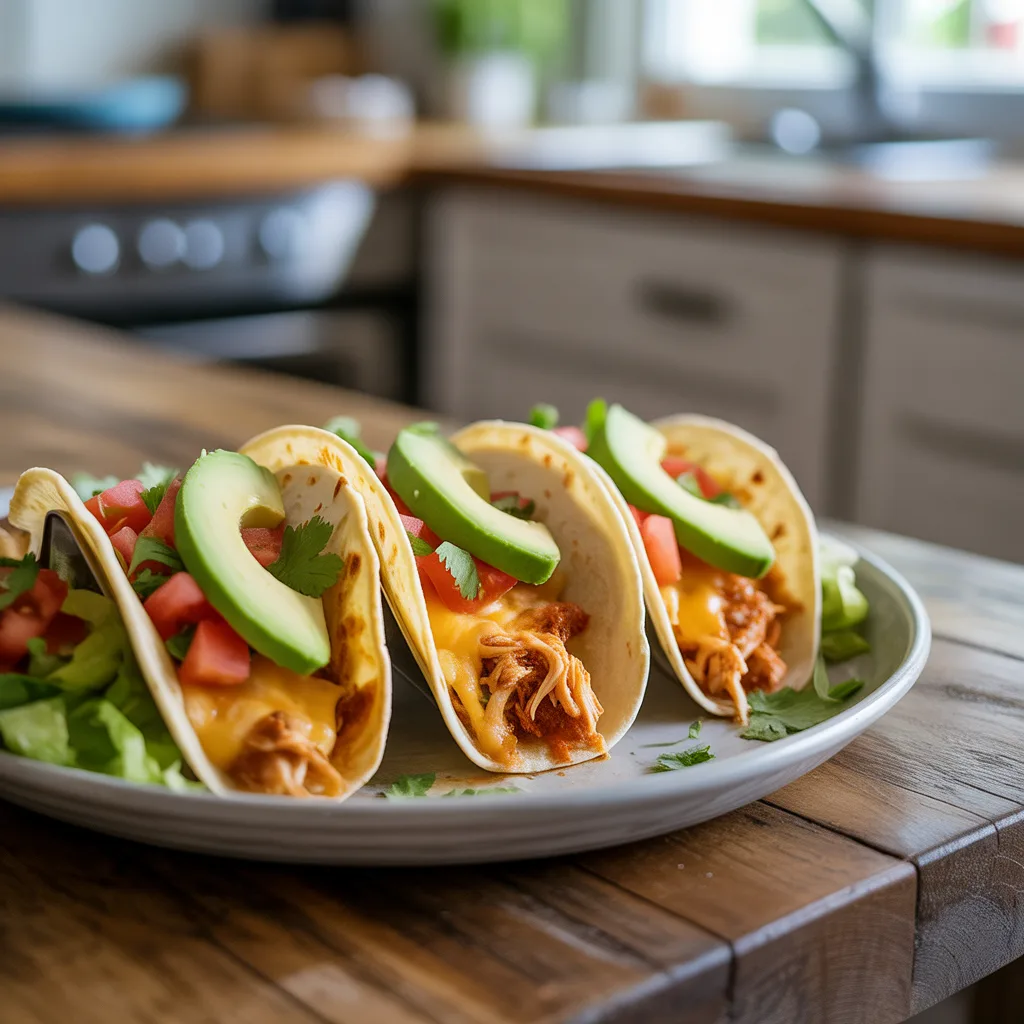
You know those nights when everyone’s hungry, the clock is ticking, and you need something delicious on the table, stat? Well, honey, let me tell you about my secret weapon: Cheesy Baked Chicken Tacos. This is the kind of meal that feels like a big, warm hug but doesn’t keep you chained to the stove. It’s my go-to for busy weeknights, unexpected company, and anytime I need a guaranteed win. And honestly, who can resist that crispy tortilla shell filled with savory chicken and all that melted cheese?
Why You’ll Love This
You’ll love this recipe because it’s the ultimate trifecta: fast, forgiving, and fabulous. We’re talking about 30 minutes from fridge to table. It’s a one-pan wonder that minimizes the mess but maximizes the flavor. Even if your taco filling is a little too saucy or you overstuff them a bit (guilty!), baking them together makes everything right. They come out perfectly crisp, impossibly cheesy, and so, so satisfying. A total crowd-pleaser that’ll have everyone asking for seconds.
Equipements Needed
- 1 large mixing bowl
- 1 9×13 inch baking dish
- Aluminum foil or parchment paper
- Can opener
- Measuring spoons
Ingredients
- 1 lb cooked chicken, shredded (from a rotisserie chicken for ultimate ease)
- 1 (1 oz) packet taco seasoning (or 2 tbsp of your favorite homemade blend)
- 1/2 cup water
- 1 (15 oz) can black beans, rinsed and drained (for fiber and heartiness)
- 1 cup corn kernels (fresh, frozen, or canned—your choice!)
- 1 (10 oz) can diced tomatoes with green chiles, undrained (for a little kick)
- 12 stand-and-stuff style flour tortillas (they have those flat bottoms that make life easy)
- 3 cups shredded Mexican blend cheese
- Optional toppings: shredded lettuce, diced avocado, sour cream, cilantro, salsa
Step By Step
- Preheat your oven to 400°F (200°C). Grab that 9×13 baking dish and give it a quick spritz with non-stick spray.
- In your large bowl, combine the shredded chicken, taco seasoning, and water. Stir until the chicken is evenly coated.
- Add the black beans, corn, and the entire can of diced tomatoes with green chiles (juice and all!) to the chicken mixture. Stir everything together until it’s well combined.
- Arrange your tortillas in the baking dish so they’re all standing up. It’s okay if they’re cozy—they help each other stay upright!
- Spoon the chicken filling evenly into each tortilla shell, pressing it down gently.
- Now for the best part: top each filled tortilla with a generous handful of shredded cheese. Don’t be shy!
- Bake uncovered for 15-20 minutes, or until the cheese is completely melted and bubbly and the edges of the tortillas are golden brown and crisp.
- Carefully remove the dish from the oven. Let it sit for about 5 minutes before serving—this helps everything set up so they’re easier to grab. Serve with all your favorite toppings.
Pro Tips For Perfect Tacos
- For an extra crispy shell, you can lightly spray the outsides of the tortillas with cooking spray before baking. So good.
- If your filling seems a bit dry, add a tablespoon or two of tomato sauce or even a splash of chicken broth to loosen it up.
- Honestly, if you’re short on time, using a pre-cooked rotisserie chicken is the ultimate smart shortcut. No one will know!
- Let the baked tacos rest for 5 minutes after they come out of the oven. This keeps all that cheesy goodness inside the taco instead of on the pan.
- Don’t skip rinsing the black beans! It washes off that starchy can liquid and makes your filling taste fresher.
Serving Ideas & Pairings
These tacos are a full meal all on their own, but I love serving them with a few simple sides. A quick, crisp side salad with a lime vinaigrette cuts through the richness perfectly. For a real fiesta feel, classic Mexican rice and refried beans are always a hit. And if the kids (or let’s be real, the adults) are extra hungry, a big bowl of tortilla chips and salsa on the table is never a bad idea.
Variations & Substitutions
- Protein Swap: Use ground turkey or beef instead of chicken. For a meatless option, double the black beans or use a plant-based ground “meat”.
- Spice Level: Control the heat! For mild, use plain diced tomatoes. For extra kick, add a diced jalapeño to the filling.
- Bean Swap: Pinto or kidney beans work great in place of black beans.
- Dairy-Free: Use your favorite dairy-free cheese alternative and top with avocado instead of sour cream.
- Low-Carb: Use large, sturdy lettuce leaves as your “shell” and bake the filling in a dish topped with cheese for a fantastic taco bake.
Storage & Reheating
Let any leftover tacos cool completely before storing. Keep them in an airtight container in the fridge for up to 3 days. To reheat, the oven or air fryer is your best friend for regaining that crisp texture. Pop them in a 350°F (175°C) oven or air fryer for 5-10 minutes until hot. The microwave will work in a pinch, but the tortillas will get soft.
Frequently Asked Questions
- Q: Can I make these cheesy baked chicken tacos ahead of time?
A: You can absolutely prep the filling ahead! Mix it up, store it covered in the fridge for up to two days, and assemble right before baking for the easiest weeknight dinners. - Q: My tortillas got soggy. What happened?
A: This usually means there was a bit too much liquid in the filling. Next time, try draining the canned tomatoes a little or make sure your cooked chicken isn’t holding onto any extra moisture. - Q: Can I freeze these?
A: I don’t recommend freezing them fully assembled and baked, as the tortillas can get mushy. But the filling freezes beautifully for up to 3 months! Thaw it in the fridge overnight before using. - Q: Are these healthy dinner ideas?
A> They can be! Using lean chicken, loading up on beans and corn, and opting for whole wheat tortillas makes for a balanced meal packed with protein and fiber. It’s all about the choices you make.