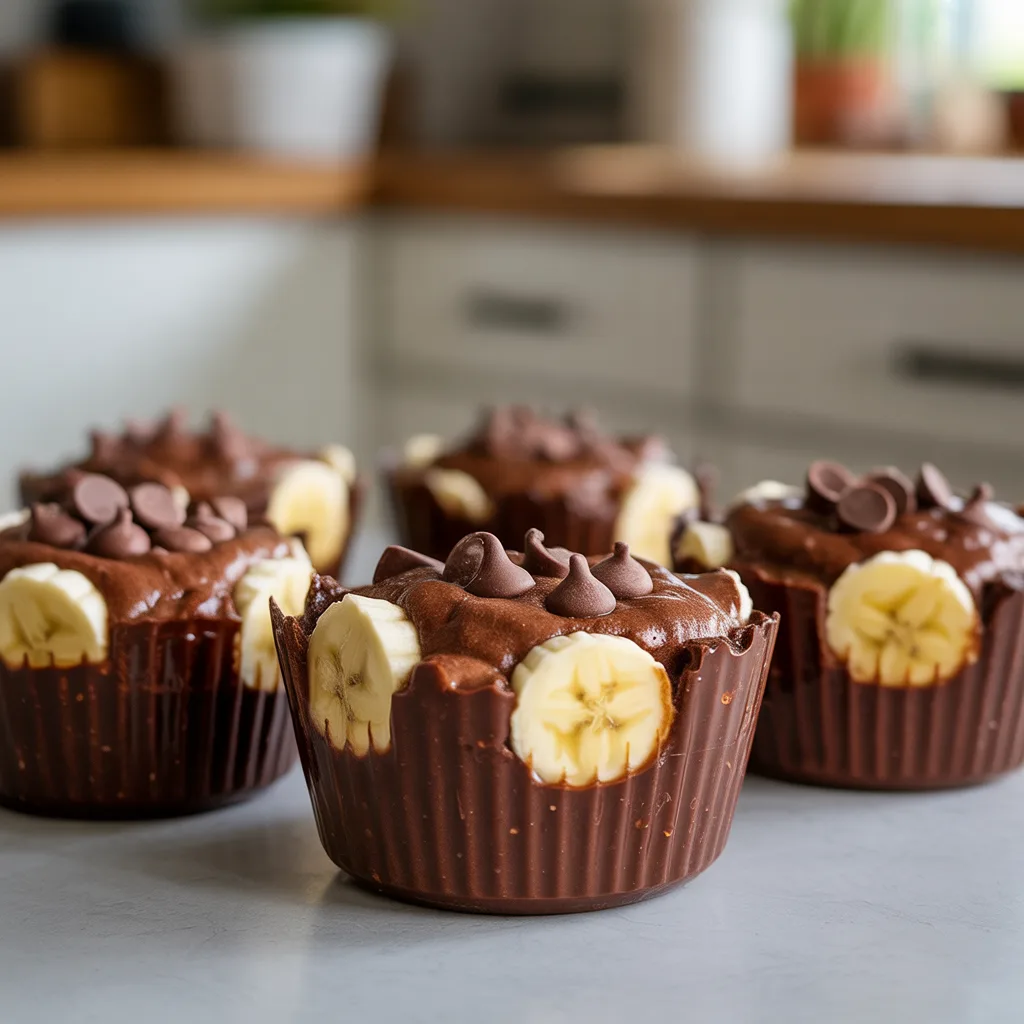
Is there a more perfect pairing than chocolate and banana? I don’t think so. It’s a match made in heaven, and these little Chocolate Banana Dessert Cups are proof. They’re the kind of sweet treat that feels fancy enough for a party but is so dang easy to whip up on a busy weeknight. Honestly, I started making these when I needed a quick dessert that looked like I’d spent hours in the kitchen. I’m telling you, nobody will guess these adorable cups come together with such minimal effort. They’re the ultimate solution when you need a little something sweet, fast.
Why You’ll Love This
You’ll love this recipe because it’s a total crowd-pleaser. They’re individual servings, so there’s no fighting over who got the bigger piece. They look so pretty—a real aesthetic food moment with minimal work. And flavor? The creamy, rich chocolate paired with the sweet, soft banana is just so, so good. Plus, you probably have most of the ingredients in your pantry right now. It’s the perfect recipe for beginners or anyone who wants a no-fuss, yummy food idea that delivers big on taste.
Equipements Needed
- Muffin Tin: A standard 12-cup pan is perfect for this.
- Paper or Foil Liners: Essential for easy removal and a clean look.
- Large Mixing Bowl: For combining all your delicious ingredients.
- Whisk or Spatula: For gentle mixing.
- Measuring Cups and Spoons: For getting those proportions just right.
- Small Heatproof Bowl: If you’re melting chocolate in the microwave.
Ingredients
- 3 ripe bananas, mashed: The sweeter they are, the better your dessert cups will be.
- 1 ½ cups all-purpose flour: The base structure for our mini cakes.
- 1 cup granulated sugar: For that perfect level of sweetness.
- ½ cup unsweetened cocoa powder: Gives that deep, rich chocolate flavor.
- 1 tsp baking soda: Helps the cups rise and become light.
- ½ tsp salt: Balances the sweetness and enhances the chocolate.
- 1 large egg: Binds everything together.
- ½ cup vegetable oil: Keeps the dessert cups incredibly moist.
- ¼ cup milk or water: To achieve the perfect batter consistency.
- 1 tsp vanilla extract: Adds a warm, classic bakery aroma.
- ½ cup semi-sweet chocolate chips: For melty pockets of extra chocolate goodness.
Step By Step
- First, preheat your oven to 350°F (175°C) and line a muffin tin with paper liners. This is a crucial first step, trust me.
- In your large bowl, whisk together the mashed bananas, egg, oil, milk (or water), and vanilla extract until they’re well combined.
- In a separate bowl, whisk the flour, sugar, cocoa powder, baking soda, and salt. This ensures the leavening is evenly distributed so you don’t get a bitter bite.
- Gently fold the dry ingredients into the wet ingredients. Don’t overmix! A few lumps are just fine. Overmixing is the enemy of tender cakes.
- Fold in the chocolate chips, then divide the batter evenly among the 12 muffin cups, filling each about 2/3 full.
- Bake for 18-22 minutes, or until a toothpick inserted into the center of a cup comes out clean or with just a few moist crumbs.
- Let the dessert cups cool in the pan for about 5 minutes before transferring them to a wire rack to cool completely. This patience prevents them from breaking apart.
Variations & Substitutions
This recipe is wonderfully adaptable. For a gluten-free version, use a 1:1 gluten-free flour blend. You can swap the all-purpose flour for whole wheat pastry flour for a bit more fiber, but the texture will be a bit denser. Honestly, it’s still delicious. Add a half teaspoon of cinnamon or a pinch of espresso powder to the dry ingredients to deepen the chocolate flavor. For a nutty crunch, fold in a half cup of chopped walnuts or pecans along with the chocolate chips. And if you’re out of chocolate chips, a chopped-up chocolate bar works just as well!
Serving Ideas & Pairings
These dessert cups are fantastic all on their own, but a little dollop of freshly whipped cream or a scoop of vanilla ice cream takes them over the top. A dusting of powdered sugar makes them look extra special. For a real aesthetic food presentation, serve them on a pretty platter with some fresh banana slices and a drizzle of caramel sauce. They pair beautifully with a cup of strong coffee or a cold glass of milk. Perfect for potlucks, bake sales, or just because.
Storage & Reheating
Store any leftover dessert cups in an airtight container at room temperature for up to 2 days. For longer storage, keep them in the fridge for up to 5 days. You can also freeze them for up to 3 months; just wrap each one individually in plastic wrap and place them in a freezer bag. To reheat, a quick 15-second zap in the microwave will make them taste warm and fresh-baked. So good.
Frequently Asked Questions
- Q: Can I make these dessert cups ahead of time?
A: Absolutely! They are one of the best baking ideas for make-ahead treats. Bake them, let them cool completely, and store them as directed. The flavor even improves a bit the next day. - Q: My bananas aren’t very ripe. Will it work?
A: For the sweetest flavor and best texture, ripe bananas are key. If yours are still a little green, you can place them on a baking sheet in a 300°F oven for about 15-20 minutes until the skins blacken. Let them cool, and they’ll be perfect for mashing. - Q: Are these considered mini desserts?
A: Yes! Their individual portion size makes them a perfect example of easy and delightful mini desserts. They’re great for portion control or for serving a crowd. - Q: Can I turn this into a regular cake?
A: You sure can. Pour the batter into a greased 9-inch square baking pan and bake for 25-30 minutes, or until a toothpick comes out clean. It’s a versatile base for many cakes recipes.