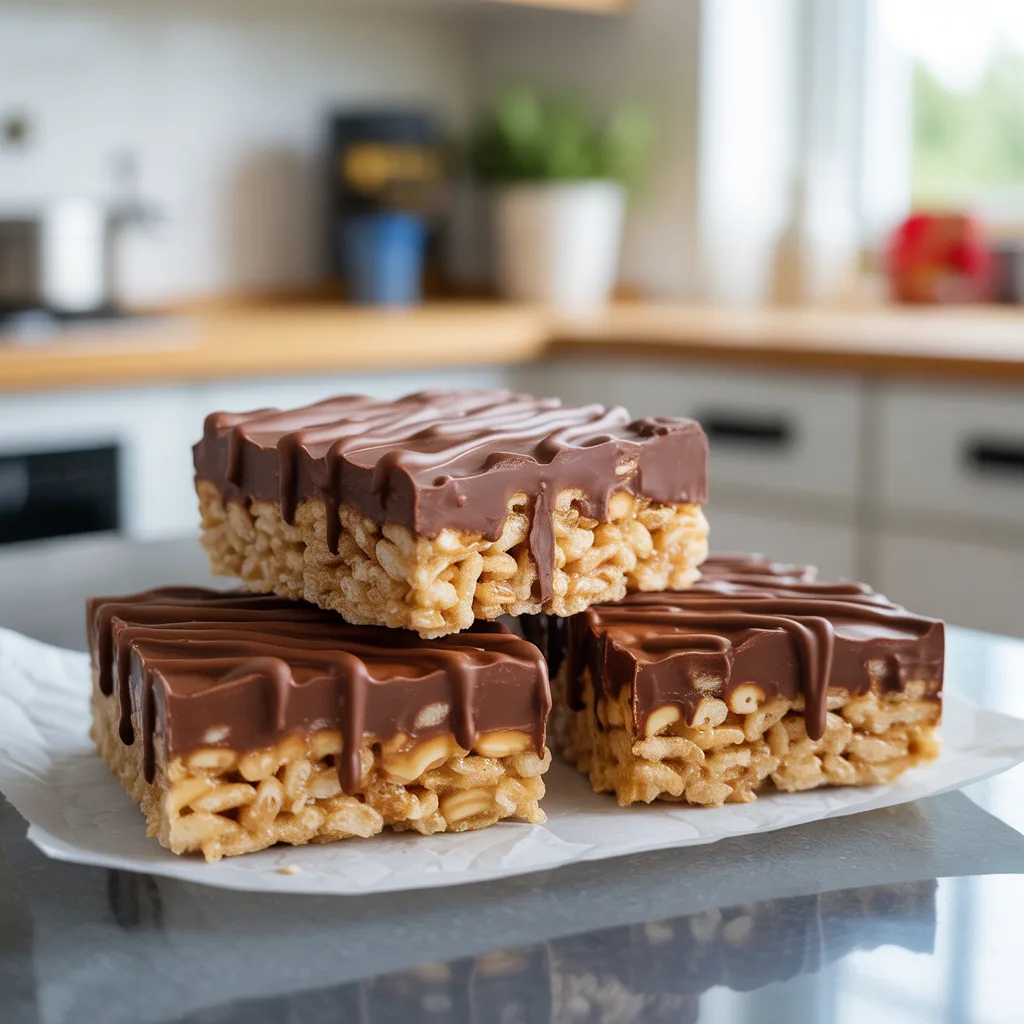
Is there anything more comforting than the crackle of Rice Krispies and the rich swirl of chocolate and peanut butter? These Chocolate Peanut Butter Rice Krispie Bars are the treat you didn’t know you needed today. They come together in minutes, require no baking, and are the perfect solution for a last-minute sweet craving, a lunchbox surprise, or a simple moment of joy. Honestly, they’re my go-to when I need a little kitchen win without any fuss.
Top Reasons To Make It
You’ll love this recipe because it’s incredibly simple. We’re talking just a handful of pantry staples and about 15 minutes of your time. It’s the perfect project to make with little helpers, as there’s no oven involved. The combination of creamy peanut butter and rich chocolate is a classic for a reason—it’s a crowd-pleaser every single time. And the best part? You get to enjoy that wonderful, nostalgic crunch in every single bite.
Ingredients
- 6 cups Rice Krispies cereal: for that classic, light, and crispy texture.
- 1 cup creamy peanut butter: acts as the glue and gives that nutty, creamy flavor.
- 1/2 cup unsalted butter: helps create a smooth, rich base for the marshmallows.
- 1 (10 oz) bag mini marshmallows: the magic ingredient that binds everything together.
- 1/4 teaspoon fine sea salt: just a pinch to balance all the sweetness.
- 1 cup semi-sweet chocolate chips: for that decadent chocolate topping.
- 1 teaspoon coconut oil or shortening: helps thin the chocolate for a smooth, easy drizzle.
Instructions
- Prepare a 9×13 inch baking dish by lining it with parchment paper, leaving a little overhang on two sides. This makes lifting the bars out later a total breeze. Lightly grease the paper with a bit of butter or cooking spray.
- In a large pot, melt the butter and peanut butter together over low heat, stirring until it’s completely smooth and combined.
- Add the entire bag of mini marshmallows and the salt to the pot. Keep stirring over low heat until the marshmallows are completely melted and the mixture is smooth. It should look like a lovely, gooey cloud.
- Remove the pot from the heat and immediately pour in the Rice Krispies cereal. Gently fold until every single piece of cereal is coated in the marshmallow mixture.
- Transfer the mixture to your prepared pan. Using a piece of parchment paper or lightly buttered hands, press the mixture firmly and evenly into the pan.
- Let the bars cool and set at room temperature for at least an hour. For a faster set, you can pop them in the refrigerator for about 30 minutes.
- Once the base is set, melt the chocolate chips and coconut oil together in a microwave-safe bowl in 30-second bursts, stirring between each, until smooth. Drizzle this melted chocolate over the top of the bars.
- Allow the chocolate to set completely before lifting the bars out of the pan using the parchment paper overhang and cutting them into squares.
Variations & Substitutions
Feel free to get creative! For a nut-free version, sunflower seed butter works wonderfully in place of peanut butter. You can stir in a handful of mini M&Ms or crushed pretzels along with the cereal for a fun twist. If you’re a fan of that salty-sweet combo, a light sprinkle of flaky sea salt on top of the wet chocolate is just divine. And for a different chocolate flavor, milk or dark chocolate chips are great alternatives.
Serving Ideas & Pairings
These bars are fantastic all on their own, but they also make for wonderful mini desserts at a party or picnic. I love serving them with a cold glass of milk for the kids or a hot coffee for myself. They’re a sweet ending to a weeknight dinner or a fun addition to a brunch spread. For a real treat, crumble one over a scoop of vanilla ice cream. So good.
Storage & Reheating
Store your bars in an airtight container at room temperature for up to 3 days. For longer storage, they keep beautifully in the refrigerator for up to a week. You can also freeze them for up to 3 months; just separate layers with parchment paper. There’s no need to reheat them, as they are best enjoyed at room temperature or cool right from the fridge.
Pro Tips
- Use fresh marshmallows for the best, gooiest results.
- Press the mixture firmly into the pan to prevent crumbly bars.
- Lightly grease your spatula or hands to keep the sticky mixture from clinging to you.
- For super clean cuts, run your knife under hot water and wipe it dry between slices.
- Don’t skip the salt! It really makes the chocolate and peanut butter flavors pop.
- And have fun with the chocolate drizzle—no two bars need to look the same!
Frequently Asked Questions
- Can I use natural peanut butter? I don’t recommend it for this particular recipe, as the oil separation can make the bars too greasy and prevent them from setting properly. A standard creamy peanut butter like Jif or Skippy works best for these easy desserts.
- My bars are really hard. What happened? This usually means the marshmallow mixture was cooked for too long or at too high a temperature. Low and slow is the way to go for perfectly chewy, delicious desserts.
- Can I make these ahead of time? Absolutely! They are a great make-ahead treat. Just wait to add the chocolate drizzle until you’re ready to serve for the prettiest presentation.
- Are these considered healthy desserts? While they’re a homemade treat with simple ingredients, they are still a sweet indulgence. For a slightly lighter version, you could use a reduced-sugar cereal and dark chocolate.