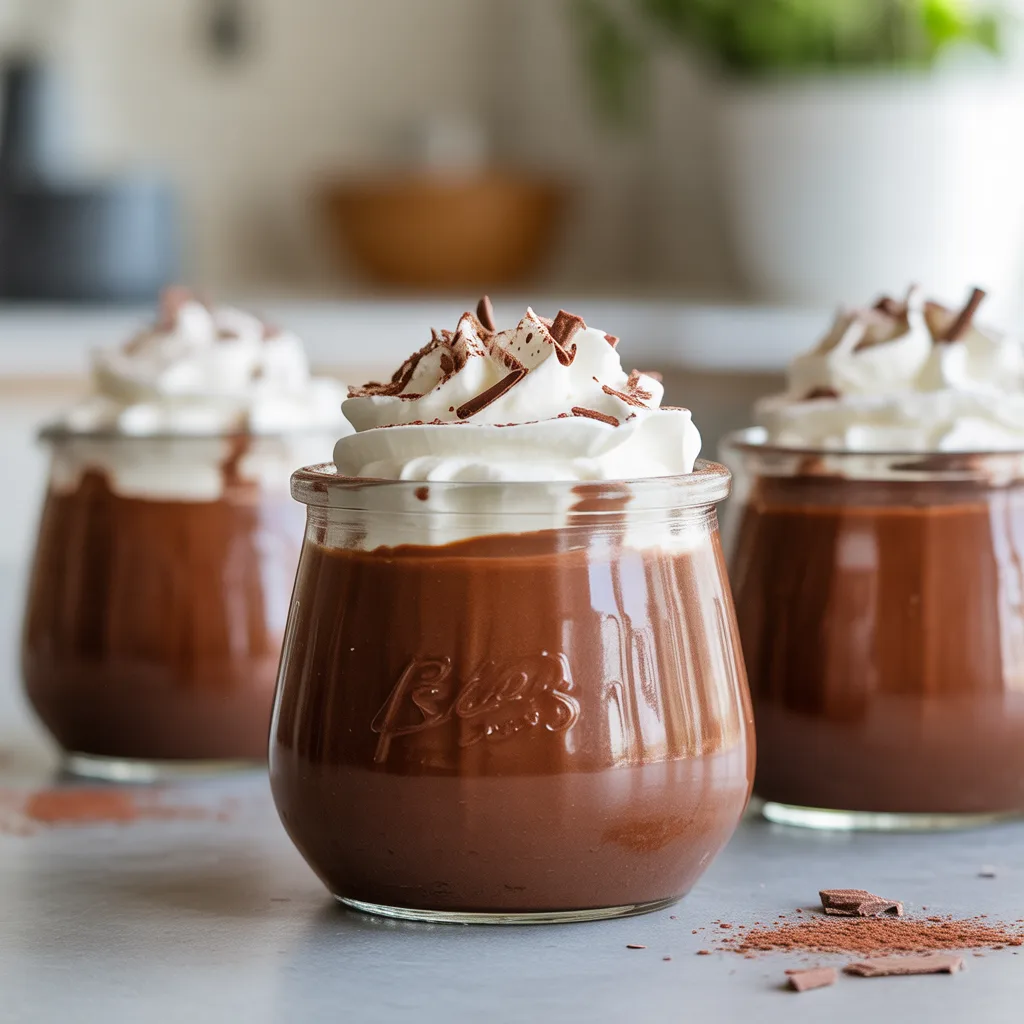
Is there anything more purely joyful than a dessert served in its own little jar? I think not. These Chocolate Pudding Dessert Jars with Whipped Cream are my go-to when I need a sweet treat that looks like a million bucks but comes together with the ease of a Tuesday night supper. We’re talking rich, homemade chocolate pudding, fluffy clouds of whipped cream, and a texture that’s just… perfect. So good. They’re the ultimate make-ahead delight for busy weeks, potlucks, or when you just deserve a little something special. Let’s get our jar on.
Why You’ll Love This
You’ll love this recipe because it’s forgiving, fun, and absolutely delicious. It’s the kind of dessert that feels fancy but is honestly so, so simple. You don’t need any special pastry skills, just a whisk and a little patience. It’s a fantastic way to get the kids involved in the kitchen, and the individual servings mean no fighting over the last slice. Plus, they are just about the most aesthetic food you can imagine for a party or a cozy night in. Total win.
Equipements Needed
- 4-6 Small Mason Jars or Dessert Glasses (8 oz size is perfect)
- Medium Saucepan
- Whisk
- Mixing Bowls (one medium, one large)
- Measuring Cups and Spoons
- Electric Hand Mixer or Stand Mixer (for the whipped cream)
- Spatula
Ingredients
- 1/2 cup granulated sugar: For just the right amount of sweetness.
- 1/4 cup unsweetened cocoa powder: The star of the show for deep chocolate flavor.
- 3 tablespoons cornstarch: This is what gives the pudding its perfect, silky thickness.
- 1/4 teaspoon salt: To balance and enhance all the flavors.
- 2 1/2 cups whole milk: For the creamiest, richest base.
- 4 large egg yolks: They create an incredibly luxurious texture.
- 2 tablespoons unsalted butter: Adds a lovely sheen and richness.
- 1 teaspoon vanilla extract: A classic flavor boost.
- 1 cup heavy cream: For that dreamy, homemade whipped topping.
- 2 tablespoons powdered sugar: Sweetens the whipped cream without grittiness.
- Chocolate shavings or crushed cookies, for garnish: Because we eat with our eyes first!
Step By Step
- First, make the pudding base. In your medium saucepan, whisk together the granulated sugar, cocoa powder, cornstarch, and salt. This keeps the cornstarch from clumping later.
- Gradually whisk in about 1/2 cup of the milk until you have a smooth paste. Then, whisk in the remaining milk and the egg yolks until everything is fully combined.
- Place the saucepan over medium heat. Cook, whisking constantly, until the mixture begins to thicken and bubble. This usually takes about 8-10 minutes. Once it bubbles, let it cook for one more minute, whisking the whole time. Don’t walk away!
- Remove the pan from the heat. Whisk in the butter and vanilla extract until the butter is melted and the pudding is smooth.
- Now, this is important for a skin-free pudding: place a piece of plastic wrap directly on the surface of the hot pudding. Let it cool on the counter for about 30 minutes before transferring to the fridge to chill completely, about 2-3 hours.
- While the pudding chills, make the whipped cream. In your large mixing bowl, beat the heavy cream and powdered sugar with an electric mixer on high speed until stiff peaks form. That means when you lift the beaters, the cream stands up in nice, firm peaks.
- Time to assemble! Divide the chilled pudding evenly among your jars. Top each one with a generous dollop of whipped cream and your chosen garnish. Serve immediately or keep refrigerated.
Serving Ideas & Pairings
These little jars are stars all on their own, but they love company. They make a gorgeous finale to a summer barbecue alongside some fresh berry skewers. For a real dinner party showstopper, line up a bunch of these mini desserts with different toppings—think toasted coconut, salted caramel drizzle, or fresh raspberries. And a cup of strong, hot coffee is just the thing to cut through the sweetness. Honestly, it’s the perfect pairing.
Variations & Substitutions
This recipe is a wonderful playground for your flavor ideas. Swap the vanilla extract for a teaspoon of orange or mint extract for a fun twist. For a nutty flavor, fold some finely chopped toasted pecans or almonds into the pudding before it chills. If you’re out of cornstarch, you can use an equal amount of all-purpose flour, though the texture will be a tad less silky. And for a dairy-free version, use your favorite unsweetened almond or oat milk and coconut cream for the whipped topping.
Storage & Reheating
These dessert jars will keep beautifully in the refrigerator for up to 3 days. I recommend storing them with the whipped cream and garnish separate if you can, adding them right before serving for the best texture. The pudding alone can be stored with plastic wrap on the surface for up to 4 days. This dessert does not freeze well, as the pudding can become watery and the whipped cream will deflate. So enjoy them fresh!
Frequently Asked Questions
Q: Can I use instant pudding mix for this?
A. You sure can for a super-quick fix, but honestly, the flavor and texture of the homemade version is so, so much better and worth the little bit of extra effort. It’s a real game-changer for yummy food.
Q: My pudding is lumpy! What did I do wrong?
A. Don’t you worry, it happens to the best of us. The key is constant whisking as it heats. If you do get lumps, you can strain the hot pudding through a fine-mesh sieve before adding the butter and vanilla. It’ll be smooth as silk.
Q: What are some other baking ideas for these jars?
A. Oh, the possibilities! You could layer in some crumbled brownies or cake to make a mini trifle. Or, for a fun twist, swap the chocolate pudding for a butterscotch or vanilla pudding. These jars are perfect for all your mini desserts experimentation. No matter how you make them, these Chocolate Pudding Dessert Jars with Whipped Cream are sure to become a new favorite.