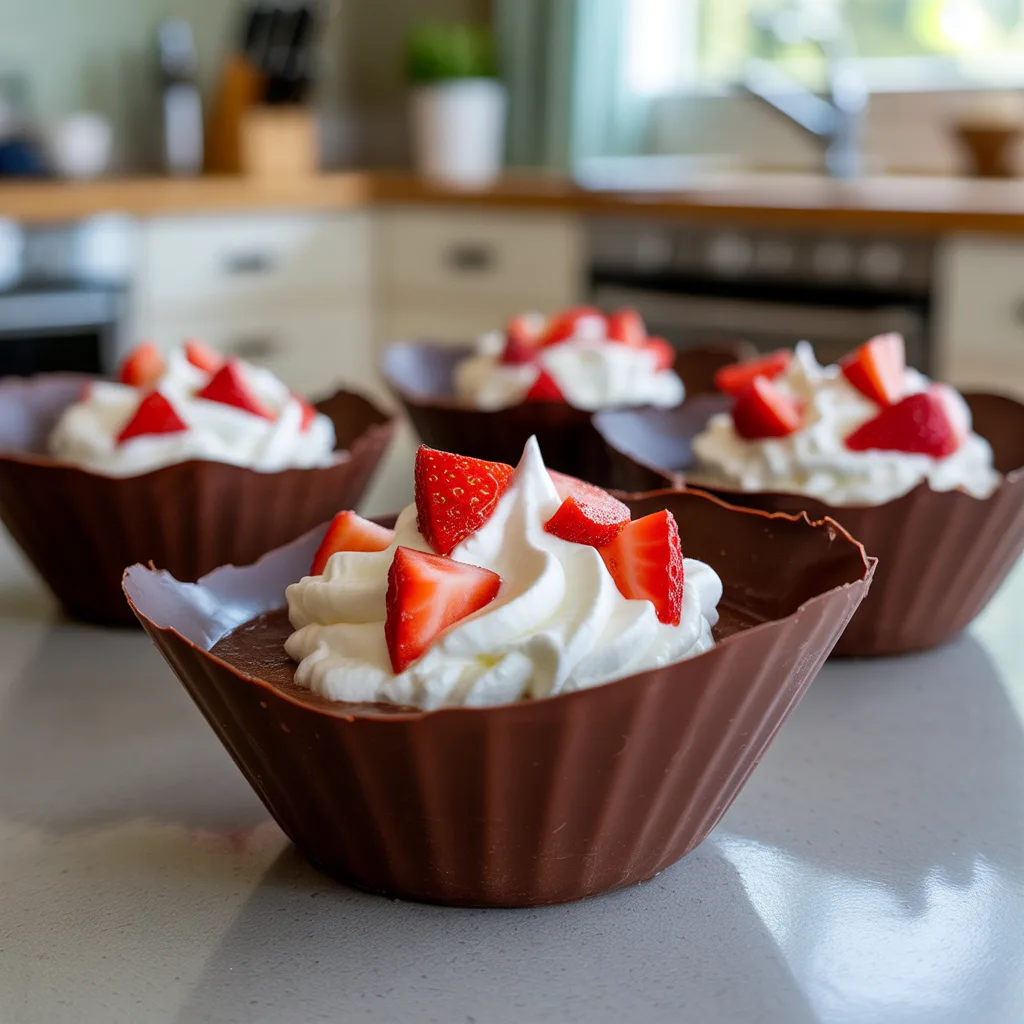
Is there anything more perfect than the combination of chocolate and strawberries? I mean, really. It’s a classic for a reason, and these Chocolate Strawberry Dessert Cups with Cream are my new favorite way to enjoy it. They look like you fussed, but the secret is they come together in a flash. Whether you’re finishing off a weeknight dinner or need a pretty treat for a last-minute gathering, these little cups are your new best friend. So simple, but so impressive.
Why You’ll Love This
You’re going to love this recipe because it’s the ultimate in easy elegance. First off, you only need a handful of ingredients, and I’m willing to bet you have most of them on hand already. There’s no baking required, which is a lifesaver when your kitchen is already hot or you’re just plain tuckered out. They’re individual servings, so there’s no fighting over who got the bigger piece. And honestly, the presentation is just gorgeous. These little cups feel fancy and special, making any ordinary night feel a little like a celebration.
Equipements Needed
Part of what makes this so easy is the short list of tools. You don’t need anything fancy.
- A standard 12-cup muffin tin: This is our mold for creating the perfect little chocolate cups.
- Paper or silicone muffin liners: Essential for easy removal. I’m partial to silicone because they pop right out, but paper works just fine.
- A small saucepan or a microwave-safe bowl: For melting our chocolate.
- A small brush (like a pastry brush): This is the magic tool for painting the chocolate into the liners. A spoon works in a pinch, but the brush gives you more control.
- A mixing bowl and electric hand mixer or whisk: For whipping up that fluffy, dreamy cream filling.
Ingredients
Here’s what you’ll need to make these delicious little treats. The beauty is in the simplicity.
- 1 cup semi-sweet chocolate chips: The base of our cups. They provide a rich, not-too-sweet shell.
- 1 teaspoon coconut oil: This little bit of magic helps the chocolate melt smoothly and gives the cups a beautiful glossy finish and a satisfying snap.
- 1 cup heavy whipping cream: For the light and airy filling. Make sure it’s cold for the best whip.
- 2 tablespoons powdered sugar: Just enough sweetness to balance the cream and tart berries.
- 1 teaspoon vanilla extract: For that warm, classic flavor depth.
- 1 ½ cups fresh strawberries, hulled and finely diced: The sweet, juicy star of the show. Fresh is best here.
Step By Step
Let’s get these beauties made. It’s easier than you think.
- Prep the Pan: First, line your muffin tin with the paper or silicone liners. This is our foundation.
- Melt the Chocolate: Combine the chocolate chips and coconut oil in a microwave-safe bowl. Heat in 30-second bursts, stirring well after each, until the chocolate is completely smooth and melted. You can also do this in a small saucepan over low heat, stirring constantly. Just don’t walk away!
- Create the Cups: Using your pastry brush, paint a layer of melted chocolate onto the bottom and up the sides of each muffin liner. You want it thick enough to hold its shape, about ⅛ to ¼-inch thick. Pop the entire tray into the freezer for about 15-20 minutes, or until the chocolate is completely solid.
- Make the Cream Filling: While the cups are setting, pour the cold heavy cream, powdered sugar, and vanilla into a mixing bowl. Using an electric mixer on medium-high speed, whip the cream until stiff peaks form. That means when you lift the beaters out, the peaks stand up straight. Don’t overmix or you’ll start making butter! (We’ve all been there, no judgment).
- Assemble: Gently peel the liners away from your now-solid chocolate cups. They should pop right out. Place them on a serving plate. Fold the diced strawberries into the whipped cream. Then, carefully spoon or pipe the strawberry cream mixture into each chocolate cup.
- Serve Immediately: These are best enjoyed right away while the chocolate is crisp and the cream is fluffy!
Serving Ideas & Pairings
These dessert cups are stars on their own, but I love thinking about how they fit into a meal. They make the perfect ending to a summery grilled dinner—think grilled chicken or burgers and a big fresh salad. The lightness is a welcome contrast. For a real showstopper, set up a little dessert bar with these, some fresh berries, and maybe a bowl of extra whipped cream for those who want it. They’re also wonderful alongside a cup of coffee for a fancy afternoon pick-me-up. Truly, one of the most versatile and delicious desserts.
Variations & Substitutions
This recipe is a fantastic canvas for your own ideas. Don’t be shy!
- Dairy-Free: Use dairy-free chocolate chips and chilled coconut cream (the solid part from a can of full-fat coconut milk) instead of whipping cream.
- Different Berries: Swap the strawberries for raspberries, blueberries, or a mix! Just make sure to dice any larger berries.
- Nutty Crunch: Add a tablespoon of finely chopped toasted almonds or pecans to the whipped cream filling for a little texture.
- Citrus Zing: Add a teaspoon of orange or lemon zest to the whipped cream for a bright, fresh flavor.
- Minty Fresh: A drop or two of peppermint extract in the chocolate or the cream can be so refreshing.
Storage & Reheating
Let’s be real, these are best eaten the day they’re made. But if you have leftovers, you can store them in an airtight container in the refrigerator for up to a day. The chocolate will lose its snap and the crust might get a little soft, but they’ll still taste wonderful. I do not recommend freezing the assembled cups, as the whipped cream filling doesn’t hold up well. You can, however, make the empty chocolate cups ahead of time and freeze them for up to a month in a freezer bag. Just thaw for a few minutes before filling.
Frequently Asked Questions
- Q: Can I use milk chocolate or dark chocolate?
A: Absolutely! Use whatever chocolate you love best. Dark chocolate would be fantastic for a less sweet option, and milk chocolate is always a crowd-pleaser. - Q: My whipped cream isn’t getting stiff. What did I do wrong?
A: The number one culprit is the cream not being cold enough. Make sure your cream, bowl, and beaters are all chilled. Also, resist the urge to sweeten it with liquid like maple syrup, as that can prevent it from whipping properly. - Q: Are there any other easy desserts with few ingredients I could try?
A: Oh, honey, yes! A simple fruit crisp, three-ingredient peanut butter cookies, or a no-bake cheesecake dip are all in my regular rotation for when I need something yummy fast. - Q: Can I make these mini desserts ahead of time for a party?
A: You can make the chocolate shells up to a day ahead and keep them in the fridge. I’d recommend whipping the cream and assembling them no more than an hour or two before serving for the best texture.