Bright, buttery, and bursting with fresh lemon flavor, these Classic Lemon Bars bring that perfect balance of sweet and tangy in every bite. Made with simple pantry staples and fresh lemons, they’re wonderfully approachable even for beginner bakers. Whether you’re bringing a tray to a family gathering, sharing with neighbors, or treating yourself on a sunny afternoon, these bars always disappear fast.
Why You’ll Love This Classic Lemon Bars Recipe
- Fresh Lemon Flavor: Fresh lemon juice and lemon zest create a vibrant citrus filling that’s the star of every bite.
- Buttery Shortbread Crust: The simple crust bakes up sturdy enough to hold the filling while staying tender and rich.
- Make-Ahead Friendly: These bars chill beautifully, making them a convenient dessert to prepare in advance.
- Simple Ingredients: Everything comes together with everyday baking staples and a handful of fresh lemons.
- Beautiful Presentation: A dusting of powdered sugar gives these bars a classic bakery-style finish.
- Perfect Balance: The sweet filling and bright lemon juice work together to create a flavor that’s neither overly tart nor overly sweet.
- Freezer Friendly: Individual bars can be frozen for later enjoyment without sacrificing flavor.
Ingredients You’ll Need
One of the things I love most about these Classic Lemon Bars is how a short list of ingredients creates such an impressive result. Fresh lemons do most of the heavy lifting here, delivering the bright flavor that makes this one of those memorable easy dessert recipes you’ll want to make again and again.
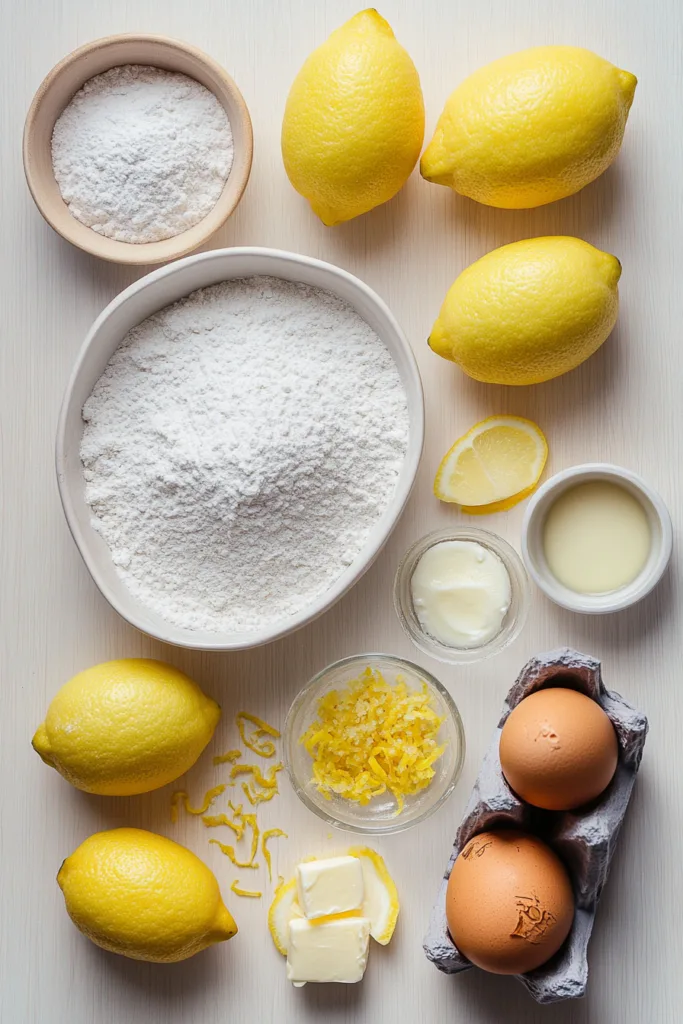
Every ingredient plays an important role, so here’s what each one brings to the recipe:
- 3 cups all-purpose flour (360g), divided – The flour provides structure throughout the recipe. Using 2½ cups in the crust creates a sturdy shortbread base, while the remaining ½ cup helps thicken and stabilize the lemon filling.
- 2/3 cup powdered sugar (66g), plus more for dusting – Powdered sugar sweetens the crust while helping create its tender texture. The extra powdered sugar dusted on top adds the classic finishing touch and visual appeal.
- 1/2 teaspoon salt – A small amount of salt balances the sweetness and helps bring out the buttery flavor of the crust.
- 12 tablespoons unsalted butter, melted (170g) – Melted butter binds the crust ingredients together and creates the rich, buttery foundation these bars are known for. The amount is carefully balanced to produce a crust that presses easily into the pan.
- 3 tablespoons lemon zest (zest of three lemons) – Lemon zest provides concentrated citrus flavor and aroma. Processing it with the sugar distributes that bright lemon character evenly throughout the filling.
- 3 cups sugar (600g) – Sugar sweetens the filling and balances the natural tartness of the fresh lemon juice. It also contributes to the smooth texture of the finished bars.
- 8 large eggs, room temperature – Eggs give the filling its structure and signature custard-like consistency. Room-temperature eggs blend more smoothly into the mixture, helping create an even filling.
- 1 cup fresh lemon juice (240mL) – Fresh lemon juice is the centerpiece of the recipe, providing the bold citrus flavor that defines classic lemon bars. The full cup delivers the perfect sweet-tart balance intended for this dessert.
How to Make Classic Lemon Bars
There’s something downright joyful about pulling a chilled pan of lemon bars from the refrigerator and seeing that bright yellow filling sitting on top of a buttery crust. I’ve made plenty of desserts over the years, and these bars are one of those treats that always bring smiles to the table.
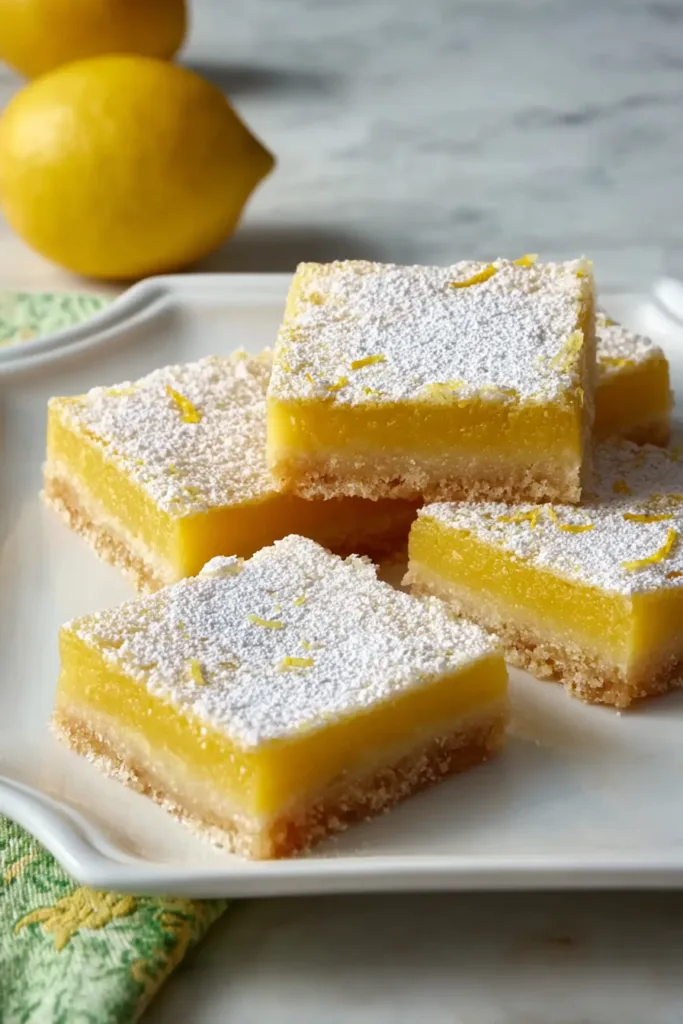
- Prepare the pan by heating the oven to 350°F and lining a 9×13 baking dish with parchment paper. This simple step makes removing and slicing the bars much easier later.
- Mix the crust by whisking together 2½ cups of flour, the powdered sugar, and salt. Pour in the melted butter and stir until combined. Sprinkle the dough into the prepared pan, press it into an even layer, and bake for about 20 minutes or until lightly golden.
- Create the lemon sugar while the crust bakes. Add the sugar and lemon zest to a food processor and pulse until the zest is fully incorporated and the sugar turns a light yellow color. If you don’t have a food processor, finely mince the zest and mix it thoroughly with the sugar in a bowl or bag.
- Combine the filling ingredients by mixing the lemon sugar with the remaining ½ cup of flour in a large bowl. Pour in the fresh lemon juice, add the eggs, and mix very well until everything is completely combined.
- Bake the bars by pouring the filling over the warm crust. Return the pan to the oven and bake for about 25 minutes, turning the pan halfway through baking. Remove from the oven and allow the bars to cool for one hour.
- Chill the bars in the refrigerator for two hours. Once fully chilled, dust with powdered sugar and cut into bars using a clean, sharp, damp knife. Clean and re-wet the knife after each cut for the neatest slices.
Tips for the Best Classic Lemon Bars
- Use Fresh Lemon Juice — Fresh lemons are the featured ingredient in this recipe, so freshly squeezed juice delivers the flavor the recipe is designed around.
- Line the Pan — Parchment paper makes lifting the bars from the baking dish much easier and helps create cleaner slices.
- Pour Filling onto a Warm Crust — The recipe is designed so the filling goes directly onto the freshly baked crust before returning to the oven.
- Turn the Pan Midway — Rotating the pan halfway through baking helps the filling bake evenly.
- Allow Proper Cooling — Letting the bars cool before refrigeration helps them continue setting as intended.
- Use a Damp Knife — Cleaning and re-wetting the knife after each cut helps produce neat bars worthy of any dessert table.
Storage & Make-Ahead Tips
Fridge: Store the cooled and chilled lemon bars in an airtight container in the refrigerator. They keep well for several days and are delicious served straight from the fridge.
Freezer: Cut the bars, place them on a baking tray, and freeze until firm. Wrap each bar individually and store in the freezer for up to 3 months. Dust with powdered sugar before serving.
Make-Ahead: These lemon bars are an excellent make-ahead dessert. Prepare them a day ahead, chill thoroughly, and slice just before serving for the best presentation.
What to Serve With Classic Lemon Bars
The bright citrus flavor of these bars pairs beautifully with a variety of simple accompaniments. If you’re building a dessert spread, these pair wonderfully with other sweet treats and refreshing beverages.
- Fresh fruit
- Hot coffee
- Iced tea
- A simple dessert assortment
- Whipped topping
- Fresh citrus beverages
There’s something special about a dessert that feels both timeless and cheerful, and these Classic Lemon Bars deliver exactly that. With their buttery crust, vibrant lemon filling, and snowy dusting of powdered sugar, they’re the kind of treat that brings people together around the table.
Frequently Asked Questions
Q: Can I use bottled lemon juice instead of fresh lemon juice?
The recipe specifically recommends using fresh lemon juice. Since lemons are the main flavor component, fresh juice provides the bright citrus taste intended for the filling. Bottled or concentrate versions may produce a different flavor profile than the recipe was designed to achieve.
Q: Why do I need to process the lemon zest with the sugar?
Pulsing the zest with the sugar helps distribute the lemon zest evenly throughout the filling mixture. The recipe notes that the sugar should become a light yellow color, which indicates the zest has been thoroughly incorporated before the remaining filling ingredients are added.
Q: Can I make the crust without a stand mixer?
Absolutely. The recipe is primarily mixed by hand using a whisk and spoon. A stand mixer with a paddle attachment is simply an optional method mentioned in the instructions. The crust comes together easily by combining the dry ingredients with melted butter.
Q: My lemon bars seem slightly underdone when I remove them from the oven. Is that normal?
Yes. According to the recipe notes, it’s normal if the bars don’t seem completely finished when they come out of the oven. They continue to set while cooling and during the refrigeration period, which helps create the proper texture.
Q: Why should the eggs be room temperature?
The ingredient list specifies room-temperature eggs. Using them as directed helps the eggs mix smoothly with the lemon juice, sugar, and flour, creating a fully combined filling before baking.
Q: How long do the bars need to chill?
After baking, the bars should cool for one hour at room temperature and then chill in the refrigerator for two hours. This cooling and chilling process is built into the recipe and helps the filling set before slicing.
Q: Can I prepare these for summer meals and gatherings?
Yes. Their make-ahead nature makes them especially convenient for serving at gatherings. Because they can be chilled in advance and even frozen for later use, they’re easy to prepare before guests arrive.
Q: What’s the best way to get clean slices?
The recipe recommends using a clean, sharp, damp knife. After each cut, clean and re-wet the blade before making the next slice. This helps prevent sticking and creates neat, attractive bars.
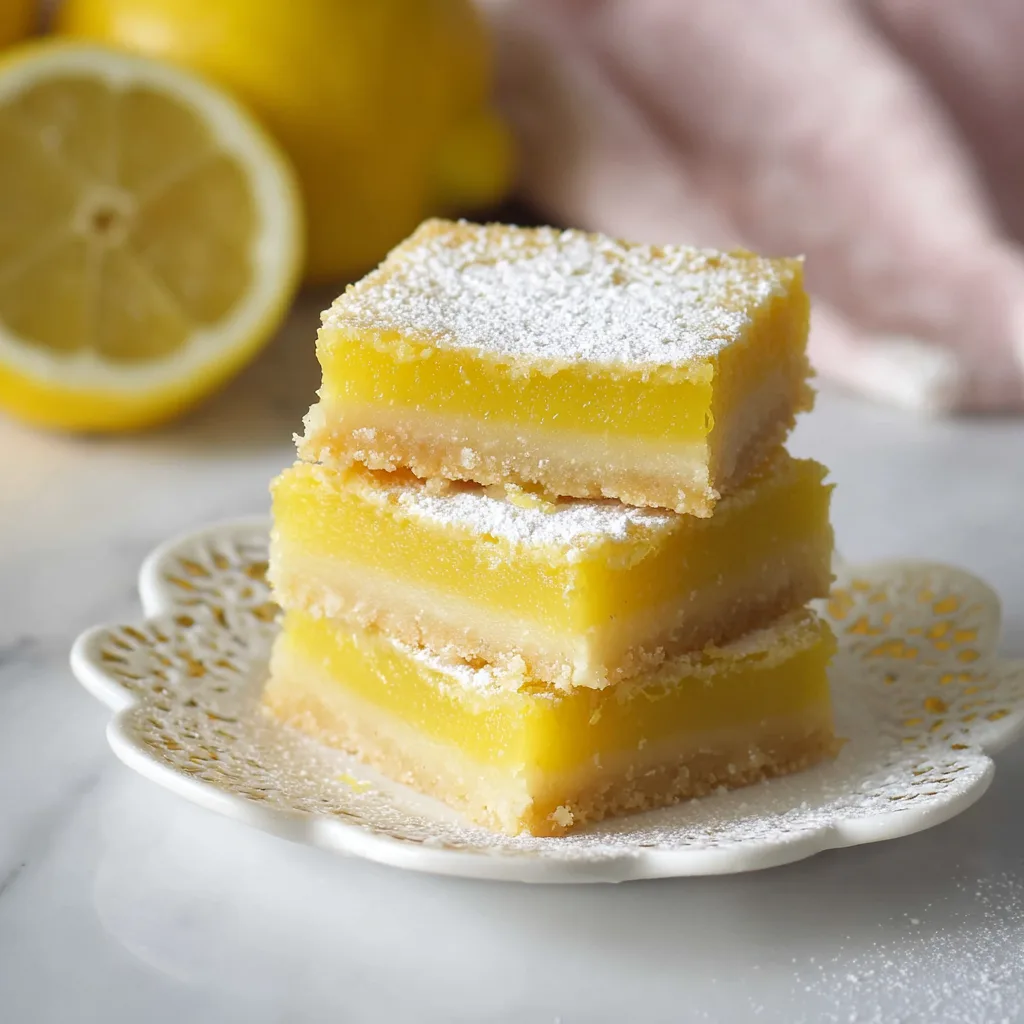
Classic Lemon Bars
Ingredients
Method
- Heat oven to 350°F and line a 9×13 baking dish with parchment paper.
- Whisk together 2 1/2 cups flour, powdered sugar, and salt.
- Pour in melted butter and mix until combined.
- Sprinkle dough into the prepared pan and press into an even layer.
- Bake the crust for about 20 minutes or until lightly golden.
- Add sugar and lemon zest to a food processor and pulse until fully incorporated and light yellow in color.
- Combine the lemon sugar with the remaining 1/2 cup flour in a large bowl.
- Pour in the lemon juice and add the eggs.
- Mix until the filling is completely combined.
- Pour the filling over the warm crust.
- Bake for about 25 minutes, turning the pan halfway through baking.
- Remove from the oven and cool for 1 hour.
- Refrigerate for 2 hours to chill and set.
- Dust with powdered sugar.
- Cut into bars using a clean, sharp, damp knife, cleaning and re-wetting after each cut.