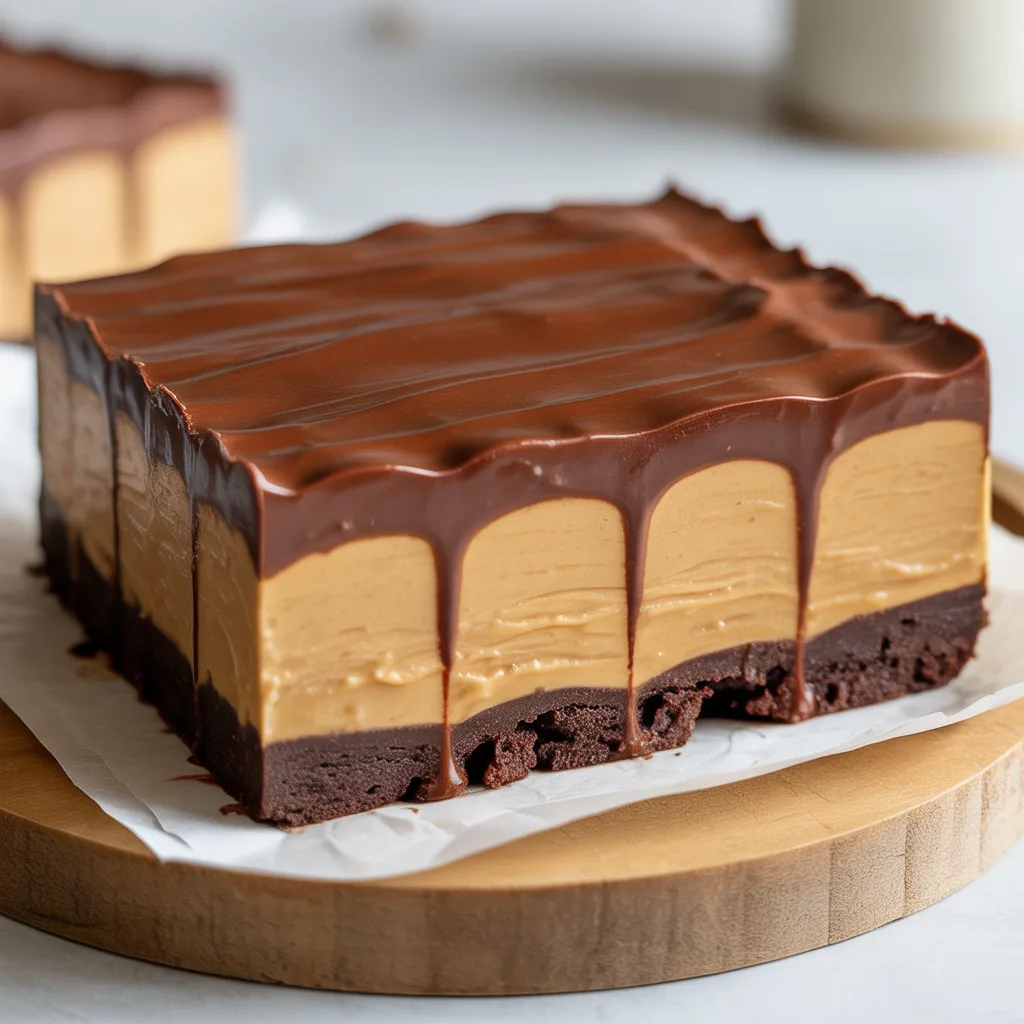
Ever have one of those weeks where you need a dessert that feels decadent but comes together without a fuss? You know, the kind of treat you can whip up with pantry staples after a long day that still earns you a standing ovation from the family. This Creamy Chocolate Peanut Butter Slice Dessert is my go-to for exactly those moments. It’s like a no-bake cheesecake and a candy bar had a delicious, crumbly baby. So good.
Why You’ll Love This
You’ll love this recipe because it’s the definition of easy desserts with few ingredients. We’re talking eight simple things you probably already have. There’s no oven required, which is a lifesaver when it’s hot out or you’re just plain tired. It’s the perfect make-ahead treat for potlucks, weeknight cravings, or when you need a little something sweet without a big production. Honestly, the combination of chocolate and peanut butterul>
- 8×8 inch baking dish
- Small saucepan
- Mixing bowls
- Electric hand mixer or a sturdy whisk
- Spatula
- Measuring cups and spoons
Ingredients
- 2 cups chocolate sandwich cookie crumbs (about 24 cookies) – for that sturdy, flavorful crust we all love.
- 6 tbsp unsalted butter, melted – to bind the crust together so it holds its shape.
- 1 (8 oz) block cream cheese, softened – the rich, tangy base of our creamy filling.
- 1 cup creamy peanut butter – for that unmistakable, nutty flavor throughout.
- 1 cup powdered sugar – sweetens the filling without any graininess.
- 1 (8 oz) tub frozen whipped topping, thawed – adds incredible lightness and fluffiness.
- 1 (11.5 oz) bag milk chocolate chips – for the silky, smooth chocolate topping.
- 1/4 cup heavy cream – helps melt the chocolate into a perfect pourable ganache.
Step By Step
- Make the crust: In a medium bowl, mix the cookie crumbs and melted butter until it looks like wet sand. Press this mixture firmly and evenly into the bottom of your 8×8 dish. Pop it in the fridge for 10 minutes to set up.
- Make the filling: In a large bowl, use your mixer to beat the cream cheese and peanut butter together until they’re completely smooth and combined. This should take about 2 minutes.
- Add the powdered sugar to the peanut butter mixture and beat again until it’s fully incorporated. Scrape down the sides of the bowl to make sure everything is mixed in.
- Now, gently fold in the thawed whipped topping with a spatula. You want to keep all that air in there, so fold until no white streaks remain.
- Spread this creamy filling over your chilled crust and smooth the top. Stick it back in the fridge while you make the topping.
- Make the ganache: Combine the chocolate chips and heavy cream in a small saucepan over low heat. Stir constantly until the chocolate is completely melted and the mixture is glossy and smooth. This should only take 3-5 minutes.
- Pour the warm chocolate ganache over the peanut butter layer and carefully spread it to the edges.
- Refrigerate the dessert for at least 4 hours, or ideally overnight, until it’s completely firm and set.
- When you’re ready to serve, slice it into squares using a sharp knife. For super clean slices, wipe the knife clean between cuts.
Variations & Substitutions
This recipe is wonderfully flexible. For a gluten-free version, use your favorite gluten-free chocolate sandwich cookies. Not a milk chocolate fan? Semi-sweet or dark chocolate chips work beautifully too. If you need a dairy-free option, try dairy-free cream cheese, butter, and whipped topping. And for a little crunch, feel free to stir 1/2 cup of chopped peanuts into the peanut butter layer before adding the chocolate top.
Delicious Toppings Ideas
- A light sprinkle of flaky sea salt right on the warm chocolate ganache.
- A handful of chopped Reese’s peanut butter cups for the ultimate peanut butter lover’s experience.
- A drizzle of melted peanut butter over the set chocolate topping.
- A dusting of additional cookie crumbs for extra texture.
Storage & Reheating
Store any leftovers covered tightly in the refrigerator for up to 5 days. This dessert also freezes wonderfully! Slice it into portions, wrap each piece tightly in plastic wrap, and store them in a freezer bag for up to 2 months. Thaw in the fridge overnight. There’s no need to reheat—this is a cold, refreshing treat!
Pro Tips For Success
- Really press that crust down! Use the bottom of a measuring cup to get it compact and even so your slices hold together.
- Make sure your cream cheese is truly at room temperature. This is the secret to a smooth filling without any lumps.
- When folding in the whipped topping, be gentle. You want to keep the mixture light and airy.
- Patience is key! Let the dessert chill for the full 4 hours, or even overnight. It makes all the difference for getting those perfect, clean slices.
- For mini desserts, set these in a muffin tin lined with liners for individual portions everyone will love.
Frequently Asked Questions
- Can I use natural peanut butter? I don’t recommend it for this recipe. The oil separation in natural peanut butter can make the filling layer too soft and greasy. A standard creamy peanut butter like Jif or Skippy works best for the right consistency.
- Is this one of those healthy desserts? Well now, let’s be real. This is a treat, honey. It’s about balance! It’s made with real ingredients and portioned into slices, so you can enjoy a little bit of a very yummy food without overdoing it.
- Can I make this without an electric mixer? You sure can! It will just take a bit more elbow grease. Make sure that cream cheese is very soft, and use a sturdy whisk and some muscle power to get it nice and smooth before folding in the whipped topping.