That crackly caramel top and silky vanilla custard underneath make every spoonful feel downright special. With just a handful of ingredients and a simple baking method, this Crème Brûlée comes together easier than most folks expect. It’s the kind of dessert that turns an ordinary evening into something worth lingering around the table for.
Why You’ll Love This Crème Brûlée
- Rich vanilla flavor: The cream and vanilla create a custard that tastes smooth, deep, and wonderfully balanced.
- That signature crackly topping: The caramelized sugar layer gives every bite that satisfying crisp finish everybody loves.
- Simple ingredient list: You only need a few pantry staples to make this elegant dessert at home.
- Make-ahead friendly: The custards chill beautifully, which makes entertaining feel a whole lot easier.
- Beautiful texture: The custard stays soft and creamy with just the right little wobble in the center.
- Restaurant-style dessert at home: It looks fancy enough for celebrations but feels totally doable in a home kitchen.
Ingredients You’ll Need
One thing I absolutely adore about Crème Brûlée is how a short ingredient list can turn into something so luxurious. Every ingredient pulls its weight here, and when they all come together, you get one of those easy dessert recipes folks remember long after the plates are cleared.
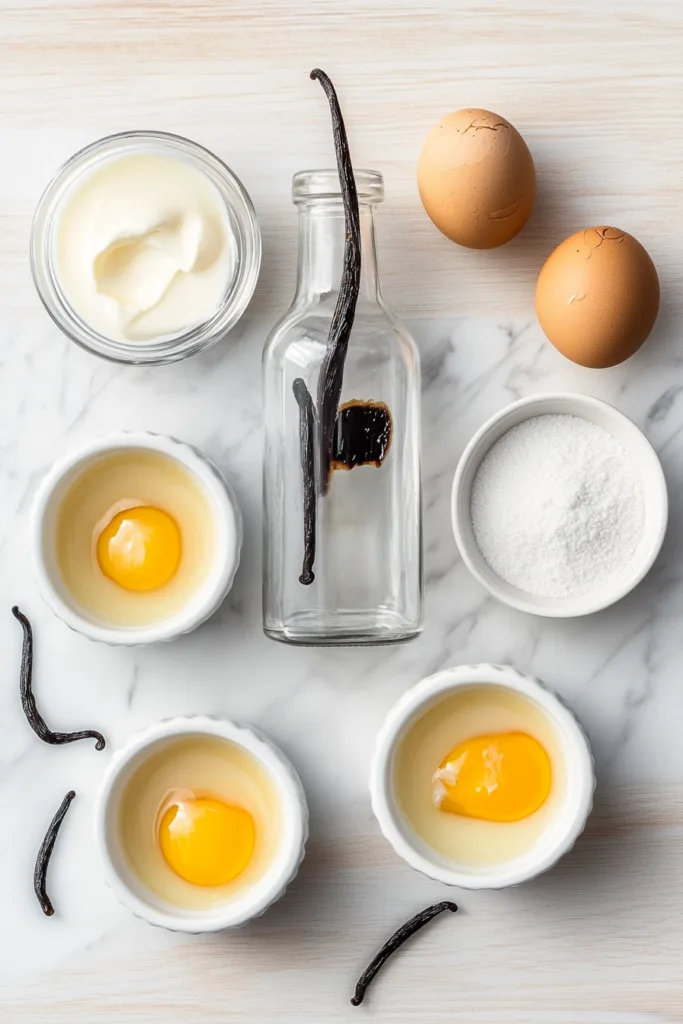
- 2 cups pure cream / heavy cream: This is what gives the custard its signature richness and velvety texture. Using full-fat cream matters because it creates that smooth mouthfeel the recipe is known for. Pure cream gives a slightly cleaner finish, while heavy cream works beautifully too.
- 1 vanilla pod OR 1 teaspoon vanilla bean paste: The vanilla brings warmth and depth to the custard. A vanilla pod gives those beautiful little specks throughout the cream, while vanilla bean paste offers a similar flavor and appearance with less prep.
- 5 egg yolks: Egg yolks thicken the custard and create that creamy, delicate consistency. The amount matters because too few yolks would leave the custard thin, while this ratio keeps it rich and softly set.
- 1/4 cup caster sugar: This sweetens the custard without overpowering the vanilla flavor. Caster sugar dissolves easily into the yolks, helping the mixture stay smooth.
- 2 teaspoons caster sugar for the topping: This creates the signature caramelized shell on top. The thin layer melts evenly and gives that crisp crack when tapped with a spoon.
How to Make Crème Brûlée
There’s something mighty satisfying about pulling a tray of Crème Brûlée out of the oven and knowing you made something this elegant right in your own kitchen. Don’t let the fancy French name fool you — once you make it one time, you’ll feel like an absolute dessert champion every single time after that.
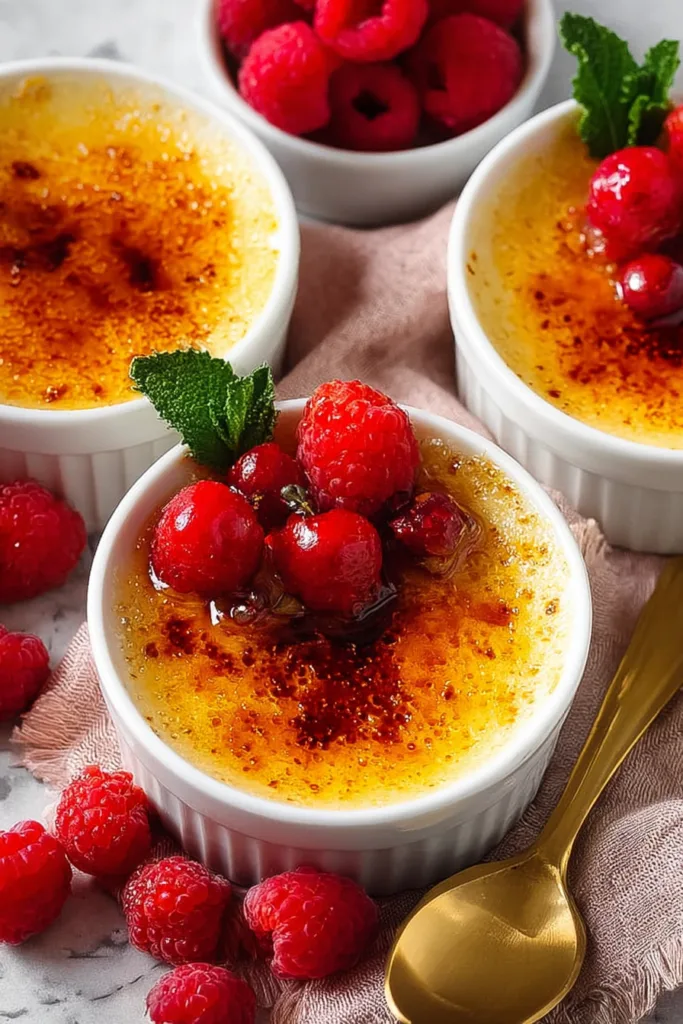
- Prepare the vanilla cream by splitting the vanilla pod down the middle and scraping the seeds into a saucepan with the cream and empty pod. Simmer gently over low heat for 10 minutes, then remove from the stove and let it infuse with the lid on for 1 hour. If using vanilla bean paste, simply stir it into the cream and allow the mixture to cool to lukewarm before continuing.
- Set up the baking dish by preheating the oven to 130°C/265°F (120°C fan). Place four ramekins into a baking pan with sides tall enough to hold hot water halfway up the ramekins. Boil a kettle of water for the water bath.
- Whisk the egg yolks and caster sugar together until just combined. Keep the whisking gentle so you don’t create too many bubbles. Slowly pour the cream mixture into the eggs and stir gently until smooth, then divide the custard mixture evenly between the ramekins using a ladle.
- Bake the custards by carefully pouring boiling water into the pan until it reaches halfway up the ramekins. Transfer the pan to the oven and bake for 35 to 40 minutes, until the custards are set with a slight wobble in the center when gently shaken.
- Chill the ramekins by removing them from the water bath and allowing them to cool completely. Refrigerate for at least 6 hours, though overnight gives the custard the best texture.
- Caramelize the topping right before serving. Sprinkle each custard with 1/2 teaspoon caster sugar, then use a blow torch to melt and caramelize the sugar. If using the grill method, refrigerate the custards overnight first, broil until the sugar melts, then chill again briefly before serving.
Tips for the Best Crème Brûlée
- Don’t over-whisk the yolks: Mixing too aggressively creates bubbles in the custard, which can affect the smooth surface after baking.
- Let the vanilla infuse: Giving the cream time to sit with the vanilla pod creates a deeper vanilla flavor throughout the custard.
- Watch the water level carefully: The hot water should only come halfway up the ramekins so the custards bake evenly without shifting around.
- Keep the slight wobble: The custard should still jiggle gently in the center when removed from the oven. That’s what gives Crème Brûlée its creamy texture after chilling.
- Chill thoroughly before serving: Overnight chilling helps the custard fully set and gives the best contrast between the cold filling and crisp caramel top.
- Caramelize right before serving: The sugar topping stays crispest when torched just before the spoon hits the surface. That crunchy layer is what makes this easy dessert so memorable.
Storage & Make-Ahead Tips
Fridge: Store the baked custards covered in the refrigerator for up to 3 days before adding the caramelized topping. Once the sugar topping is torched, the texture is best enjoyed the same day.
Freezer: Crème Brûlée is best enjoyed fresh from the refrigerator because freezing can affect the smooth custard texture. If frozen, thaw overnight in the refrigerator before serving.
Make-ahead: This is one of my favorite desserts for gatherings because the custards can be fully prepared a day ahead. Simply keep them chilled, then caramelize the sugar topping right before serving.
What to Serve With Crème Brûlée
This custard is rich and elegant all on its own, but pairing it with simple sides can make dessert feel even more special. I like serving it with lighter additions that let the creamy vanilla flavor stay center stage.
- Fresh berries
- Shortbread cookies
- Fresh fruit slices
- Hot coffee or espresso
- Lightly sweetened whipped cream
- Crisp wafer cookies
That first crack through the caramelized sugar never gets old, y’all. Between the creamy custard and that crisp topping, this Crème Brûlée feels like pure comfort wrapped up in one beautiful little ramekin.
Frequently Asked Questions
Q: Why does Crème Brûlée need a water bath?
The water bath helps the custard bake gently and evenly. Without it, the edges can cook too quickly while the center stays underdone. The steam from the hot water creates a softer baking environment that keeps the texture creamy and smooth instead of firm or rubbery.
Q: How do I know when the custard is done baking?
The custard should look mostly set with a slight wobble in the center when you gently shake the ramekin. It should not look liquid, but it also shouldn’t feel completely firm like a cake. The custard continues to finish setting as it cools and chills in the refrigerator.
Q: Can I use vanilla bean paste instead of a vanilla pod?
Absolutely. Vanilla bean paste works very well in this recipe and still gives you those lovely vanilla specks throughout the custard. The vanilla pod creates the most traditional flavor experience, but the paste is a wonderful option when you want a simpler preparation.
Q: Why shouldn’t I whisk the eggs too much?
Over-whisking introduces extra air bubbles into the custard mixture. Those bubbles can rise to the surface while baking and affect the smooth finish that makes Crème Brûlée so beautiful. Gentle whisking keeps the texture silky and even.
Q: Can I make Crème Brûlée without a blow torch?
Yes, you can use the grill or broiler method included in the recipe. The custards should be thoroughly chilled first, then placed under high heat just until the sugar melts and caramelizes. Afterward, refrigerate them briefly so the custard underneath firms back up before serving.
Q: What should the texture of Crème Brûlée be like?
The finished custard should feel very creamy and soft, almost like a thick yogurt. It should hold together on the spoon without running, but it shouldn’t be firm enough to slice like cake. The custard should melt smoothly in your mouth with every bite.
Q: Can I prepare this dessert for summer meals and gatherings?
Crème Brûlée works beautifully for gatherings because nearly all the work is done ahead of time. The chilled custard feels wonderfully refreshing after a hearty meal, and torching the tops right before serving adds a fun little moment everybody gathers around to watch.
Crème Brûlée
Ingredients
Method
- Split the vanilla pod down the middle and scrape the seeds into a saucepan with the cream and empty vanilla pod.
- Simmer uncovered over low heat for 10 minutes.
- Remove from the stove and let the cream infuse for 1 hour with the lid on. If using vanilla bean paste, let the cream cool to lukewarm instead.
- Remove the vanilla pod and skim off any skin formed on the surface.
- Preheat oven to 130°C/265°F (120°C fan).
- Place 4 ramekins into a baking pan with high sides.
- Boil a kettle of water.
- Whisk the egg yolks and caster sugar until just combined.
- Pour the cream mixture into the eggs and gently stir to combine.
- Divide the mixture evenly between the ramekins.
- Pour boiling water into the baking pan until it comes halfway up the sides of the ramekins.
- Bake for 35 to 40 minutes until the custard is set with a slight wobble.
- Remove ramekins from the water bath and cool completely.
- Refrigerate for at least 6 hours or overnight.
- Sprinkle 1/2 teaspoon caster sugar over each crème brûlée.
- Use a blow torch to melt and caramelize the sugar before serving.
- Alternatively, place under a hot grill until the sugar melts and caramelizes, then refrigerate briefly before serving.