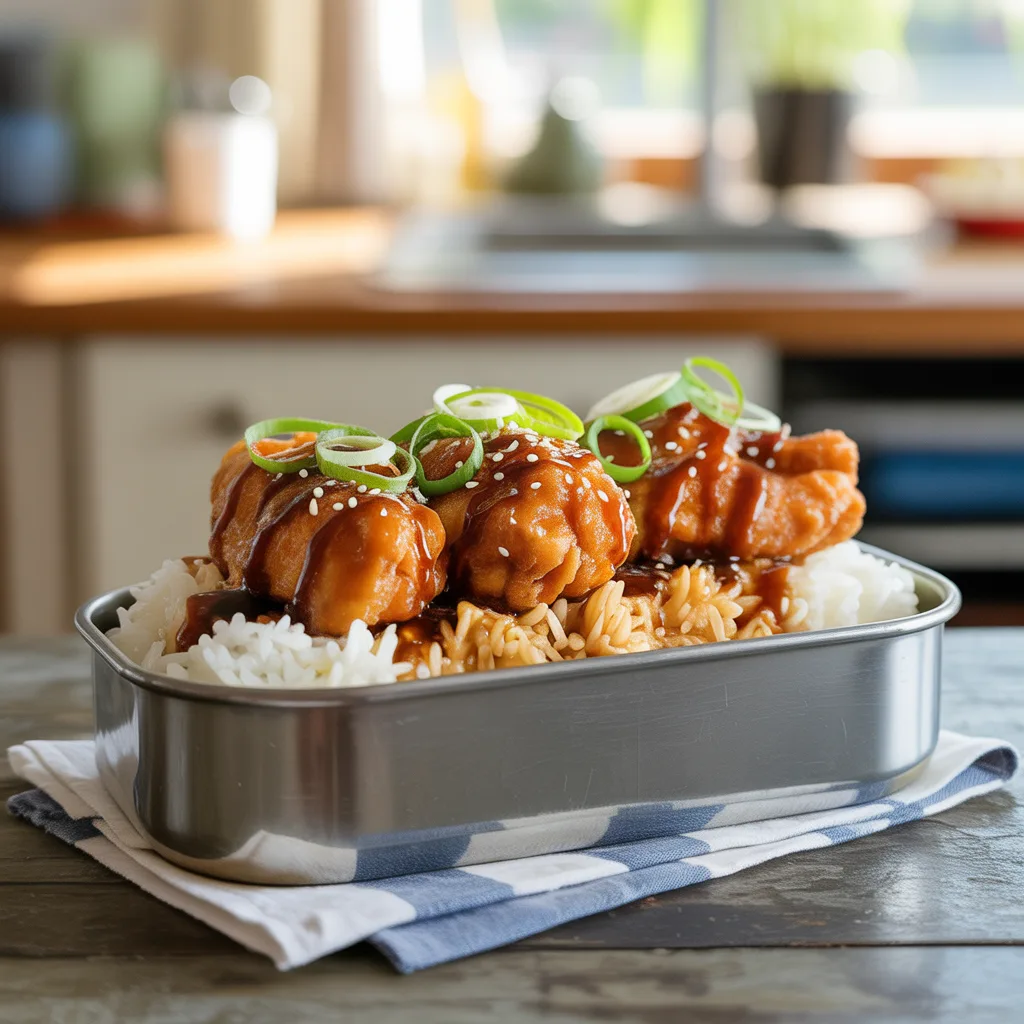
Isn’t it funny how the lunchtime scramble can feel just as hectic as the morning rush? You deserve a lunch that’s something to look forward to, not something to stress over. That’s where these Crispy Chicken & Rice Lunch Boxes come in. They’re my go-to solution for turning a little bit of weekend prep into a week of wholesome, delicious lunches that feel like a treat. It’s a simple formula—tender chicken, fluffy rice, and your favorite roasted veggies—that comes together with minimal fuss for maximum reward. Just imagine opening your lunch bag to find a warm, comforting meal that’s ready when you are.
Top Reasons To Make It
- A True Time-Saver: Make a big batch on Sunday and your lunches for the week are practically done.
- Endlessly Customizable: Swap in whatever vegetables are in your fridge or use a different seasoning blend to keep things exciting.
- So Satisfying: The combination of crispy chicken, hearty rice, and veggies keeps you full and fueled all afternoon.
- Kid-Approved: A fantastic option for easy lunch ideas for school that you can pack knowing they’ll eat it.
- Budget-Friendly: It’s a wonderful way to use up leftover chicken and rice, making it a very economical choice.
Ingredients
- 1 ½ pounds boneless, skinless chicken thighs: Thighs stay so, so tender and juicy when reheated.
- 1 tablespoon olive oil: For coating the chicken and helping it get that beautiful crispy edge.
- 1 teaspoon garlic powder: Adds a warm, savory base note.
- 1 teaspoon smoked paprika: Gives a subtle smokiness and lovely color.
- ¾ teaspoon salt: Enhances all the other flavors.
- ½ teaspoon black pepper: For a little bit of gentle heat.
- 3 cups cooked white or brown rice: The perfect fluffy base for our lunch boxes.
- 1 large broccoli crown, cut into florets: Roasts up beautifully and adds a nice crunch.
- 1 red bell pepper, sliced: Brings a sweet pop of color and flavor.
Instructions
- Preheat your oven to 425°F (220°C) and line a large baking sheet with parchment paper.
- In a large bowl, toss the chicken thighs with the olive oil, garlic powder, smoked paprika, salt, and pepper until they’re evenly coated.
- Spread the chicken out on one half of the prepared baking sheet. On the other half, spread out the broccoli florets and sliced bell pepper.
- Roast for 20-25 minutes, or until the chicken is cooked through and the skin is crispy, and the vegetables are tender and lightly browned at the edges.
- Remove the pan from the oven and let the chicken rest for 5 minutes before slicing or chopping it into bite-sized pieces.
- Divide the cooked rice evenly between 4 meal prep containers. Top each with a portion of the crispy chicken and roasted vegetables. Let cool completely before putting the lids on.
Variations & Substitutions
This recipe is like a blank canvas waiting for your personal touch! Don’t have chicken thighs? Skinless chicken breasts work well, though I find thighs are more forgiving and stay moister. For the veggies, try a mix of zucchini, sweet potato cubes, or asparagus—whatever you love. You can swap the rice for quinoa or cauliflower rice for a lower-carb option. And for a flavor twist, a drizzle of teriyaki sauce or a sprinkle of lemon pepper seasoning before baking is just wonderful. Honestly, if you’re not a fan of smoky flavors, just use regular paprika instead of smoked.
Serving Ideas & Pairings
These lunch boxes are a complete meal all on their own, but a little something on the side never hurts. I love packing a small container of a creamy dipping sauce, like a simple yogurt-dill dip or a bit of ranch. A crisp apple or a handful of berries makes for a lovely fresh finish. And if you’re looking for lunch dinner ideas, this recipe scales up beautifully to feed the whole family—just serve it hot from the oven with a simple side salad.
Meal Prep Tips
- Cook a big batch of rice at the beginning of the week to use for multiple meals.
- Let everything cool completely before you assemble the boxes and put the lids on. This prevents condensation from making the rice mushy.
- If you’re including a sauce, pack it in a separate small container to keep everything crisp until you’re ready to eat.
- For the easiest assembly, chop your veggies while the chicken is in the oven.
- A fun, playful tip: Use different colored peppers or veggies each week to make your lunches visually appealing. We eat with our eyes first!
Storage & Reheating
Store your assembled lunch boxes in the refrigerator for up to 4 days. For reheating, I find the microwave works best. Just remove the lid (or vent it) and heat on high for 1 ½ to 2 ½ minutes, stirring halfway through, until piping hot. If you have an air fryer, you can reheat the chicken and veggies in it at 350°F for 3-4 minutes to recrisp them, then combine with the room-temperature or warmed rice. I don’t recommend freezing the assembled boxes as the rice and veggies can become a bit watery when thawed.
Frequently Asked Questions
- Can I make these as cold lunch ideas? Absolutely! This recipe works wonderfully as a cold lunch. Just ensure the chicken is chilled thoroughly after cooking. It becomes a great salad-like bowl.
- What are some other healthy lunch ideas for work that are similar? You could try swapping the chicken for seasoned chickpeas or tofu for a plant-based version. The method remains the same!
- Can I use frozen vegetables? You can, but they’ll release more water as they roast. Pat them dry as best you can and expect them to be a bit softer than fresh.
- How can I keep the rice from drying out? Making sure your rice is cooked with enough water and storing it in an airtight container is key. A splash of water over the rice before reheating can also help revive it. So good.
I hope these Crispy Chicken & Rice Lunch Boxes for Busy Weeks become a trusted friend in your kitchen, making your noontime break a little brighter and a whole lot tastier.