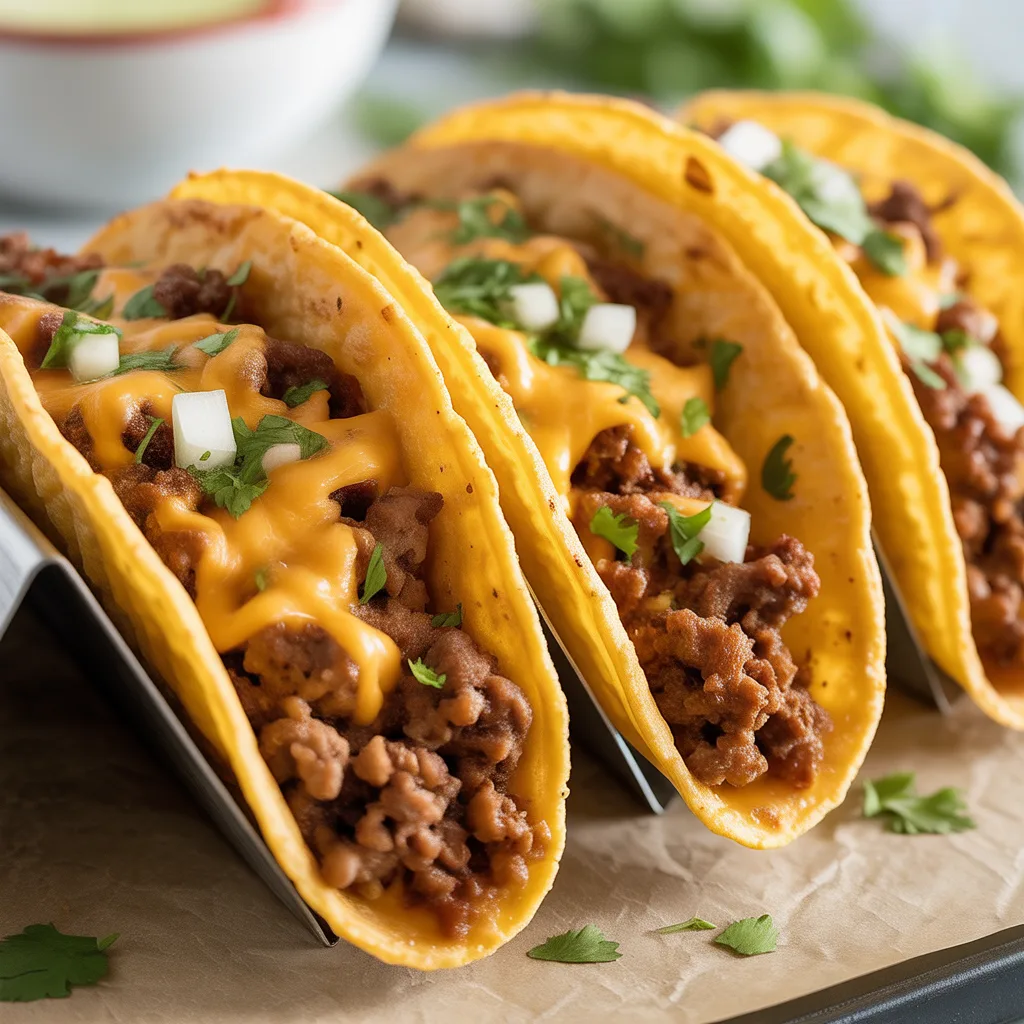
You know those taco nights where you’re balancing a hot skillet, warming tortillas, and hoping everything stays crispy? Well, what if I told you there’s a easier way to get that perfect crunch without the fuss? These Crunchy Oven-Baked Beef Tacos with Melty Filling are exactly that—a game-changer for busy weeknights. Imagine seasoned ground beef nestled in a crisp corn shell, topped with gooey cheese that melts into every nook and cranny, all baked to golden perfection. It’s like your favorite hard-shell tacos, but better because the oven does most of the work. And honestly, isn’t that what we all need—a little help in the kitchen so we can enjoy more time with family? This method ensures every bite is packed with flavor and texture, making it a standout for any Taco Dinner.
Why You’ll Love This Crunchy Taco Recipe
First off, these tacos are incredibly forgiving. You don’t need to be a pro to get them right—just a few simple steps and your oven handles the rest. They’re perfect for feeding a crowd, whether it’s a casual Taco Night with the kids or a fun Taco Bar for guests. The filling is so, so flavorful, with a balance of spices that’s not too hot but just right. Plus, baking the tacos means less oil splatter and more even cooking, which I love for a healthier twist. And cleanup? A breeze. Seriously, if you’re short on time but want something everyone will devour, this recipe is your new best friend.
Equipment Needed for Tacos
You won’t need anything fancy here—just basics that most kitchens have. A large skillet for browning the beef, a baking sheet or 9×13 inch dish to hold the tacos upright, and a spatula for serving. If you want to make it even easier, a taco rack can help keep the shells stable, but it’s not necessary. I often use a simple oven-safe pan and it works just fine.
Ingredients
- 1 pound lean ground beef – for a hearty, protein-packed base that’s not too greasy.
- 1 packet (or 2 tablespoons) homemade taco seasoning – to add that classic Mexican street tacos flavor without preservatives.
- 12 corn taco shells – they crisp up beautifully in the oven for that essential crunch.
- 1 cup shredded cheddar cheese – because what’s a melty filling without plenty of cheese?
- 1/2 cup diced onion – for a subtle sweetness and texture contrast.
- 1/2 cup beef broth – helps keep the beef moist and adds depth instead of using wine or beer.
- 1/4 cup chopped fresh cilantro – adds a bright, fresh finish to balance the richness.
- Optional toppings: shredded lettuce, diced tomatoes, sour cream – for customizing your Taco Bowls or plates.
Step by Step Method
- Preheat your oven to 375°F (190°C). This temperature is ideal for getting the shells crispy without burning.
- In a large skillet over medium heat, cook the ground beef with the diced onion until the beef is browned, about 5-7 minutes. Drain any excess fat for a lighter dish.
- Stir in the taco seasoning and beef broth. Let it simmer for 3-5 minutes until the liquid is absorbed and the beef is well-coated. This step builds flavor and ensures a juicy filling.
- Arrange the corn taco shells upright in a baking dish or on a sheet pan. If they’re prone to tipping, prop them against each other or use a taco rack.
- Spoon the beef mixture evenly into each shell, then top generously with shredded cheese. Don’t be shy—the cheese should cover the beef for maximum melt.
- Bake for 8-10 minutes, or until the shells are golden and the cheese is bubbly. Keep an eye on them to avoid over-browning.
- Remove from oven and let cool for a minute before adding fresh cilantro and other toppings. This prevents the shells from getting soggy.
Creative Variations for Taco Night
Switch things up based on what you have! For a healthier twist, try ground turkey or black beans instead of beef. If you’re craving more veggies, add diced bell peppers or corn to the filling. Honestly, if you love spice, a pinch of cayenne kicks it up, but if you hate heat, skip it—it’s still delicious. For a Taco Bar setup, set out bowls of different toppings like avocado, salsa, or jalapeños so everyone can build their own. The possibilities are endless, making it easy to tailor to any diet or taste.
Serving Ideas & Pairings for Taco Bowls
Serve these tacos with simple sides that complement the crunch. A fresh corn salad or cilantro-lime rice works wonderfully. For a full Taco Dinner, add refried beans and guacamole. If you’re going for Taco Bowls, crumble the baked tacos over lettuce for a deconstructed version. And drinks? Iced tea or a light beer alternative like sparkling water with lime keeps it refreshing. So good.
Storage Tips for Leftover Tacos
Store leftover tacos in an airtight container in the fridge for up to 3 days. To reheat, place them on a baking sheet and warm at 350°F for 5-7 minutes to restore crispiness. Avoid the microwave—it can make the shells soft. For longer storage, freeze the unfilled shells and beef separately for up to 2 months. Thaw in the fridge overnight before reheating.
Doneness Test for Perfect Tacos
The key sign is visual: the taco shells should be lightly browned and firm to the touch, and the cheese should be fully melted with maybe a few golden spots. If the shells are still pale, bake for another 2-3 minutes. You’ll know they’re done when you can pick one up without it breaking easily.
FAQs About Crunchy Oven-Baked Beef Tacos
- Can I make these tacos ahead for a party? Absolutely! Prep the beef filling up to a day in advance and assemble just before baking. It’s a great timesaver for Taco Night events.
- What’s the best way to keep the taco shells from getting soggy? Make sure the beef mixture isn’t too wet—simmer it until most liquid evaporates. Also, add fresh toppings after baking.
- Are these tacos kid-friendly? Yes, the mild seasoning and familiar flavors are a hit with kids. Let them add their own toppings for fun Tacos Ideas.
Whether you’re new to cooking or a seasoned pro, these Crunchy Oven-Baked Beef Tacos with Melty Filling are sure to become a staple in your recipe rotation.