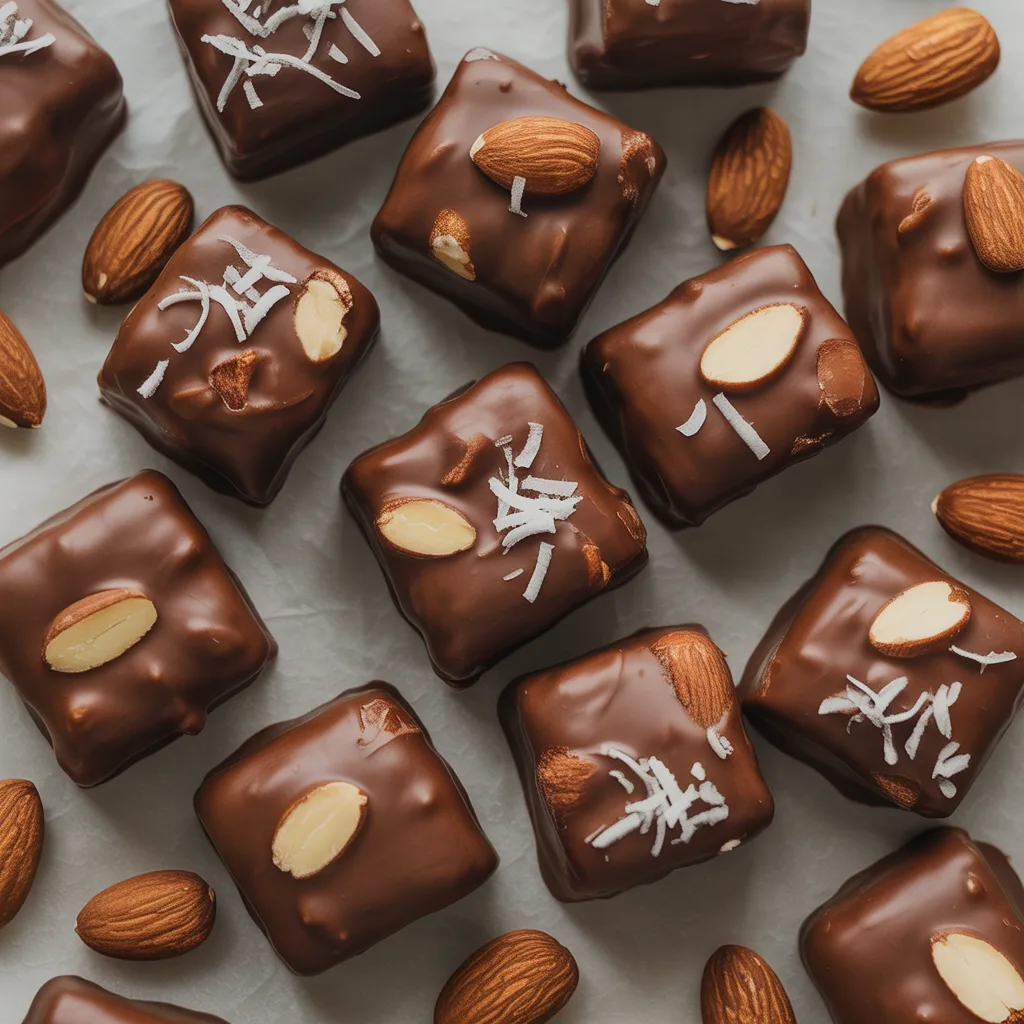
Is there anything better than finding a sweet treat that feels indulgent but is secretly good for you? You know the feeling—when a single bite satisfies that deep chocolate craving without any of the guilt. These little bites are my go-to when I need a moment of quiet sweetness, maybe with a cup of herbal tea while the snow falls outside. They’re the perfect solution for anyone wanting a little kitchen project that’s as fun to make as it is to eat. And honestly, they’re so much simpler than they look. I love how these date caramel chocolate crunch bites come together to create a truly healthy sweet treat that you can feel great about sharing.
Top Reasons To Make It
- They’re naturally sweetened with dates, so you can skip the refined sugar.
- This recipe is a fantastic option for those seeking delicious dairy free desserts.
- The whole process takes less than 30 minutes of hands-on time.
- They’re perfect for lunch boxes, afternoon slumps, or a post-dinner nibble.
- You only need a food processor and a handful of simple, wholesome ingredients.
Ingredients
- 1 cup pitted Medjool dates: They provide the gooey, caramel-like base.
- 1/2 cup raw almonds: For a satisfying crunch and nutty flavor.
- 1/4 cup unsweetened shredded coconut: Adds a lovely texture and tropical hint.
- 2 tablespoons cocoa powder: For that deep, rich chocolate taste.
- 1 tablespoon melted coconut oil: Helps bind everything together.
- 1/2 teaspoon vanilla extract: Enhances the sweetness.
- A pinch of sea salt: Balances the sweetness perfectly.
- 1/2 cup dairy-free dark chocolate chips: For the delicious coating.
- 1 teaspoon coconut oil (extra): To help thin the chocolate for dipping.
Instructions
- First, if your dates aren’t super soft and sticky, soak them in hot water for about 10 minutes, then drain them very well. This step is key for that dreamy caramel texture.
- Add the drained dates, almonds, shredded coconut, cocoa powder, melted coconut oil, vanilla, and salt to your food processor.
- Pulse the mixture until it starts to clump together. You want it to be finely chopped and hold together when you pinch it between your fingers. Don’t over-process it into a paste!
- Scoop out about a tablespoon of the mixture and roll it into a small ball with your hands. Place it on a baking sheet lined with parchment paper. Repeat with the rest of the mixture.
- Pop the tray of bites into the freezer for at least 15 minutes to firm up. This makes dipping them so much easier.
- While the bites chill, melt the dairy-free chocolate chips with the extra teaspoon of coconut oil in a microwave-safe bowl. Heat in 30-second bursts, stirring well each time, until smooth.
- Take a few bites out of the freezer at a time. Use a fork or dipping tool to dunk each ball into the melted chocolate, letting the excess drip off.
- Return the coated bites to the parchment paper. You can sprinkle them with a little extra sea salt or coconut now.
- Let the chocolate set at room temperature, or pop them back in the fridge for about 10 minutes to speed things up.
Variations & Substitutions
For a nut-free version, simply swap the almonds for sunflower seeds or certified gluten-free oats. If you’re not a fan of coconut, you can leave it out and add an extra handful of almonds. Love a bit of spice? A tiny pinch of cayenne pepper mixed into the date caramel is absolutely divine. You could also roll the finished balls in crushed freeze-dried strawberries or pistachios for a colorful twist. These substitutions make these some of the best and easiest allergy friendly desserts to customize.
Serving Ideas & Pairings
I love serving these on a little plate with a pot of peppermint tea for a cozy afternoon break. They’re also fantastic crumbled over a bowl of dairy-free vanilla ice cream for a next-level sundae. Pop a few into a small container for a sweet boost on a hike or a long car ride. They pair wonderfully with a cold glass of almond milk, too. So good.
Storage & Reheating
Store these bites in an airtight container in the refrigerator. They’ll keep beautifully for up to two weeks. You can also freeze them for up to three months—just layer them between parchment paper so they don’t stick together. There’s no need to reheat them; they’re best enjoyed cold straight from the fridge!
Pro Tips For Perfect Bites
- Really squeeze the balls firmly when you roll them so they hold their shape.
- Don’t skip the freezing step before dipping—it’s the secret to a neat chocolate coating.
- If your date mixture is too dry, add another teaspoon of melted coconut oil.
- If it’s too wet or sticky, a sprinkle of extra cocoa powder will fix it right up.
- Use a fork with thin tines for dipping to let the extra chocolate drip away easily.
- And my favorite playful tip? Lick the chocolate bowl clean. You’ve earned it.
Frequently Asked Questions
Can I make these without a food processor?
You can try chopping the dates and nuts very, very finely by hand and then mixing everything in a bowl, but a food processor really is the easiest way to get the right texture.
Are these gluten free dairy free desserts?
Yes! As written, this recipe is naturally gluten-free and dairy-free, making it a great choice for many dietary needs.
What’s the best way to melt dairy-free chocolate?
A double boiler on the stove is most gentle, but the microwave method works just fine if you’re patient and stir frequently to avoid scorching.
Can I use a different nut?
Absolutely. Pecans or walnuts would be lovely substitutes for the almonds.
Are these considered healthy dairy free sweets?
I believe so! They’re made with whole foods, healthy fats, and natural sugars from fruit, which is a win in my book compared to many store-bought treats.