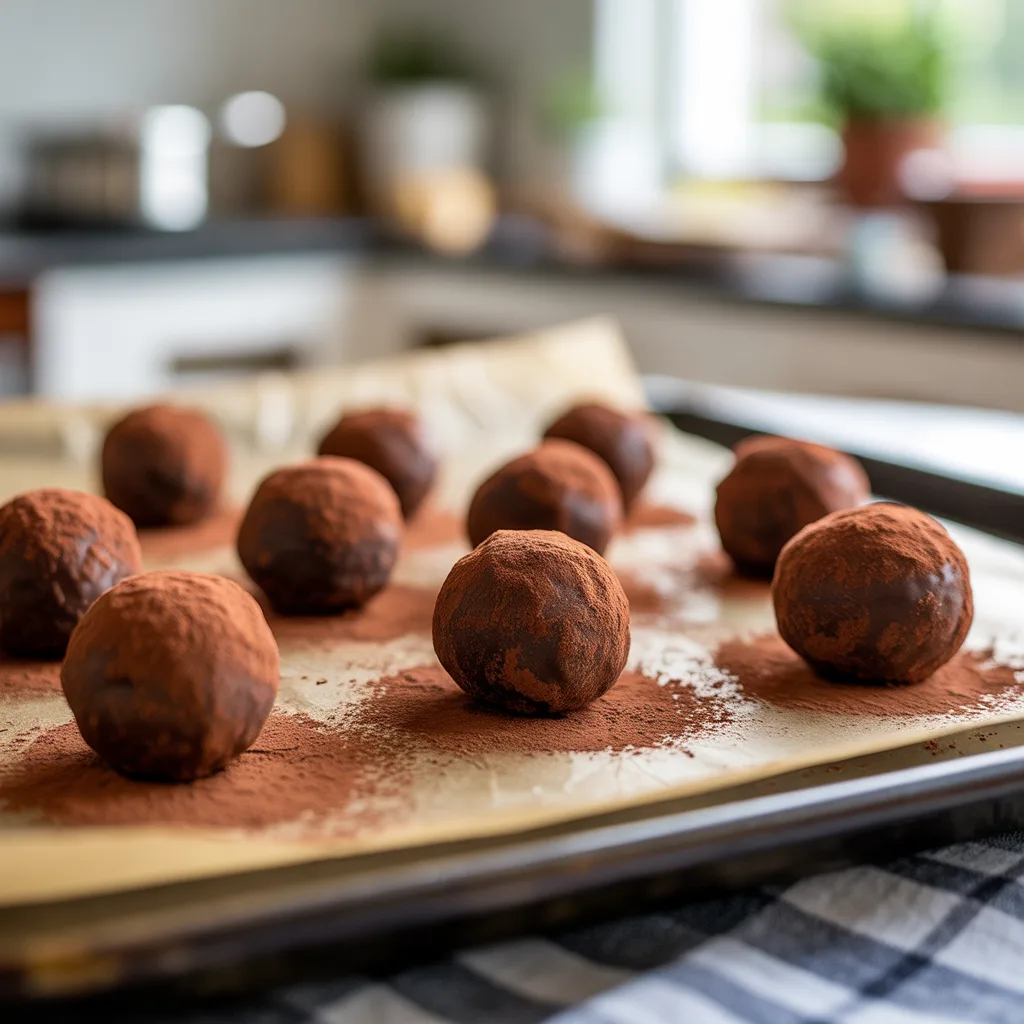
You know those days when a serious chocolate craving hits, but turning on the oven feels like a bridge too far? Well, sugar, let me introduce you to your new kitchen savior. These Easy Chocolate Biscuit Truffles with Cocoa Coating are the answer to your prayers. They require no baking, just a handful of simple ingredients, and they look like you fussed for hours. Honestly, is there anything better than a dessert that’s both stunning and secretly simple? These little bites are pure, unadulterated joy rolled into a perfect, pop-able treat.
Why You’ll Love This
You’ll love this recipe because it’s the ultimate kitchen shortcut that feels anything but. We’re talking about transforming a humble packet of biscuits into the most decadent, fudgy truffles you can imagine. It’s a fantastic project to do with little hands, it makes your kitchen smell like a chocolate factory, and the final result is just so, so impressive. They’re the perfect little treat for satisfying your sweet tooth, impressing guests, or wrapping up as a heartfelt homemade gift. So good.
Equipements Needed
- Food Processor or Zip-Top Bag and Rolling Pin: To crush the biscuits into fine crumbs.
- Large Mixing Bowl: For bringing our truffle dough together.
- Baking Sheet: Lined with parchment paper for chilling the truffles.
- Small Bowls: One for the melted butter and one for the cocoa powder coating.
Ingredients
- 1 packet (about 200g / 7 oz) Digestive Biscuits or Graham Crackers: Forms the sturdy, crumbly base of our truffles.
- 1 cup (120g) Powdered Sugar: Sweetens the mixture and helps bind it.
- 1/2 cup (50g) Unsweetened Cocoa Powder, plus 1/4 cup for coating: Provides that deep, rich chocolate flavor inside and out.
- 1/2 cup (115g) Unsalted Butter, melted: Acts as the glue that holds our truffle dough together.
- 1 teaspoon Vanilla Extract: Adds a warm, comforting aroma and flavor.
- 3-4 tablespoons Milk or Heavy Cream: To bring the dough to the perfect rolling consistency.
Step By Step
- First, crush your biscuits. Toss them into the food processor and pulse until you have fine, even crumbs. If you’re using a zip-top bag and a rolling pin, seal the bag well and roll until the biscuits are thoroughly crushed. Pour the crumbs into your large mixing bowl.
- To the biscuit crumbs, add the powdered sugar and the 1/2 cup of cocoa powder. Whisk it all together until everything is well-combined and there are no streaks of white sugar.
- Pour in the melted butter and vanilla extract. Stir with a spatula or wooden spoon. The mixture will be dry and crumbly at this point.
- Now, add the milk or cream one tablespoon at a time, mixing after each addition. Stop adding liquid when the dough comes together and you can press it between your fingers without it crumbling. You may not need all four tablespoons.
- Cover the bowl and pop it into the refrigerator for about 30 minutes. This chill time makes the dough much easier to handle and roll.
- Place the remaining 1/4 cup of cocoa powder in a small bowl. Using a teaspoon or a small cookie scoop, portion out the dough and roll it into smooth, one-inch balls between your palms.
- Roll each ball gently in the cocoa powder until it’s fully coated. Place the finished truffles on your parchment-lined baking sheet.
- Chill the truffles for at least another 30 minutes to let them set up fully before serving. This step is key for the perfect texture!
Tips For Success
- Don’t skip the first chill time. A cold dough is a manageable dough, trust me.
- If your dough is too sticky when rolling, dust your hands with a little cocoa powder instead of flour.
- For a super smooth coating, roll the truffles in cocoa powder twice. The first coat might get a little damp, so a second roll right before serving gives them a flawless, bakery-style finish.
- Get creative with your coatings! Besides cocoa, try rolling them in sprinkles, crushed nuts, or even finely shredded coconut.
- Honestly, the hardest part is waiting for them to chill. But it’s worth it, I promise.
Variations & Substitutions
- Nutty Delight: Stir 1/4 cup of very finely chopped toasted pecans or almonds into the dough along with the dry ingredients.
- Orange Zest: Add the zest of one orange to the dough for a bright, citrusy twist that cuts through the richness.
- Peppermint Pattie: Swap the vanilla extract for 1/4 teaspoon of peppermint extract for a cool, refreshing flavor.
- Dairy-Free: Use a plant-based butter and your favorite non-dairy milk. The results are just as delicious.
- Gluten-Free: Simply use your favorite gluten-free biscuit or cookie to make the crumbs.
Serving Ideas & Pairings
These truffles are gorgeous all on their own, arranged on a pretty platter for a party or packed into a mason jar for a sweet gift. They’re the ultimate mini dessert for a bridal shower or afternoon coffee. I love serving them with a strong cup of black coffee to balance their sweetness, or a cold glass of milk for the ultimate nostalgic treat. They also pair beautifully with a bowl of fresh berries if you want to lighten things up a bit.
Storage & Reheating
Store these truffles in an airtight container in the refrigerator. They’ll keep beautifully for up to one week. You can also freeze them for up to three months. Just place them in a single layer on a baking sheet to freeze solid, then transfer to a freezer bag. Thaw in the fridge for a few hours before serving. There’s no need to reheat them—they are best enjoyed cold straight from the fridge!
Frequently Asked Questions
- Can I use a different type of cookie? Absolutely! This is one of the best baking ideas for using up what you have. Vanilla wafers, Oreos (with the filling scraped out), or even animal crackers work wonderfully.
- My dough is too crumbly. What did I do wrong? You probably just need a tiny bit more liquid. Add another teaspoon of milk and mix it in. The dough should hold together when you squeeze it.
- My dough is too sticky to roll. How can I fix it? Just pop it back in the fridge for 15 more minutes. If it’s still sticky, you can work a little more powdered sugar into the mixture.
- Are these no-bake dessert food ideas really that easy? They really, really are. It’s one of those yummy food recipes that proves the most impressive treats don’t have to be complicated.