Light, chewy, and kissed with olive oil in every bite, this Focaccia Genovese brings that bakery-style magic right into your own kitchen. The dough comes together with simple pantry staples and a little patience, rewarding you with a beautifully soft interior and crisp, salty top. Whether it’s headed to the dinner table or sliced up for snacking all afternoon, this bread has a way of making everybody gather around fast.
Why You’ll Love This Focaccia Genovese
- Beautiful Texture: The dough bakes up airy and tender inside with a lightly crisp top full of those classic little dimples.
- Simple Pantry Ingredients: Everything in this recipe comes from easy-to-find basics you may already have sitting in the kitchen.
- Flexible Toppings: Rosemary, onions, olives, or tomatoes let you dress this focaccia up however you like.
- Rich Olive Oil Flavor: Olive oil is worked into both the dough and the pan, giving every bite deep savory flavor.
- Perfect for Sharing: This is the kind of bread folks pull apart straight from the pan while talking around the table.
- Beginner-Friendly Dough: The dough hook does most of the heavy lifting, making this a wonderful bread recipe for newer bakers.
- Delicious Warm or Room Temperature: Fresh from the oven or later in the day, the texture and flavor stay wonderfully satisfying.
Ingredients You’ll Need
There’s something mighty special about a recipe that transforms a handful of humble ingredients into something folks can’t stop eating. This focaccia dough keeps things beautifully simple while delivering big flavor and that signature soft texture people love in rustic Italian breads. If you enjoy easy mediterranean diet recipes, this one fits beautifully alongside soups, salads, and family-style meals.
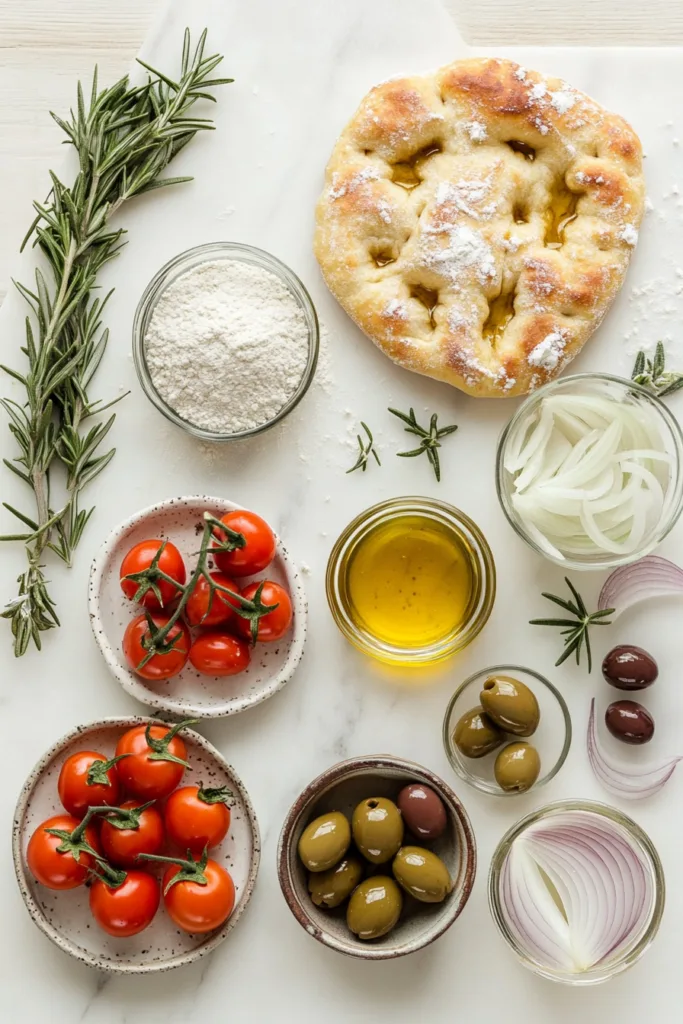
- 225 ml (1 cup) lukewarm water: Lukewarm water helps wake up the yeast gently so the dough rises properly. Water that’s too hot can slow things down, while properly warmed water encourages a light, airy texture.
- 1 tsp dried yeast: The yeast gives the dough its rise and creates that soft interior filled with airy pockets.
- 350 g (2-1/2 cups) all-purpose flour: Flour forms the structure of the dough and creates the chewy bite focaccia is known for. Adding more only if needed helps keep the dough slightly sticky instead of dry.
- 1 tsp honey: Honey gives the yeast a little boost while adding gentle sweetness that balances the salt and olive oil.
- 1 Tb salt: Salt strengthens the dough while bringing out the flavor in every bite.
- 2 Tbs olive oil: Olive oil enriches the dough and keeps the crumb soft and tender while adding that unmistakable savory richness.
- 2 or 3 Tb water for finishing: The finishing water combines with olive oil to create the classic moist surface that settles into the dimples.
- 2 or 3 Tb olive oil for finishing: This layer gives the top its signature flavor and helps the crust bake up beautifully.
- Coarse salt: Sprinkled over the surface, coarse salt adds little bursts of crunch and flavor.
- Rosemary leaves: Rosemary adds earthy flavor and a classic aromatic touch that pairs beautifully with olive oil.
- Thinly sliced onions moistened with a drizzle of olive oil: The onions soften as the focaccia bakes and add sweet savory flavor across the top.
- Olives: Olives bring salty richness and a little extra Mediterranean flair to the bread.
- Cherry or grape tomatoes: Tomatoes add juicy bursts of flavor and beautiful color across the surface.
- Additional rosemary leaves: A final sprinkle over the top gives the finished focaccia an extra pop of herby flavor.
How to Make Focaccia Genovese
There’s something downright joyful about watching a simple dough puff up into a pan full of beautiful focaccia. Every little dimple and drizzle of olive oil feels like part of the tradition, and once you make it yourself, you’ll see why folks get so attached to homemade bread.
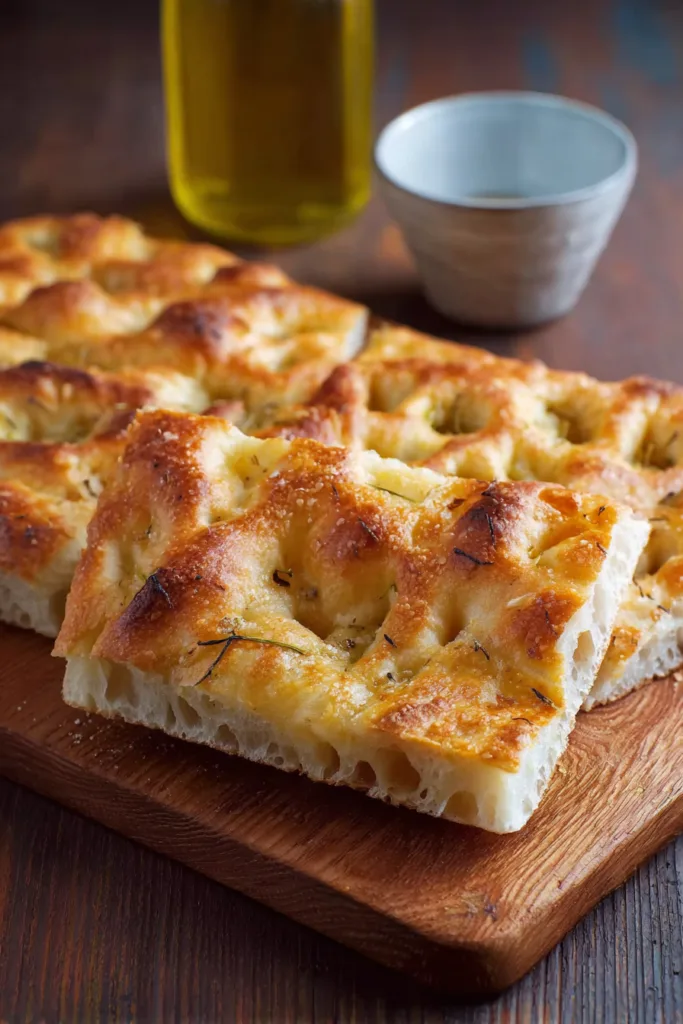
- Activate the yeast by whisking the lukewarm water and dried yeast together in the bowl of a standing mixer. Let the mixture sit for 5 to 10 minutes so the yeast has time to wake up before adding the remaining ingredients.
- Build the dough by mixing in one cup of the flour with the dough hook until a smooth paste forms. Add the salt, honey, and olive oil, then gradually add the remaining flour. Continue mixing until the dough becomes elastic and slightly sticky.
- Rest the dough by sliding it off the hook and shaping it into a ball inside the mixing bowl. Cover the bowl with a towel and place it in a warm spot for about 2 hours or longer, until the dough has doubled in size.
- Prepare the pan by drizzling olive oil generously over a baking sheet. Transfer the dough onto the oil and flatten it into a rough rectangle, turning it to coat both sides well. Cover the dough with plastic wrap or wax paper and a towel, then let it rest for 20 to 30 minutes so it softens and relaxes.
- Stretch the dough gently with your hands until it evenly covers the baking pan. Cover it again and let it rise in a warm place for 45 to 60 minutes until puffed.
- Finish the focaccia by mixing the finishing water and olive oil together and pouring it over the dough. Spread the mixture across the surface with your hands, then press your fingertips into the dough to create dimples all over. Sprinkle with coarse salt and any optional toppings you’re using, then bake in a preheated 200C/400F oven for 20 to 30 minutes until golden brown on top. Let the focaccia cool on a baking grid before serving warm or at room temperature.
Tips for the Best Focaccia Genovese
- Give the Dough Time — Letting the dough fully double in size helps create that airy texture focaccia is loved for.
- Keep the Dough Slightly Sticky — Avoid adding too much extra flour so the bread stays soft instead of dense.
- Oil the Pan Generously — A well-oiled baking sheet prevents sticking and helps create a flavorful crust underneath.
- Use Your Fingertips for Dimples — Pressing dimples all across the dough helps the oil and water mixture settle into the surface evenly.
- Cover During Rising — Keeping the dough covered while it rests helps prevent the surface from drying out.
- Customize the Toppings — Olives, onions, rosemary, or tomatoes let you turn this bread into one of those memorable mediterranean dinner recipes everybody talks about later.
Storage & Make-Ahead Tips
Fridge: Store leftover focaccia in an airtight container in the refrigerator for up to 3 to 4 days. The bread stays soft and flavorful, especially if warmed slightly before serving.
Freezer: Wrap cooled slices tightly and freeze for up to 3 months. Let the focaccia thaw at room temperature before reheating.
Make-Ahead: The dough can complete its first rise ahead of time, making it easier to finish baking later when you’re ready to serve fresh bread for family meals or gatherings.
What to Serve With Focaccia Genovese
This bread slides onto just about any table beautifully. Its savory olive oil flavor makes it a wonderful companion for both cozy family dinners and relaxed weekend spreads.
- Simple green salads
- Warm vegetable soups
- Marinated olives and cheeses
- Roasted vegetables
- Sliced cured meats
- Fresh fruit platters
Frequently Asked Questions
Q: Why is my focaccia dough supposed to be slightly sticky?
A slightly sticky dough helps create the soft, airy texture that makes focaccia so special. Adding too much flour can make the bread heavier and less tender after baking. As the dough rises and rests, it becomes easier to handle, especially once coated with olive oil in the pan. Keeping that softer texture gives the finished bread those lovely little air pockets throughout the inside.
Q: Can I make this focaccia without optional toppings?
Absolutely. The olive oil and coarse salt alone create a classic Focaccia Genovese with wonderful flavor and texture. The optional toppings simply give you extra ways to customize the bread depending on what you enjoy most. Rosemary adds an herby touch, while olives, onions, and tomatoes bring additional savory flavor and color.
Q: Why does the dough need multiple resting times?
Each resting period serves a different purpose in the dough’s development. The first long rise allows the yeast to create air and structure, while the shorter rests help the dough relax and spread more easily across the baking pan. These stages work together to create the signature texture focaccia is known for.
Q: What do the dimples on focaccia do?
The dimples help hold the olive oil and water mixture across the surface of the dough. They also give focaccia its classic appearance and help create variation in texture across the top while baking. Pressing deeply with your fingertips ensures those little pockets stay visible once the bread rises in the oven.
Q: Can I use all-purpose flour for this recipe?
Yes, all-purpose flour is exactly what this recipe calls for. It creates a dough that’s chewy yet still tender once baked. The balance of flour and water in the recipe helps produce the soft texture and structure needed for focaccia without requiring specialty flour.
Q: How do I know when the focaccia is finished baking?
The focaccia is ready when the top becomes golden brown and the surface looks fully baked. The olive oil on top helps develop that beautiful color while keeping the bread rich and flavorful. Letting it cool slightly on a baking grid also helps maintain the texture underneath.
Q: Is this good for mediterranean meal prep?
It can be very convenient for preparing ahead because the focaccia tastes delicious warm or at room temperature. Slices pair nicely with soups, salads, and simple spreads throughout the week, making it easy to enjoy alongside lunches or casual dinners without needing much extra preparation.
There’s just something special about pulling a tray of homemade focaccia out of the oven and watching folks gather around before it even cools. That golden top, those salty little dimples, and the rich olive oil flavor make every single bite feel comforting and full of tradition.
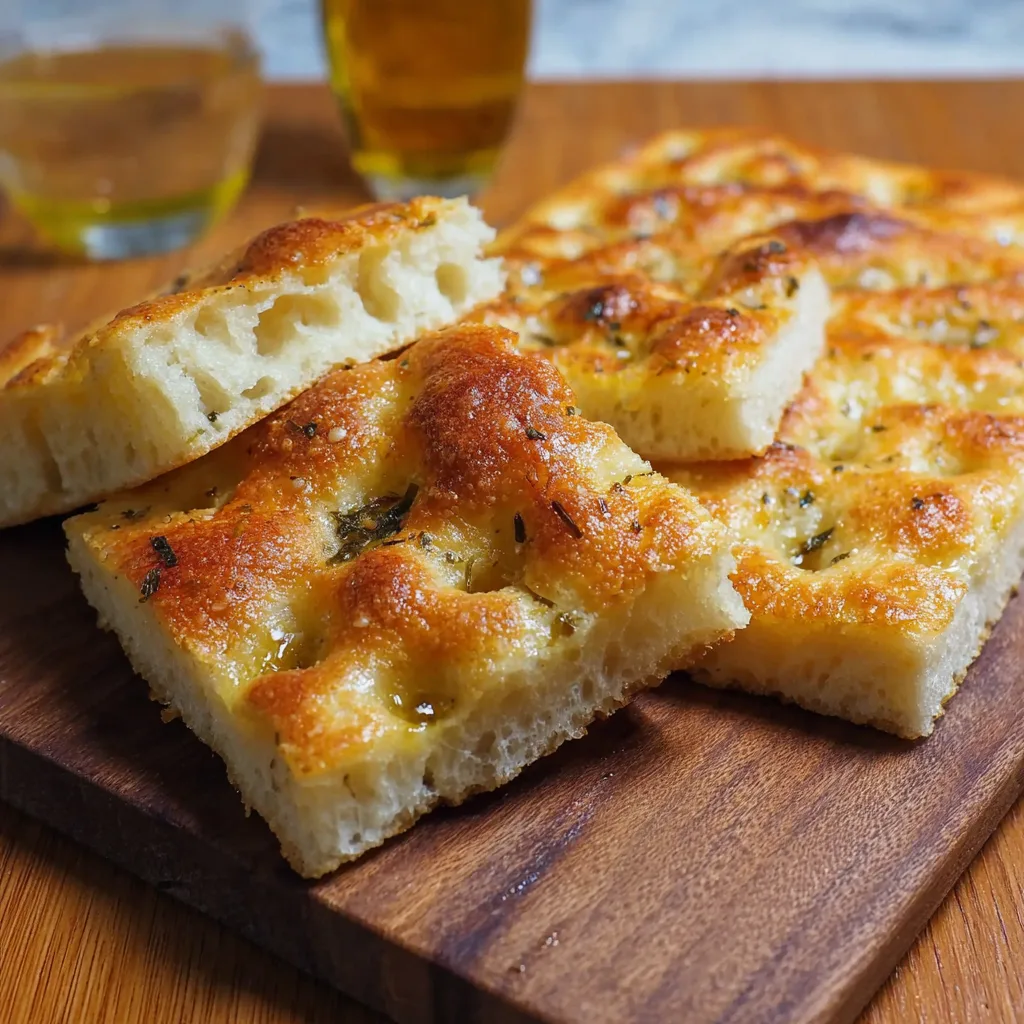
Focaccia Genovese
Ingredients
Method
- Whisk the lukewarm water and dried yeast together in the bowl of a standing mixer and let rest for 5-10 minutes.
- Add one cup of the flour and mix with the dough hook until a smooth paste forms.
- Add the salt, honey, olive oil, and the remaining flour.
- Continue mixing with the dough hook until the dough becomes elastic and slightly sticky.
- Form the dough into a ball in the mixing bowl, cover with a towel, and let rise in a warm place for about 2 hours or until doubled in size.
- Drizzle olive oil onto a baking sheet and transfer the dough onto the oil.
- Flatten the dough into a rough rectangle and turn it over to coat both sides with oil.
- Cover the dough with plastic wrap or wax paper and a towel, then let rest for 20-30 minutes.
- Spread the dough evenly across the baking pan with your hands.
- Cover the dough again and let rise in a warm place for 45-60 minutes.
- Mix the finishing water and olive oil together and pour over the dough.
- Spread the liquid over the dough with your hands and press dimples all over the surface with your fingertips.
- Sprinkle with coarse salt and optional toppings if using.
- Bake in a preheated 200C/400F oven for 20-30 minutes until golden brown on top.
- Let the focaccia cool on a baking grid before serving warm or at room temperature.