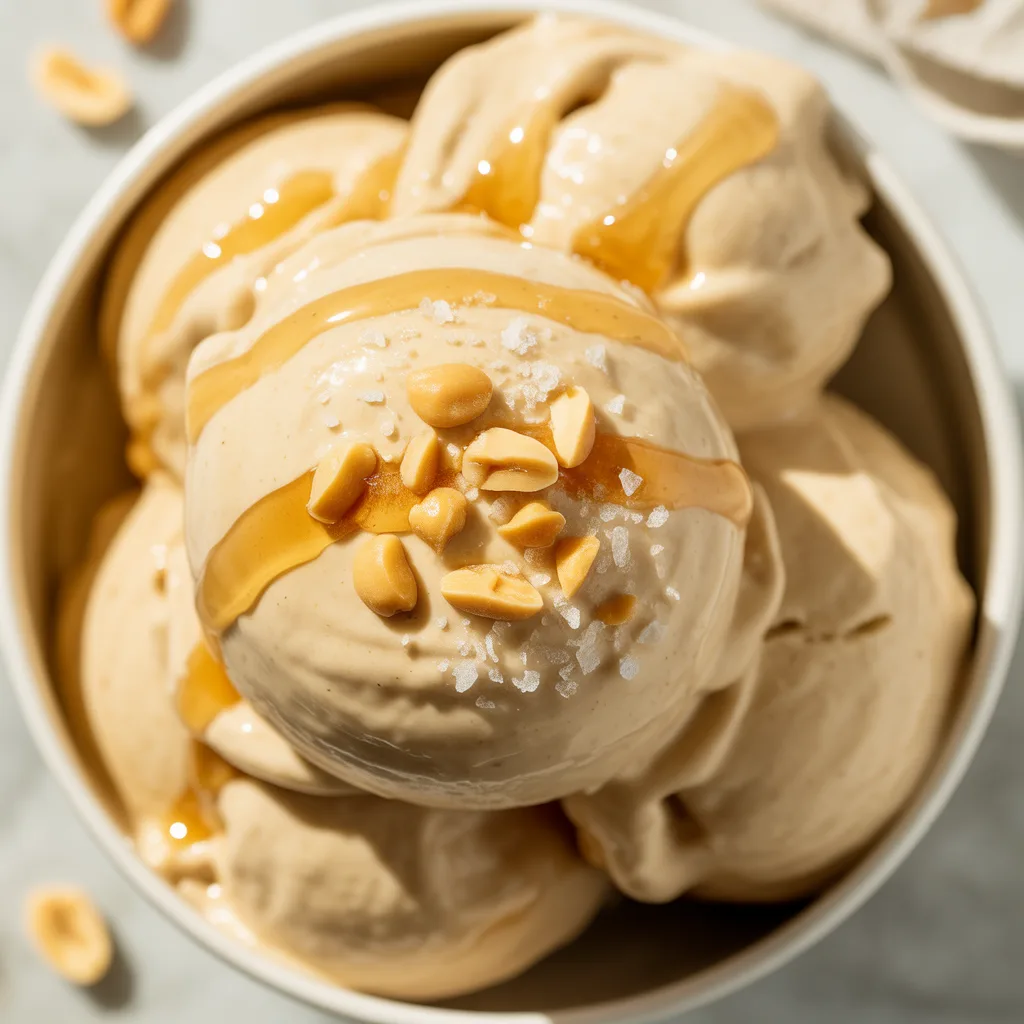
Ever have one of those days where you desperately need a sweet treat but don’t want the guilt, the hassle, or a trip to the store? Or maybe you’re just staring at those spotted bananas on your counter, willing them to transform into something magical. Well, my friend, I have the absolute easiest, most delicious solution for you. This frozen banana peanut butter ice cream blender dessert is your new secret weapon. It’s creamy, dreamy, and comes together in minutes with ingredients you likely have right now. Seriously, it’s a game-changer.
Why You’ll Love This
You are going to adore this recipe for so many reasons. First, it’s a total lifesaver for busy schedules. Five minutes is all you need! It’s also packed with flavor that feels indulgent but is actually made from wholesome ingredients. And let’s talk about the versatility—it’s naturally gluten free, dairy free, and vegan, making it the perfect allergy friendly dessert for almost everyone. Plus, there’s no churning, no fancy ice cream maker, and no waiting. Just blend, scoop, and enjoy. So good.
Equipements Needed
You don’t need much gear for this kitchen magic. The most important tool is a high-powered blender or a large food processor. You need something with enough muscle to pulverize those frozen bananas into a smooth, creamy consistency. A tamper for your blender is super helpful to push the ingredients down toward the blade. You’ll also need a baking sheet lined with parchment paper for freezing the bananas initially, a spatula for scraping, and an airtight container for storing your masterpiece.
Ingredients
- 4 large ripe bananas, sliced and frozen – The star of the show! They create the incredibly creamy, ice cream base.
- 1/2 cup creamy natural peanut butter – Adds rich, nutty flavor and healthy fats for a luxurious texture.
- 2–3 tablespoons pure maple syrup – A natural sweetener that enhances all the other flavors.
- 1 teaspoon pure vanilla extract – Provides a warm, classic flavor note that pairs perfectly with peanut butter.
- A pinch of sea salt – This is crucial! It makes the sweet and nutty flavors pop.
Step By Step
- First, prep your bananas. Peel and slice 4 large ripe bananas into 1-inch chunks. Spread them in a single layer on a parchment-lined baking sheet and freeze for at least 4 hours, or until solid. Overnight is best!
- Once your banana chunks are frozen rock solid, add them to your high-powered blender or food processor.
- Add in the peanut butter, maple syrup, vanilla extract, and that all-important pinch of salt.
- Now for the fun part: blend! Start on low and gradually increase the speed. You’ll need to stop and scrape down the sides a few times. Use your tamper if you have one. It will look crumbly at first, but keep going. After a minute or two, it will magically turn into a smoothmer scoopable ice cream, transfer the mixture to a loaf pan or airtight container and freeze for 1-2 hours before serving.
Variations & Substitutions
The beauty of this base recipe is how easily you can make it your own. Not a peanut butter person? No problem! Swap it for almond butter or sunflower seed butter for a nut-free version. For a chocolate twist, blend in 2 tablespoons of cocoa powder. Want some crunch? Fold in a handful of dairy free chocolate chips after blending. You can even add a scoop of protein powder for a post-workout treat. It’s the perfect canvas for all your easy dairy free treat ideas.
Tips For Success
- Use bananas that are very ripe (lots of brown spots) for the best natural sweetness.
- Freeze your banana chunks until they are completely solid. This is the key to a creamy texture, not a slushy one.
- If your blender is struggling, let the bananas sit on the counter for just 2-3 minutes to take the very edge off the freeze.
- Don’t skip the salt! It truly makes all the difference between good and great.
- For the creamiest results, enjoy within the first week. It gets icier the longer it’s stored.
- Honestly, if you’re a chocolate lover, the cocoa powder variation is a must-try. It’s so, so good.
Storage & Reheating
Store your ice cream in an airtight container in the freezer for up to 2 months. Because it doesn’t have the stabilizers of store-bought ice cream, it will become very hard. The best way to “reheat” it is to simply let it sit on the counter for 10-15 minutes before scooping to soften to the perfect consistency. Do not refreeze it if it has completely thawed, as this can be a food safety concern.
Serving Ideas & Pairings
Scoop this creamy delight into a bowl and go crazy with toppings! It’s fantastic with a drizzle of melted dairy free chocolate, a sprinkle of crushed peanuts, or a handful of fresh berries. For a true dessert experience, crumble a gluten free dairy free dessert cookie over the top or serve it alongside a warm brownie. It also makes incredible milkshakes—just blend a scoop with a splash of your favorite milk alternative. The possibilities are endless and all delicious.
Frequently Asked Questions
- Can I make this without a high-powered blender? A food processor works great! A regular blender can work, but you may need to add a tiny splash of a milk alternative to help it get moving, which will make the final texture a bit softer.
- Is this really a healthy dairy free sweet? Yes! It’s made from whole fruits and natural nut butter, so it’s a much better choice than processed desserts. It’s full of potassium and healthy fats.
- What are some other great milk free desserts? This recipe is a fantastic base. You can also explore fruit sorbets, chia seed puddings made with coconut milk, or avocado-based chocolate mousses for other easy options.
- Can I double this recipe? Absolutely! Just make sure your blender or food processor is large enough to handle the volume without overworking the motor.