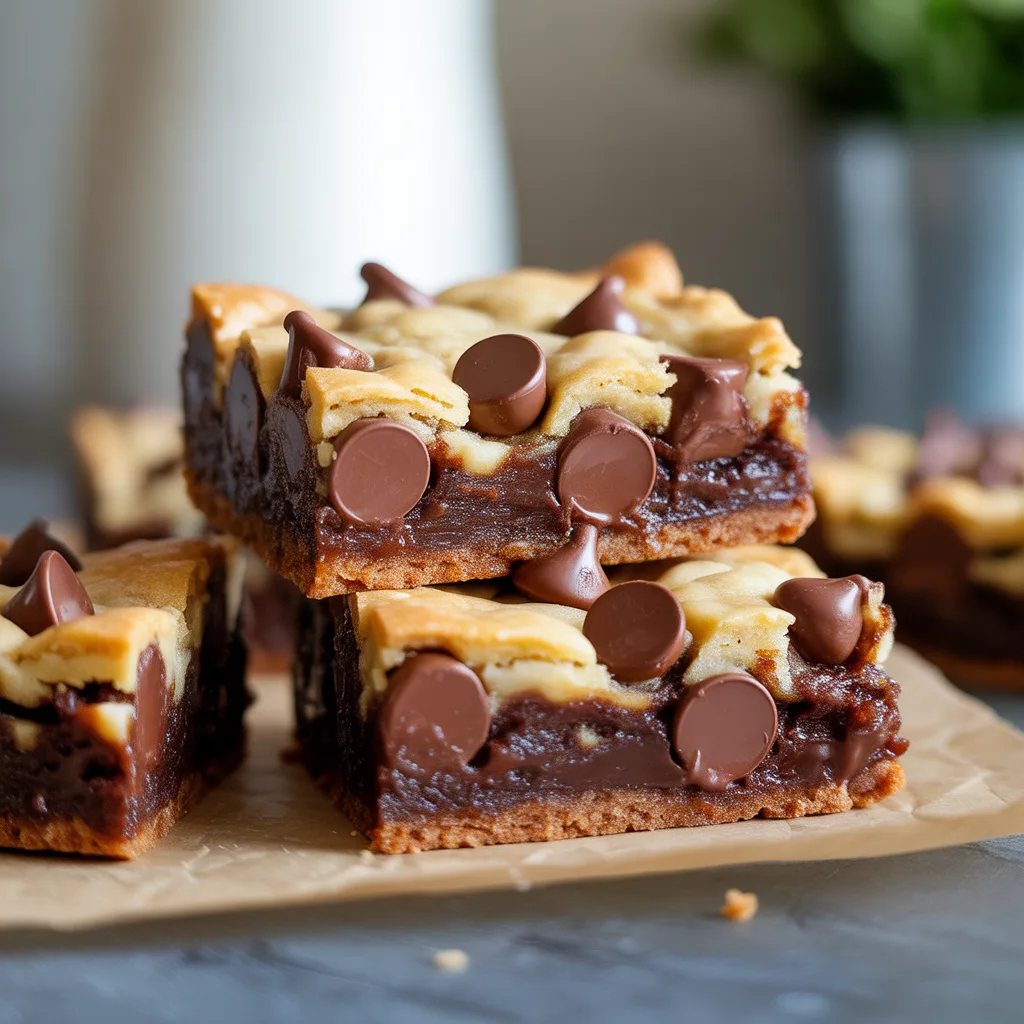
Is there anything better than a warm chocolate chip cookie fresh from the oven? How about if that cookie was a giant, fudgy bar with a gloriously gooey center that you can cut into perfect squares? I’m telling you, these Fudgy Chocolate Chip Cookie Bars with a Gooey Center are the answer to your busy-day dessert prayers. They mix up in one bowl, bake in one pan, and deliver that deep, buttery, chocolatey satisfaction we all crave. No fuss, no fancy techniques—just pure, unadulterated comfort.
Why You’ll Love This
Beyond the obvious fact that they’re loaded with chocolate, these bars are your new secret weapon. They come together faster than scooping individual cookies, and that single pan means less cleanup. The edges get beautifully crisp while the center stays soft and almost brownie-like. Perfect for bake sales, potlucks, or a 3 pm snack attack. They feel a little fancy but are so, so simple to make.
Equipements Needed
- 1 (9×9 inch) square baking pan
- Parchment paper
- Mixing bowls (one medium, one large)
- Hand mixer or stand mixer
- Spatula
- Measuring cups and spoons
Ingredients
- 1 cup (2 sticks) unsalted butter, melted – creates that dense, fudgy texture
- 1 cup light brown sugar, packed – for that rich molasses flavor
- 1/2 cup granulated sugar – adds sweetness and helps with browning
- 2 large eggs – binds everything together
- 2 teaspoons vanilla extract – a flavor boost you can’t skip
- 2 1/4 cups all-purpose flour – the foundation of our bars
- 1 teaspoon baking soda – gives a little lift
- 1/2 teaspoon salt – balances all the sweetness
- 2 cups semi-sweet chocolate chips – because more is more when it comes to chocolate
Step By Step
- Preheat your oven to 350°F (175°C). Line your 9×9 inch baking pan with parchment paper, leaving some overhang on two sides. This will make lifting the bars out a breeze later.
- In a large bowl, whisk together the melted butter, brown sugar, and granulated sugar until well combined. Let it sit for a minute to cool slightly.
- Whisk in the eggs and vanilla extract until the mixture is smooth and has lightened in color just a bit.
- In a separate medium bowl, whisk together the flour, baking soda, and salt.
- Gently fold the dry ingredients into the wet ingredients using a spatula. Mix until just combined—don’t overmix!
- Fold in 1 1/2 cups of the chocolate chips, saving the rest for the top.
- Spread the thick batter evenly into your prepared pan. It will be thick, so just pat it down smoothly. Sprinkle the remaining 1/2 cup of chocolate chips over the top and press them in lightly.
- Bake for 25-30 minutes. You want the edges to be golden brown and set, but the center should still look a little soft and underdone. A toothpick inserted near the edge should come out clean, but in the center, it might have some moist crumbs. That’s the gooey center we’re after!
- This is the hardest part: let the pan cool completely on a wire rack before you cut into squares. They need time to set up. I know, the wait is torture.
Baking Tips For Perfect Bars
- Do not overbake! Taking them out when the center looks soft is the single most important tip for that fudgy, gooey texture.
- Use a light-colored metal pan. Dark pans can cause the bottom to over-brown.
- Line your pan with parchment. Honestly, it’s a non-negotiable for easy removal and clean slices.
- Let them cool completely. I know I already said it, but it’s worth repeating. Cutting into warm bars will give you a delicious mess, not clean squares.
- For ultra-thick bars, you can use an 8×8 inch pan, but you’ll need to add 5-10 minutes to the bake time.
- Want picture-perfect aesthetic food? Press a few extra chocolate chips on top right when the bars come out of the oven.
Variations & Substitutions
- Gluten-Free: Swap the all-purpose flour for a 1:1 gluten-free baking blend.
- Dairy-Free: Use your favorite plant-based butter and ensure your chocolate chips are dairy-free.
- Add-Ins: Swap half the chocolate chips for chopped nuts, peanut butter chips, or even a swirl of caramel sauce in the batter.
- Sea Salt: For a next-level dessert food moment, sprinkle a little flaky sea salt over the top right after baking.
Serving Ideas & Pairings
These bars are fantastic all on their own, but why stop there? Serve them slightly warm with a big scoop of vanilla ice cream for the ultimate sweet desserts experience. They’re also perfect for creating mini desserts—just cut them into smaller squares for a party platter. A cold glass of milk is their classic partner, but a cup of hot coffee is my personal favorite pairing. So good.
Storage & Reheating
Store any leftovers (ha!) in an airtight container at room temperature for up to 4 days. For longer storage, you can freeze them for up to 3 months. Wrap individual bars tightly in plastic wrap and then place them in a freezer bag. To reheat and get that just-baked gooeyness back, pop a bar in the microwave for 10-15 seconds.
Frequently Asked Questions
- Can I use milk chocolate chips instead? Absolutely! Milk chocolate will make them sweeter, while dark chocolate will give a richer, less sweet vibe. Both are yummy food.
- My center didn’t stay gooey. What happened? The most likely culprit is overbaking. Ovens can vary, so start checking a few minutes early next time. The center should look soft when you take them out.
- Can I double this recipe? For sure! Double all the ingredients and bake it in a 9×13 inch pan. You’ll need to add a few extra minutes to the baking time.
- Are these bars considered aesthetic food for social media? With their crackly top and pools of melted chocolate, these are some of the most photogenic baking ideas out there. Just try not to eat your subject before you get the shot!