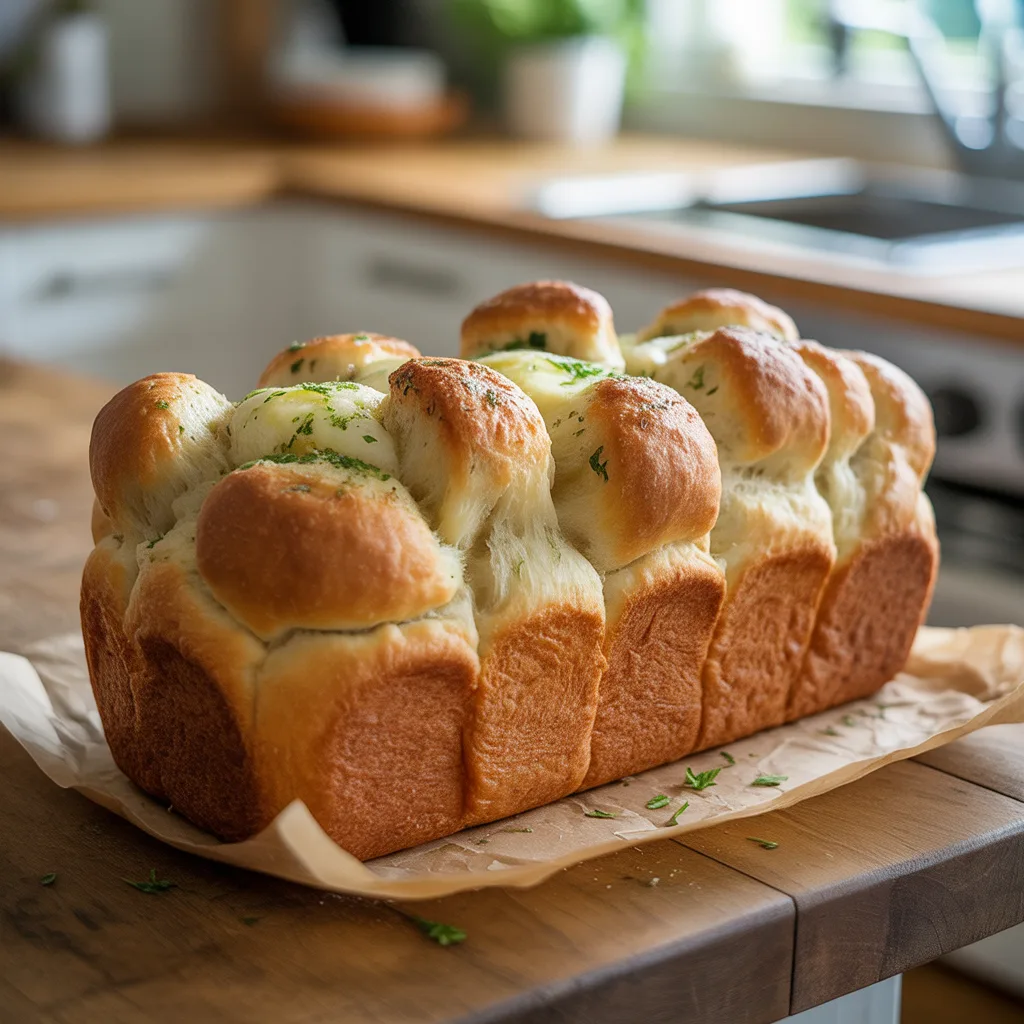
Is there anything quite as wonderful as the smell of garlic and herbs baking on a chilly holiday afternoon? This Garlic Parmesan Pull-Apart Christmas Bread is more than just a side dish; it’s the centerpiece of your table, a conversation starter, and the most delicious way to bring everyone together. It’s warm, cheesy, and so incredibly fun to eat. Honestly, it’s my favorite thing to make during the holidays because it feels so special but is secretly simple. You’re going to love how it turns out.
Top Reasons To Make It
- It’s incredibly impressive looking but surprisingly easy to put together.
- The pull-apart shape makes it a super fun, interactive food for the whole family.
- Your kitchen will smell absolutely amazing while it bakes.
- It’s the perfect, comforting addition to any Christmas dinner or holiday party spread.
- You can easily customize the fillings to suit your family’s tastes.
Ingredients
- 1 loaf (16 oz) frozen bread dough, thawed: The no-fuss base for our creation.
- 1/2 cup (1 stick) unsalted butter, melted: For that rich, golden, buttery flavor.
- 4 cloves garlic, minced: The essential, aromatic superstar.
- 1/4 cup fresh parsley, finely chopped: Adds a bright, fresh herby note.
- 1 tsp Italian seasoning: A perfect blend of classic herbs.
- 1/2 cup freshly grated Parmesan cheese: For salty, nutty, cheesy goodness.
- 1/4 tsp salt: To enhance all the other flavors.
- 1/4 tsp black pepper: Just a little bit of warmth.
Instructions
- Prep your pan and dough: Lightly grease a 9×5 inch loaf pan. On a lightly floured surface, roll your thawed bread dough into a large rectangle, about 12×8 inches.
- Create the filling: In a medium bowl, stir together the melted butter, minced garlic, chopped parsley, Italian seasoning, salt, and pepper.
- Assemble the bread: Use a pastry brush or a spoon to spread the garlic butter mixture evenly over the entire surface of the dough. Then, sprinkle the grated Parmesan cheese over the top.
- Cut the dough: Using a pizza cutter or a sharp knife, slice the dough vertically into 6 equal-sized strips. Then, carefully stack these strips on top of each other.
- Slice into squares: Now, cut the stack horizontally into 6 equal squares. You should have a stack of 36 little layered dough squares.
- Arrange in pan: Gently place the stacks of dough squares into your prepared loaf pan, laying them on their sides. It’s okay if they look messy and uneven—that’s the charm!
- Let it rise: Cover the pan loosely with a clean kitchen towel and let the dough rise in a warm spot for 30-45 minutes, until it looks puffy.
- Bake: Preheat your oven to 350°F (175°C). Bake the bread for 25-30 minutes, until the top is a deep golden brown and the center is cooked through.
- Cool and serve: Let the bread cool in the pan for about 10 minutes before carefully turning it out onto a serving platter. Serve warm.
Oven Temperatures
This recipe works perfectly in a standard home oven at 350°F (175°C). If you’re using a convection oven, you can reduce the temperature by 25 degrees or keep a close eye on it a few minutes early, as it may bake a little faster. The key visual cue is that beautiful, deep golden-brown top.
Variations & Substitutions
- Herb Lovers: Add a tablespoon of fresh chopped rosemary or thyme to the butter mixture.
- Extra Cheesy: Add a 1/2 cup of shredded mozzarella or provolone cheese with the Parmesan for an extra stretchy, gooey pull.
- Dairy-Free: Use a high-quality vegan butter and a plant-based Parmesan alternative.
- Different Dough: Feel free to use a can of refrigerated biscuit dough, cutting each biscuit into quarters and tossing them in the butter mixture before piling them into the pan.
Tips For Success
- Make sure your bread dough is fully thawed but still cool for easiest handling.
- Don’t skip the rising time! It’s what gives the bread its final light and fluffy texture.
- Use fresh garlic and grate your Parmesan from a block for the very best flavor.
- If the top is browning too quickly, you can tent it loosely with a piece of aluminum foil.
- Let it rest for that full 10 minutes after baking. It makes it so much easier to remove from the pan.
- Have fun with it! This isn’t a fussy recipe, so don’t worry about making it perfect.
Storage & Reheating
This bread is truly best enjoyed the day it’s made. But if you have leftovers, let them cool completely, then store them in an airtight container at room temperature for up to 2 days. To reheat, wrap the bread in foil and warm it in a 300°F (150°C) oven for about 10-15 minutes, until heated through. This will help it get soft and warm again without over-browning. You can also freeze the fully baked and cooled bread for up to 2 months. Thaw overnight in the fridge and reheat as directed.
Frequently Asked Questions
- Can I make this ahead of time? You can prepare the bread up to the point of the second rise, cover it tightly, and refrigerate it overnight. In the morning, let it sit at room temperature for 30 minutes while your oven preheats, then bake as directed. It’s a fantastic timesaver for Christmas morning or a holiday dinner.
- What other holiday food does this go with? It’s a wonderful, savory addition to a Christmas charcuterie board, a perfect side for soups and salads on Christmas Eve, or a fabulous partner to any of your main Christmas dinner dishes, from roasted turkey to ham.
- My dough didn’t rise much. What happened? The most common culprit is the yeast in the dough being killed by heat. Make sure your melted butter has cooled to just warm, not hot, before adding the garlic and herbs. Also, ensure your rising spot is warm and draft-free.
- Can I use garlic powder instead? You can in a pinch! Use about 3/4 teaspoon of garlic powder instead of the fresh cloves. The flavor will be a bit different but still delicious.