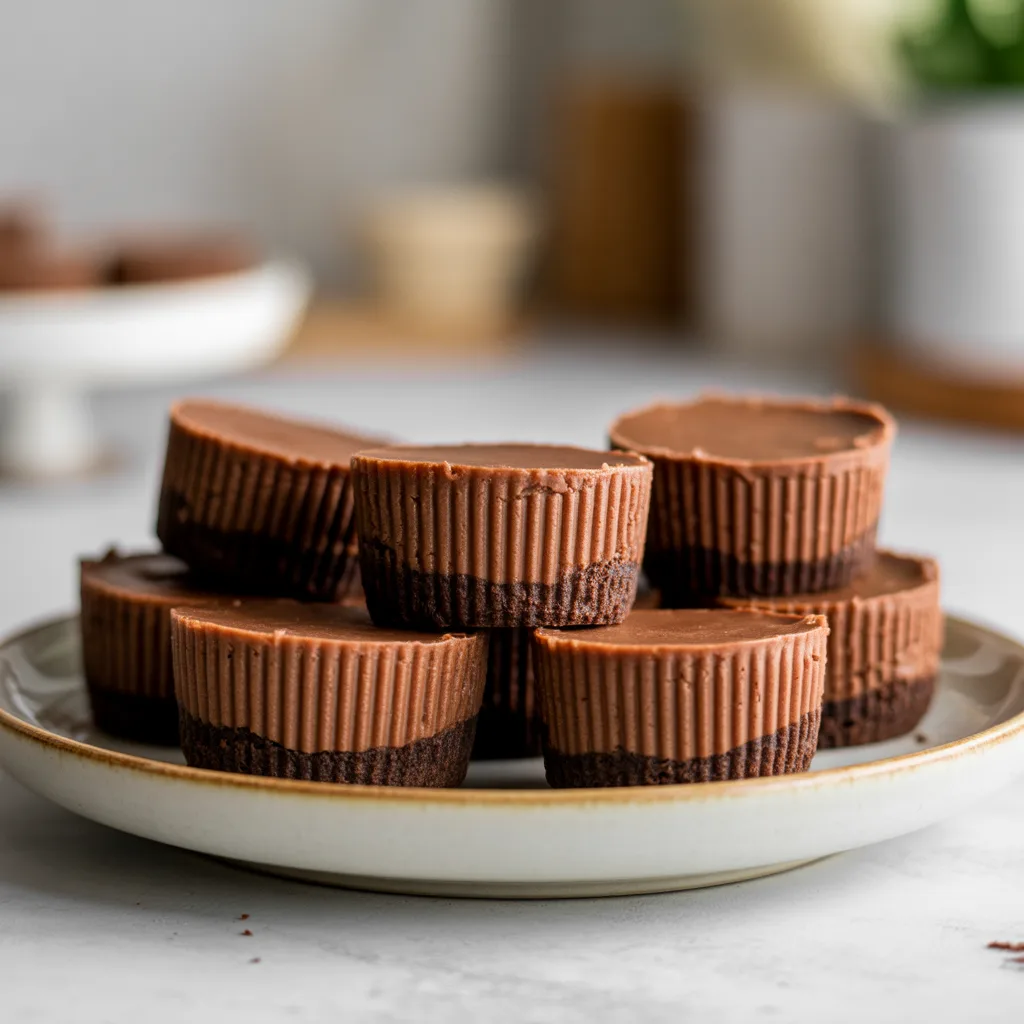
Is there anything better than a dessert that’s both adorable and absolutely delicious? I think not. These Mini Chocolate Cheesecake Bites are the kind of treat that disappears in a flash at any gathering, from casual potlucks to fancy holiday parties. They pack all the rich, creamy indulgence of a full-sized cheesecake into a perfect little two-bite package. So good. And trust me, even if you’re a beginner baker, you can absolutely pull these off. Let’s get started on making your new favorite Mini Chocolate Cheesecake Bites for Parties.
Why You’ll Love This
First, let’s talk about the convenience factor. These little guys are pre-portioned, which means no messy slicing and serving a big cheesecake. They’re the ultimate grab-and-go dessert. But beyond that, the flavor is just incredible. We’re talking a chocolatey, buttery crust topped with a velvety smooth chocolate cheesecake that’s rich without being overly heavy. They look like you spent all day in the kitchen, but the recipe is surprisingly straightforward. Honestly, it’s one of my go-tos when I need a guaranteed crowd-pleaser without a whole lot of fuss.
Equipements Needed
- Mini Muffin Pan: The essential tool for creating the perfect bite-sized shape.
- Paper Liners: Makes removal and cleanup a total breeze.
- Electric Mixer: A hand mixer or stand mixer is key for that ultra-smooth filling.
- Medium Mixing Bowl: For combining your crust ingredients.
- Measuring Cups and Spoons: For accuracy, honey.
- Spatula: To scrape every last bit of that delicious batter.
Ingredients
- For the Crust:
- 1 ½ cups chocolate graham cracker crumbs (about 10 full sheets): Creates a sturdy, flavorful base.
- 5 tablespoons unsalted butter, melted: Binds the crumbs together.
- 2 tablespoons granulated sugar: Adds a touch of sweetness to the crust.
- For the Filling:
- 12 ounces full-fat cream cheese, softened to room temperature: The creamy foundation of the cheesecake.
- ½ cup granulated sugar: Sweetens the filling perfectly.
- 1 large egg, room temperature: Helps the filling set as it bakes.
- ½ cup semi-sweet chocolate chips, melted and slightly cooled: For that deep, rich chocolate flavor.
- 1 teaspoon vanilla extract: Enhances all the other flavors.
- ¼ teaspoon salt: Balances the sweetness and makes the chocolate pop.
Step By Step
- Preheat your oven to 325°F (165°C). Line a mini muffin pan with paper liners. This is your first step to easy, beautiful mini desserts.
- Make the crust. In a medium bowl, stir together the chocolate graham cracker crumbs, melted butter, and 2 tablespoons of sugar until the mixture resembles wet sand.
- Press about 1 heaping teaspoon of the crust mixture firmly into the bottom of each liner. I like to use a small glass or a tart tamper to get it nice and compact.
- Bake the crusts for 5 minutes. This helps them set so they don’t crumble later. Remove from the oven and let them cool slightly while you make the filling.
- In a large bowl, beat the softened cream cheese and ½ cup sugar together with an electric mixer until completely smooth and no lumps remain. Scrape down the sides of the bowl.
- Beat in the egg, just until combined. Then, mix in the melted chocolate, vanilla, and salt. Be careful not to overmix once the egg is in.
- Spoon the filling over the crusts, filling each liner almost to the top. A small cookie scoop makes this super neat and even.
- Bake for 15-18 minutes, or until the centers are just set. They might still have a slight jiggle, which is perfect. Let them cool completely in the pan on a wire rack before chilling.
- Refrigerate the mini cheesecake bites for at least 3 hours, or preferably overnight, to let them fully set and develop their flavor.
Mini Dessert Presentation Ideas
Presentation is everything when it comes to aesthetic food. Arrange these sweet desserts on a beautiful tiered stand for a real wow factor. You can also add a tiny dollop of whipped cream and a single raspberry on top of each one for a pop of color. Drizzling them with a little melted chocolate or caramel sauce right before serving makes them look professionally done. For a party, setting out a platter with a variety of mini desserts always gets people excited.
Variations & Substitutions
- Nutty Crust: Swap the chocolate graham crackers for vanilla wafers or even crushed Oreos (filling included!).
- Flavor Twists: Add a tablespoon of instant espresso powder to the filling for a mocha kick, or a teaspoon of orange zest for a chocolate-orange combo.
- Dairy-Free: Use your favorite plant-based cream cheese and butter alternatives. Just make sure they are meant for baking.
- Lighter Option: You can use Neufchâtel cheese (the 1/3 less fat kind) with good results, though the texture will be slightly less rich.
Serving Ideas & Pairings
These yummy food ideas are fantastic on their own, but they also pair beautifully with a cup of strong coffee or a glass of cold milk. For a grown-up dessert spread, consider pairing them with a fruit platter or some mini fruit tarts to balance the richness. They are the perfect little treat to end a meal without feeling overly stuffed. Honestly, I love keeping a batch in the fridge for when a serious chocolate craving hits.
Storage & Reheating
Store these mini cheesecake bites in an airtight container in the refrigerator for up to 5 days. They also freeze beautifully for up to 3 months. Just place them in a single layer on a baking sheet to freeze solid, then transfer to a freezer bag. Thaw in the refrigerator overnight before serving. Do not leave them at room temperature for more than 2 hours for food safety.
Frequently Asked Questions
- Q: Can I make these without a mini muffin pan?
A: You can try using a regular muffin pan with liners, but the baking time will be longer, and they won’t be as bite-sized. Keep an eye on them and bake until the center is set. - Q: My cream cheese was a little lumpy. How can I avoid that?
A: The number one rule for smooth cheesecake is making sure your cream cheese is truly at room temperature. Let it sit out for a good hour or two before you start. This is my biggest tip for successful cakes recipes. - Q: What are some other easy baking ideas for toppings?
A: A simple dusting of powdered sugar, a sprinkle of sea salt, or even some mini chocolate chips pressed on top before baking are all fantastic, simple options for these mini desserts.