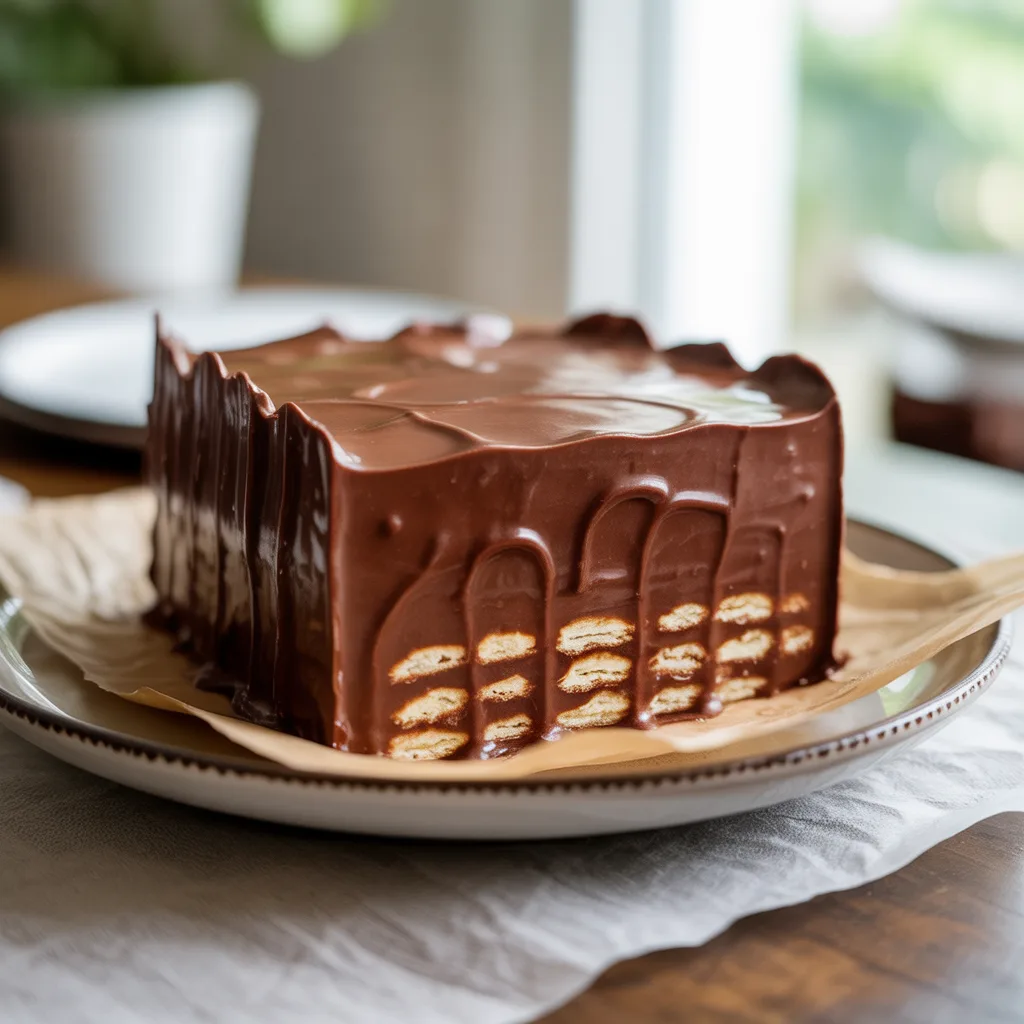
Have you ever found yourself longing for a slice of something wonderfully chocolatey, but the thought of turning on the oven feels like a monumental task? Especially on those warm, busy days when you need a little comfort but have very little energy to spare. That’s exactly when this miracle of a recipe—our No-Bake Chocolate Biscuit Refrigerator Cake—comes to your rescue. It’s the kind of humble, no-fuss dessert that feels like a warm hug. Just a handful of simple ingredients, a little stirring, and some patience while it chills is all it takes. Honestly, it’s my go-to for a last-minute treat that never fails to impress.
Top Reasons To Make It
- Truly no baking required. It’s perfect for hot summer days or when you just don’t want to heat up the kitchen.
- It uses pantry-friendly ingredients you probably already have on hand, making it one of those easy desserts with few ingredients.
- It’s an incredible make-ahead dessert. The flavor gets even better after a night in the fridge.
- Kids absolutely love to help make it. Crushing the biscuits and stirring the chocolate is a fun, simple task.
- It’s wonderfully versatile. You can add nuts, dried fruit, or even a pinch of spice to make it your own.
It’s so, so simple. And sometimes, simple is exactly what we need.
Ingredients
- 1 1/2 cups (300g) semi-sweet chocolate chips: The rich, chocolatey base of our cake.
- 1/2 cup (1 stick / 113g) unsalted butter: Adds richness and helps the chocolate set to a fudge-like consistency.
- 1/4 cup (85g) golden syrup or light corn syrup: This is the secret to a wonderfully chewy, not-too-hard texture.
- 1 teaspoon pure vanilla extract: For a warm, round flavor that enhances the chocolate.
- A pinch of fine sea salt: Balances the sweetness and makes the chocolate taste even more chocolatey.
- 8 ounces (about 225g) plain tea biscuits or digestive biscuits: They provide the delightful, crunchy structure.
- Optional: 1/2 cup of add-ins like chopped walnuts, raisins, or shredded coconut.
Instructions
- First, prepare your pan. Line a standard 9×5 inch loaf pan with parchment paper, letting the edges overhang for easy removal later.
- Break the biscuits into small, bite-sized pieces—not crumbs! You want nice chunks for texture. Place them in a large mixing bowl. If you’re using any add-ins, toss them in with the biscuits.
- Create a double boiler by placing a heatproof bowl over a saucepan with an inch of gently simmering water. Make sure the bottom of the bowl doesn’t touch the water. Add the chocolate chips, butter, and golden syrup to the bowl.
- Stir gently and continuously until everything is melted, smooth, and glossy. This should take about 5-7 minutes. Remove the bowl from the heat and stir in the vanilla and salt.
- Pour the warm chocolate mixture over the biscuit pieces. Using a spatula, gently fold everything together until every single biscuit piece is beautifully coated in chocolate.
- Transfer the mixture to your prepared loaf pan. Press it down firmly and evenly with the back of a spoon or your fingers.
- Cover the pan with plastic wrap and refrigerate for at least 4 hours, or ideally overnight, until it’s completely firm and set.
- To serve, use the parchment paper to lift the whole cake out of the pan. Place it on a cutting board and slice it into bars or squares with a sharp knife.
Variations & Substitutions
One of the best things about this recipe is how easily you can customize it. Craving more of those yummy food combinations? Try a Rocky Road version by stirring in mini marshmallows along with the walnuts. For a hint of fruitiness, dried cherries or cranberries are fantastic. If you need a gluten-free option, simply use your favorite gluten-free biscuits. And if you’re out of golden syrup, honey works beautifully, though it will impart its own distinct flavor. So good.
Make-Ahead & Freezer Notes
This cake is a superstar when it comes to planning ahead. You can make it up to 3 days in advance and keep it tightly wrapped in the fridge—the texture and flavor hold up perfectly. It also freezes wonderfully for up to 3 months. Slice it into individual portions, wrap each piece tightly in plastic wrap, and place them all in a freezer bag. Thaw slices in the refrigerator for a few hours before serving.
Serving Ideas & Pairings
I love serving a square of this cake with a cup of hot coffee or a glass of cold milk. It’s rich enough to feel like a real indulgence but simple enough to enjoy as a casual treat. For a fancy touch, dust the top with a little powdered sugar or cocoa powder right before serving. It also makes for lovely mini desserts if you set it in a mini muffin tin instead of a loaf pan. A little dollop of whipped cream or a scoop of vanilla ice cream alongside turns it into a truly delicious dessert.
Storage & Reheating
Store any leftovers in an airtight container in the refrigerator for up to 5 days. There’s no need to reheat this cake—it’s meant to be enjoyed cold straight from the fridge. Its fudgy, firm texture is part of its charm. Just be sure to keep it chilled, as the chocolate can soften if left out in a warm room for too long.
Frequently Asked Questions
- Can I use milk chocolate instead of semi-sweet? Absolutely! The cake will be sweeter, but just as delicious. It’s a great way to please a crowd that prefers milder chocolate desserts.
- My chocolate mixture seized up. What happened? This can occur if even a tiny drop of water gets into the melting chocolate. Don’t worry, you can gently re-melt it, being extra careful to keep the simmering water from splashing.
- Is this considered one of the healthy desserts? While it’s made with real ingredients, it’s certainly a treat. For a slightly healthier twist, you could use a dark chocolate with a higher cocoa percentage.
- Can I make this without a double boiler? You can melt the ingredients in the microwave. Heat in 30-second bursts on medium power, stirring well between each burst, until smooth.
I hope this No-Bake Chocolate Biscuit Refrigerator Cake becomes a cherished, easy go-to in your home.