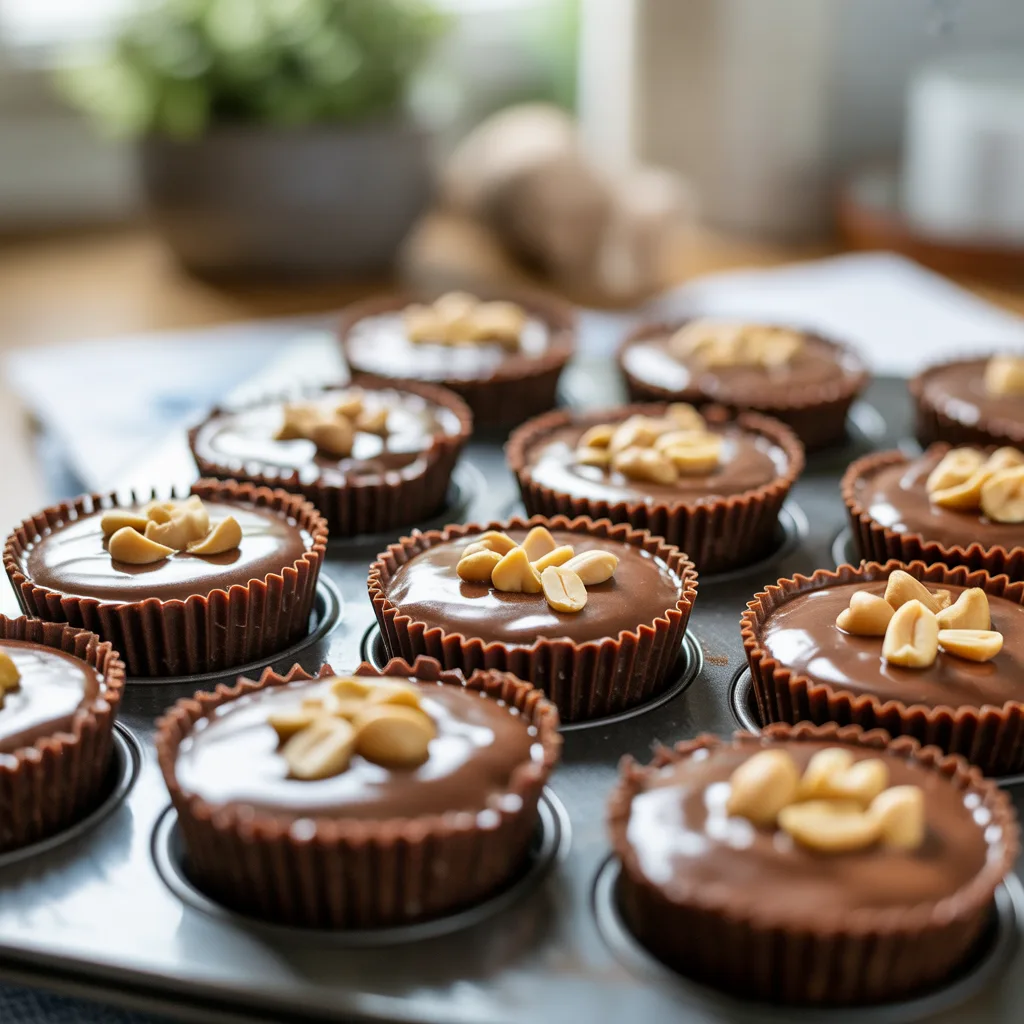
Ever have one of those weeks where you need a little something sweet but turning on the oven feels like a monumental task? You’re not alone, honey. That’s precisely why these No-Bake Chocolate Peanut Butter Dessert Cups are my go-to lifesaver. They come together in minutes, require zero baking, and satisfy that deep craving for a treat that’s both rich and refreshing. And who can resist that perfect combination of chocolate and peanut butter? Seriously.
Why You’ll Love This
You’ll love this recipe because it’s the ultimate in easy, fuss-free dessert making. It’s perfect for busy weeknights, last-minute potlucks, or when those sugar cravings hit hard. The texture is this incredible combo of crunchy, creamy, and smooth. So good. Plus, making them in individual cups means everyone gets their own perfect little serving. No fighting over who got the bigger slice!
Equipements Needed
- Standard 12-cup muffin tin (for shaping the cups)
- Paper or foil muffin liners
- Medium microwave-safe bowl
- Small saucepan
- Electric hand mixer or a sturdy whisk
- Spatula (you know, to get every last bit)
Ingredients
- 1 ½ cups chocolate sandwich cookie crumbs (about 18 cookies) – for the sturdy crust
- 6 tablespoons salted butter, melted – to bind the crust together
- 1 (8 oz) block cream cheese, softened – creates the creamy base
- 1 cup creamy peanut butter – for that iconic, nutty flavor
- 1 cup powdered sugar – sweetens and smooths the filling
- 1 teaspoon vanilla extract – adds a warm flavor depth
- 1 (8 oz) tub frozen whipped topping, thawed – makes it light and fluffy
- 1 cup semi-sweet chocolate chips – for the rich ganache topping
- ¼ cup heavy cream – to create a silky smooth chocolate glaze
- Coarsely chopped peanuts – for a final crunchy garnish
Step By Step
- First, line your muffin tin with paper liners. This keeps everything neat and makes serving a breeze.
- In a medium bowl, stir together the cookie crumbs and melted butter until it looks like wet sand. Press this mixture firmly into the bottom of each liner to form your crust. Pop the whole tin in the fridge to set up while you make the filling.
- Using your hand mixer, beat the softened cream cheese and peanut butter together in a large bowl until it’s completely smooth and combined. No lumps!
- Beat in the powdered sugar and vanilla extract until everything is incorporated. It’ll be pretty thick.
- Now, gently fold in the thawed whipped topping with a spatula. You want to keep all that airiness, so fold until no white streaks remain.
- Pull your crusts out of the fridge. Divide the peanut butter filling evenly among all the cups, smoothing the tops. Back into the fridge they go for at least 30 minutes to firm up.
- For the ganache, place the chocolate chips in a heatproof bowl. Heat the heavy cream in a small saucepan over medium heat until it just begins to simmer. Pour the hot cream over the chips, let it sit for two minutes, then whisk until it’s glossy and smooth.
- Let the ganache cool for about 5-10 minutes so it thickens slightly. Then, spoon it over the top of each chilled cup. Immediately sprinkle with the chopped peanuts before the chocolate sets.
- Refrigerate for at least 2 more hours, or until completely set. The wait is the hardest part, I know.
Mini Dessert Ideas
These little cups are already the perfect mini dessert, but you can play around with the presentation for different occasions. For a party, use a mini muffin tin to create bite-sized versions. Layer them in clear plastic cups for a parfait-style treat where you can see all the beautiful layers. They make for such aesthetic food perfect for your dessert table.
Serving Suggestions
I love serving these straight from the fridge, cold and firm. They’re rich, so sometimes a little cup of coffee or a cold glass of milk is the perfect partner. For a real show-stopper, add a tiny extra dollop of whipped topping and a whole peanut on top right before serving. It’s all about those yummy food moments.
Variations & Substitutions
- Gluten-Free: Use your favorite gluten-free chocolate sandwich cookies for the crust.
- Dairy-Free: Swap the butter for coconut oil, use dairy-free cream cheese and whipped topping, and ensure your chocolate chips are dairy-free.
- Different Nut Butters: Almond butter or cashew butter would be delicious here if you’re not a peanut butter fan.
- Cookie Swap: Try using graham cracker crumbs instead of chocolate cookie crumbs for a different flavor base.
Storage & Reheating
Store these dessert cups covered in the refrigerator for up to 5 days. They also freeze beautifully for up to 3 months. Just place them in a single layer in an airtight container. Thaw in the fridge for a few hours before serving. There’s no reheating needed for this chilly treat!
Frequently Asked Questions
- Can I make this into one big dessert instead of cups? Absolutely! Just press the crust into a 9×9 inch pan and layer the filling and ganache on top. You’ll just need to chill it longer to make sure it sets up properly for slicing.
- My ganache turned out grainy. What happened? This usually happens if the cream was too hot and seized the chocolate. Honestly, next time make sure your cream is just simmering, not boiling. You can sometimes save it by whisking in a teaspoon of warm cream at a time until it smooths back out.
- Do you have any other baking ideas for this flavor combo? This no-bake filling is so versatile! You could use it as a dip for fruit, or even as a frosting between layers of chocolate cake. It’s a fantastic base for all sorts of sweet desserts.