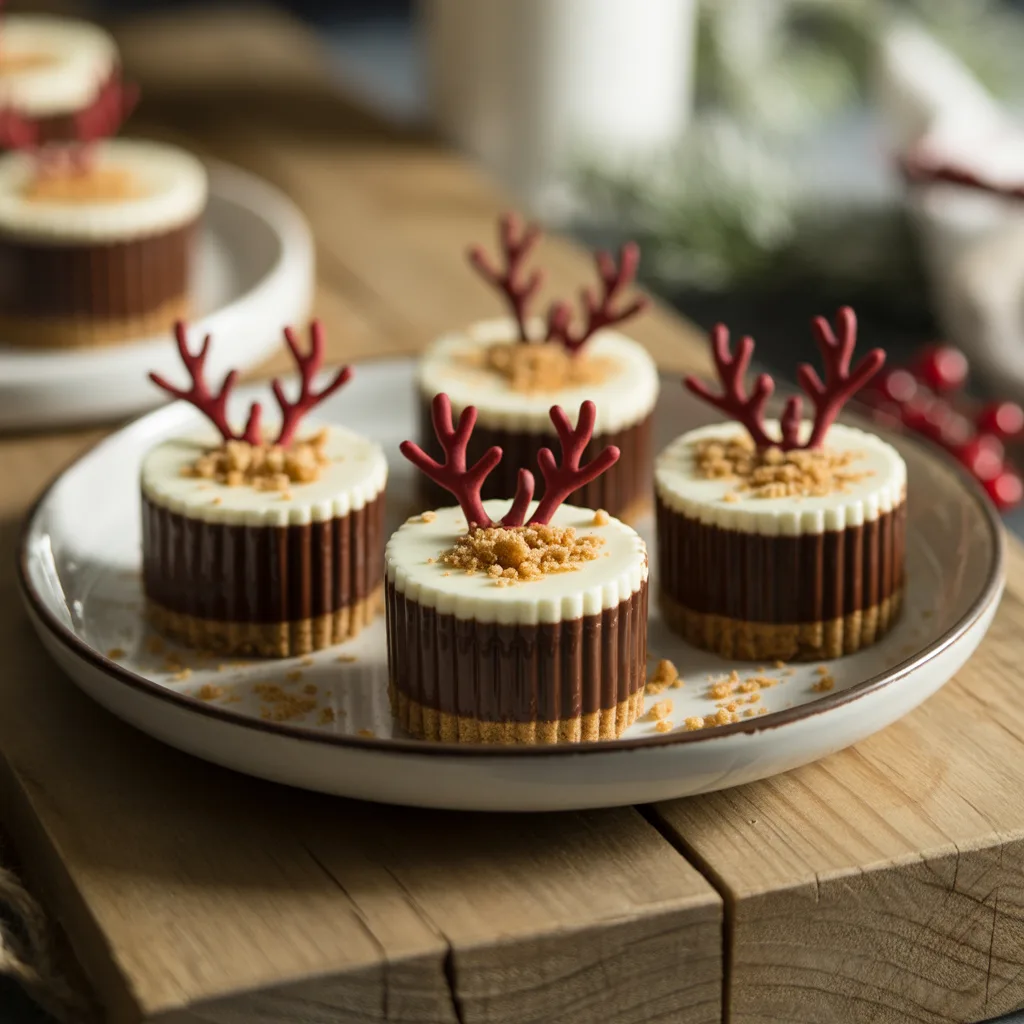
Does the holiday season ever leave you feeling like you’re running a marathon in an apron? Between the gift wrapping, the card writing, and the general merriment, who has the energy for a complicated dessert? Let me tell you, these No-Bake Reindeer Cheesecake Bites are your new best friend. They’re adorable, incredibly easy, and require exactly zero oven time. I whipped up a batch last year when my little ones were ‘helping’ me decorate, and they were such a hit, I knew they had to become a tradition. So, so cute and tasty.
Why You’ll Love This
First off, you don’t have to turn on your oven. That’s a win all by itself when the kitchen is already a hub of holiday chaos. These bites come together in minutes, and the little ones can absolutely help with the decorating—it’s a fun activity and a dessert all in one. They’re the perfect make-ahead treat for a Christmas party, a festive addition to your Christmas brunch spread, or just a sweet little reward for you after a long day of wrapping presents. They’re creamy, a little crunchy, and just the right amount of sweet.
Equipements Needed
- A standard 12-cup muffin tin (for shaping the bites)
- Paper or foil muffin liners (foil holds its shape a bit better)
- A large mixing bowl
- An electric hand mixer or a stand mixer (a little muscle and a whisk can work in a pinch!)
- A spatula for scraping the bowl
- A small saucepan or a microwave-safe bowl for melting chocolate
Ingredients
- 1 1/2 cups chocolate graham cracker crumbs: For that sturdy, chocolatey crust.
- 6 tablespoons melted salted butter: To bind the crumbs together.
- 1 (8-ounce) block full-fat cream cheese, softened: The creamy, tangy heart of the cheesecake.
- 1/2 cup powdered sugar: For sweetness without any graininess.
- 1 teaspoon pure vanilla extract: For that warm, classic flavor.
- 1 cup heavy whipping cream: Whipped up to give the filling a light, airy texture.
- 24 small pretzel twists: For the perfect reindeer antlers.
- 48 candy eyeballs: Because every reindeer needs a face!
- 24 red M&M’s or red candy melts: For that iconic Rudolph nose.
- 1/2 cup semi-sweet chocolate chips, melted: To ‘glue’ the antlers on and add details.
Step By Step
- First, line your muffin tin with the liners. This makes for such easy cleanup later.
- In your mixing bowl, stir together the chocolate graham cracker crumbs and the melted butter until it looks like wet sand. Honestly, if the mixture holds together when you pinch it, you’re golden.
- Press about a tablespoon of this crumb mixture firmly into the bottom of each muffin liner. You want a nice, solid base. Pop the whole tin in the fridge to set up while you make the filling.
- Now, in a clean bowl, beat the softened cream cheese with the powdered sugar and vanilla until it’s completely smooth and there are no lumps. Scrape down the sides of the bowl to make sure everything is incorporated.
- In another bowl, whip the heavy cream until you have stiff peaks. This means when you lift the beaters out, the peaks of cream stand straight up.
- Gently fold the whipped cream into the cream cheese mixture. Go slow and be gentle so you don’t deflate all that air you just whipped in. This is what makes the filling so light.
- Take the crusts out of the fridge. Divide the cheesecake filling evenly among the 12 cups, smoothing the tops nicely.
- Back into the fridge they go! You need to let them chill for at least 3-4 hours, but overnight is even better. They need to be really firm.
- Once they’re set, it’s time for the fun part! Melt the chocolate chips in short bursts in the microwave, stirring frequently until smooth.
- Carefully peel off the liners. Use a little dab of the melted chocolate to attach two pretzels to the top of each cheesecake bite for antlers. Then, use more chocolate to stick on the candy eyeballs and a red M&M for the nose. Let the chocolate set completely before serving.
Variations & Substitutions
Feel free to get creative! If you can’t find chocolate graham crackers, regular ones work just fine. For a nutty twist, you could swap out half the crumbs for finely crushed gingersnaps. Not a fan of semi-sweet chocolate? White chocolate would look lovely for a snowy reindeer effect. And if you’re avoiding dairy, there are excellent non-dairy cream cheese and whipping cream alternatives available now that work beautifully in no-bake recipes like this.
Serving Ideas & Pairings
These little reindeer are the star of any dessert platter. Arrange them on a festive plate for your Christmas party food spread. They also make a delightful surprise tucked into a Christmas brunch menu alongside some savory quiches and sausage. A cup of hot cocoa or a strong coffee is the perfect pairing to cut through the sweetness. For a grown-up gathering, they’d be lovely with a glass of sparkling cider.
Storage & Reheating
These No-Bake Reindeer Cheesecake Bites need to stay refrigerated. Keep them in a single layer in an airtight container in the fridge for up to 4 days. The pretzels might soften a bit over time, but they’ll still taste delicious. I don’t recommend freezing them once they’re decorated, as the condensation when they thaw can make the pretzels and candy details soggy. But you can definitely freeze the undecorated cheesecake bites for up to a month—just add the decorations after they’ve thawed in the fridge.
Frequently Asked Questions
- Can I make these ahead of time? Absolutely! They are one of the best make-ahead easy Christmas desserts. Prepare them fully, decorations and all, and keep them covered in the fridge for a day or two before your event.
- My cream cheese filling is lumpy. What happened? The key is making sure your cream cheese is truly softened at room temperature. If you get a few lumps, just keep beating—they should smooth out with a little patience.
- What are some other easy Christmas treats I can make? If you love these no-bake bites, you might also enjoy a simple peppermint bark, Christmas tree-shaped Rice Krispie treats, or a slow cooker hot chocolate bar for a crowd. All are fantastic Christmas food ideas that minimize stress.
- The antlers keep falling off. Help! Make sure you’re using enough melted chocolate as your ‘glue’ and give it a good minute to set up before you move the bites. The fridge is your friend here!