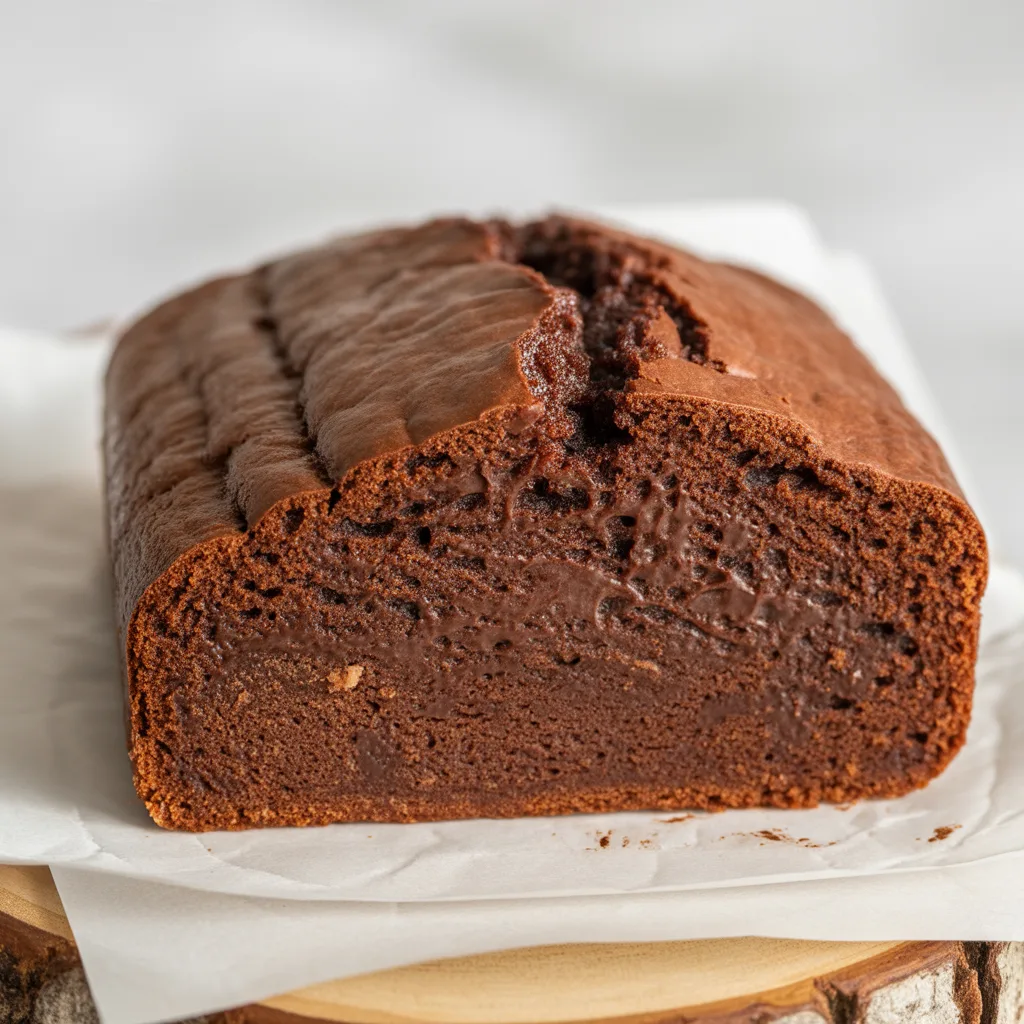
Is there anything quite as comforting as the smell of a simple chocolate cake baking in the oven? It’s a little promise of sweetness waiting just for you. This One-Bowl Chocolate Snack Cake with Crackly Top is my absolute go-to when I need a quick, no-fuss dessert that feels like a hug. It’s the kind of recipe you’ll memorize because it comes together in minutes with just one bowl. And that magical, crackly sugar crust on top? Pure baking joy. Honestly, I think this might just become your favorite, too.
Top Reasons To Make It
- One-Bowl Wonder: Fewer dishes mean more time for enjoying that cake.
- Incredibly Simple: No fancy techniques or equipment required. It’s perfect for beginners.
- That Crackly Top: The combination of hot liquid and sugar creates a delightfully thin, crisp, shiny crust.
- So Versatile: Dress it up for a birthday or enjoy it plain with a glass of milk for an afternoon pick-me-up.
- Always a Hit: It’s a crowd-pleaser that satisfies any chocolate craving.
Ingredients
- 1 ½ cups all-purpose flour: The sturdy base of our cake.
- 1 cup granulated sugar: For sweetness and that signature crackly top.
- ¼ cup unsweetened cocoa powder: Use natural, not Dutch-process, for the best reaction.
- 1 teaspoon baking soda: Our leavening agent for a light crumb.
- ½ teaspoon salt: To balance and enhance all the flavors.
- 1 cup warm water or strong brewed coffee: The hot liquid activates the baking soda and deepens the chocolate flavor.
- 1/3 cup vegetable oil: Keeps the cake wonderfully moist.
- 1 tablespoon white vinegar: The secret ingredient that reacts with the baking soda for lift.
- 1 teaspoon vanilla extract: A warm, comforting note.
Instructions
- Preheat your oven to 350°F (175°C). Grease an 8×8-inch square baking pan or line it with parchment paper.
- In that one bowl, whisk together the flour, sugar, cocoa powder, baking soda, and salt until they’re well combined and there are no lumps.
- Make a well in the center of the dry ingredients and pour in the warm water (or coffee), oil, vinegar, and vanilla.
- Stir everything together with a spatula or whisk just until the batter is smooth and no dry spots remain. Don’t overmix!
- Pour the batter into your prepared pan and immediately place it in the preheated oven.
- Bake for 30-35 minutes, or until a toothpick inserted into the center comes out with just a few moist crumbs attached.
- Let the cake cool in the pan on a wire rack for at least 20 minutes before slicing. The wait is tough, but it helps the cake set.
Oven Temperatures
Ovens can vary, so it’s good to know your appliance. If you suspect yours runs hot or cold, an oven thermometer is a baker’s best friend for just a few dollars. At 350°F (175°C), you should get that perfect rise and crackly top. If you’re using a glass pan, you might find the cake bakes a little faster, so start checking for doneness around the 28-minute mark.
Variations & Substitutions
This cake is a wonderful canvas for your creativity!
- Gluten-Free: Swap the all-purpose flour for a 1:1 gluten-free baking blend.
- Dairy-Free: This cake is naturally dairy-free as written!
- Add-Ins: Stir in a handful of chocolate chips, chopped nuts, or even crushed Oreo pieces into the batter before baking.
- Mocha Twist: Using brewed coffee instead of water gives it a rich, mocha depth that’s so, so good for adults.
- Birthday Version: Once cool, frost with a simple chocolate buttercream and sprinkles for an easy Chocolate Birthday Cake.
Serving Ideas & Pairings
This cake is delicious all on its own, but a little pairing can make it extra special. A dusting of powdered sugar is effortlessly elegant. A scoop of vanilla ice cream melting over a warm slice is pure heaven. For a true treat, crumble it over yogurt for breakfast. And a cold glass of milk or a hot mug of coffee is its perfect partner. So good.
Storage & Reheating
Store any leftover cake (if there is any!) covered tightly at room temperature for up to 3 days. For longer storage, you can freeze the whole cake or individual slices. Wrap them well in plastic wrap and then foil, and freeze for up to 3 months. Thaw at room temperature. To revive that just-baked warmth, pop a slice in the microwave for 10-15 seconds.
Frequently Asked Questions
- Can I make this a layer cake for a Chocolate Cake Birthday? You can! Double the recipe and divide it between two 8-inch round pans. The baking time might be slightly less, so start checking at 25 minutes.
- Why did my cake not get a crackly top? The top forms from the immediate heat on the sugar. Make sure your oven is fully preheated and you put the cake in right after mixing. Using coffee can also help create a more pronounced crackle.
- What’s the best way to get clean slices? For the neatest cuts, especially if you’re going for a specific Chocolate Cake Aesthetic, use a clean, sharp knife and wipe it between slices.
- Can I decorate this like an Oreo Cake? Absolutely! A simple cream cheese frosting topped with crushed Oreos would be fantastic. For a fun Unique Chocolate Cake Design, you could even create a border with KitKat bars around the edge for a KitKat Cake look.