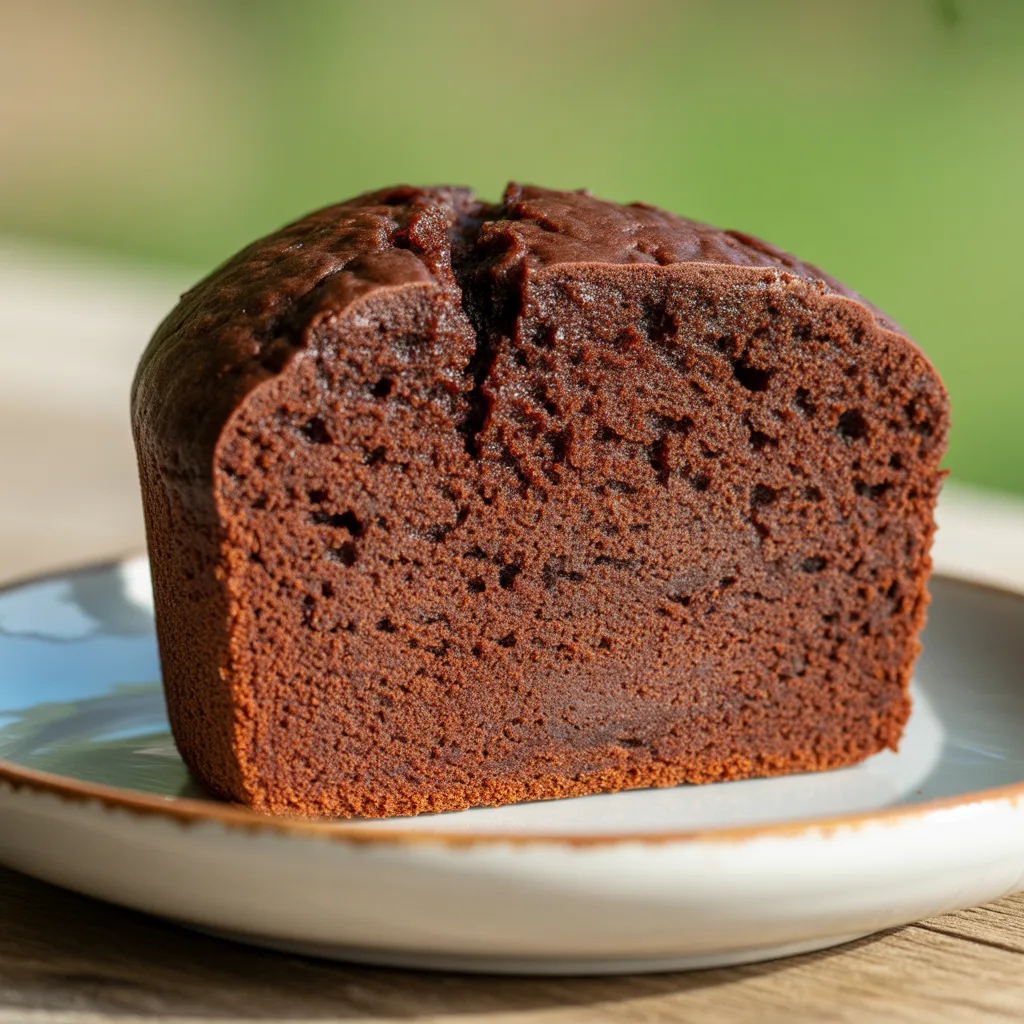
You know those days when a chocolate craving hits so hard you just need a piece of cake, like, right now? But the thought of dragging out every bowl and sifting three different kinds of flour makes you want to just close the pantry door and sigh. Yeah, me too, honey. That’s exactly why I created this One Bowl Gluten Free Chocolate Snack Cake Ultra Moist. It’s the kind of no-fuss, throw-it-together treat that feels like a big warm hug. No special trips to the store, no complicated techniques. Just one bowl, a handful of pantry staples, and about five minutes of your time before it’s in the oven. Perfection.
Why You’ll Love This
This little cake is a true lifesaver. It’s incredibly moist and rich, thanks to a little secret ingredient (hello, avocado oil!), and it bakes up with the most tender crumb you could ask for. But the real magic is in the simplicity. You don’t even need a mixer! Just a bowl and a spoon are all it takes to whip up this cozy dessert. It’s the perfect solution for a last-minute birthday, a gluten-free potluck contribution, or just because it’s Tuesday. So good.
Equipements Needed
- One 8×8 inch square baking pan
- One medium mixing bowl
- A whisk or a sturdy spoon
- Measuring cups and spoons
- Parchment paper (for super easy cleanup)
Ingredients
- 1 ½ cups gluten-free 1-to-1 baking flour: The all-star that acts just like regular flour.
- 1 cup granulated sugar: For that perfect sweetness.
- ½ cup unsweetened cocoa powder: The deep, chocolatey foundation.
- 1 tsp baking soda: Our rising agent for a light cake.
- ½ tsp fine sea salt: To balance and enhance all the flavors.
- 1 cup warm water: Helps everything blend together smoothly.
- ⅓ cup avocado oil: The secret to an ultra moist crumb.
- 1 tbsp apple cider vinegar: Reacts with the baking soda for a great rise.
- 1 tsp pure vanilla extract: Adds that warm, classic flavor we all love.
Step By Step
- Preheat your oven to 350°F. Line your 8×8 pan with parchment paper, leaving a little overhang on two sides so you can lift the cake out later. This is my favorite trick for no-stick situations!
- In your medium bowl, whisk together the gluten-free flour, sugar, cocoa powder, baking soda, and salt. Make sure there are no little lumps of cocoa hiding in there.
- Pour in the warm water, avocado oil, apple cider vinegar, and vanilla extract. Now, just stir it all together with your spoon until the batter is smooth and beautiful. No overmixing needed! Honestly, it comes together so fast it might surprise you.
- Pour the batter into your prepared pan and spread it out evenly into the corners.
- Bake for 30-35 minutes. You’ll know it’s done when the top is set and a toothpick poked into the center comes out clean or with just a few moist crumbs clinging to it.
- Let the cake cool completely in the pan on a wire rack. I know, the waiting is the hardest part, but it’s worth it for the perfect slice.
Tips For Success
- Use a good quality gluten-free flour blend that contains xanthan gum. It’s essential for structure.
- Make sure your baking soda is fresh! If it’s old, your cake won’t rise properly.
- Don’t skip the apple cider vinegar. It’s the key to activating the baking soda and giving you a light, not dense, cake.
- Let the cake cool completely before cutting. I know it’s tempting, but a warm gluten-free cake can be a bit fragile.
- For an extra treat, dust the top with a little powdered sugar right before serving. Pretty and delicious.
- And my biggest tip? Don’t tell anyone it’s gluten-free. They’ll never, ever guess.
Variations & Substitutions
- Dairy-Free: It already is! This cake is naturally dairy-free.
- Oil: You can use melted coconut oil instead of avocado oil if you prefer.
- Add-Ins: Feel free to stir in a handful of dairy-free chocolate chips or chopped nuts into the batter before baking.
- Frosting: This cake is fabulous all on its own, but if you’re feeling fancy, a simple chocolate glaze or a fluffy vanilla buttercream takes it over the top for a birthday.
Storage & Reheating
Once cooled, keep your cake covered tightly at room temperature for up to 2 days. For longer storage, pop it in the fridge for up to 5 days. You can also freeze individual slices wrapped in plastic wrap and then foil for up to 3 months. Thaw at room temperature whenever a craving strikes. I like a quick 15-second zap in the microwave for a just-baked warm feeling.
Frequently Asked Questions
- Can I make this a gluten free vanilla cake instead? Absolutely! Just replace the cocoa powder with an additional ½ cup of your gluten-free flour and add an extra teaspoon of vanilla.
- What’s the best gluten free birthday cake frosting for this? A classic chocolate buttercream or a rich chocolate ganache would be divine. For a dairy-free option, use your favorite plant-based butter and milk.
- Is this considered a flourless cake recipe? No, because we are using a gluten-free flour blend. For a truly flourless option, you’d want a cake based on almond flour or something similar.
- Can I make this in a different pan? A 9-inch round pan will work, but your baking time may be slightly less, so start checking around 25 minutes.