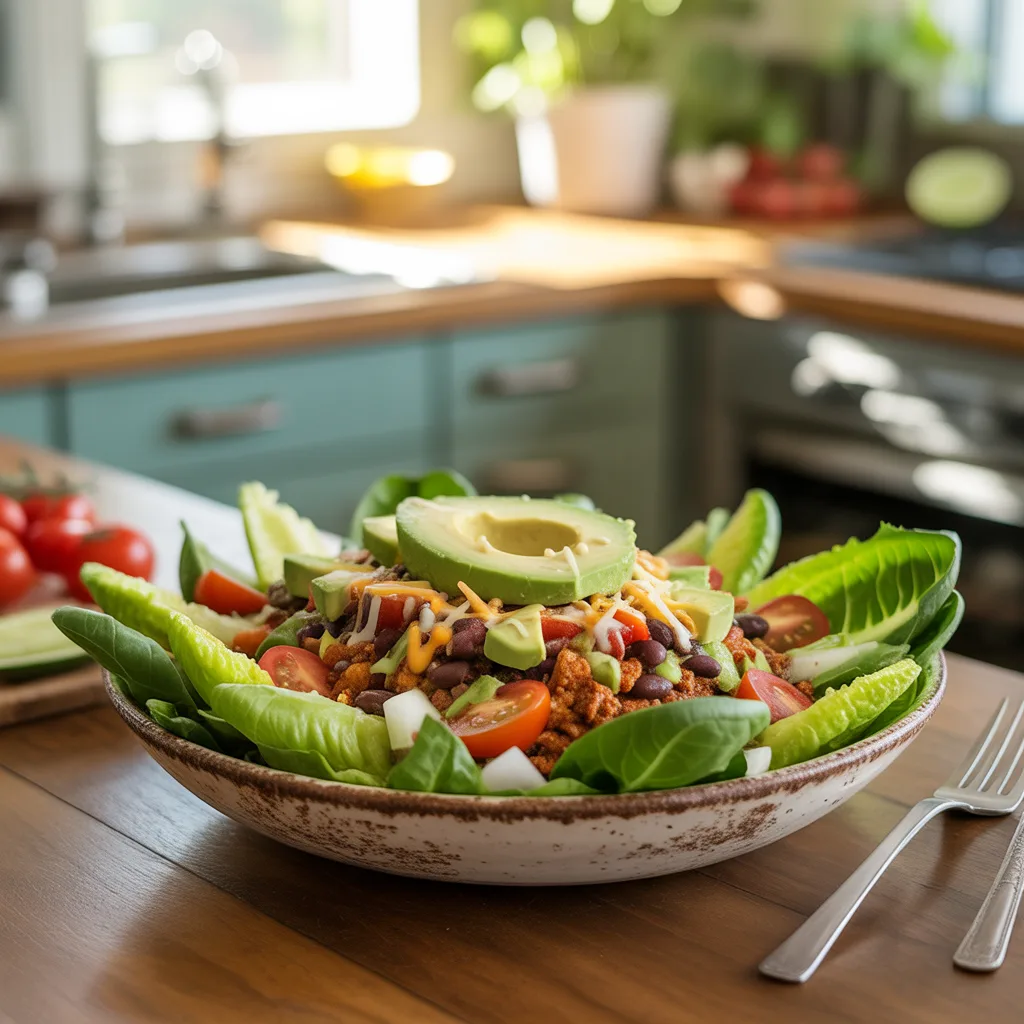
Let’s get one thing straight—this isn’t your average, sad salad. A Protein-Packed Taco Salad Bowl is a vibrant, deconstructed taco that’s built for nourishment and flavor. Think of a base of crisp greens topped with seasoned protein, all your favorite taco fixings, and a zesty dressing. It’s a complete meal that feels indulgent but is genuinely good for you. Honestly, it’s the lunch that actually keeps you full and satisfied until dinner, which is a win in my book.
Why You’ll Love This Recipe
You’re going to love this recipe because it’s so incredibly versatile and forgiving. Forgot an ingredient? No problem. Want to make it for kids? Easy. Trying to eat healthier? This recipe has you covered. It’s one of those easy lunch ideas that you can customize for everyone at the table. Plus, the whole thing comes together in about 20 minutes. So good. It’s the perfect solution for busy weekdays when you need something delicious and fast.
Ingredients
- 1 lb lean ground beef (or ground turkey for a lighter option): Provides the hearty, protein-packed base.
- 1 packet (2 tbsp) taco seasoning: Delivers that classic, familiar flavor we all crave.
- 1 head romaine lettuce, chopped: Creates a fresh, crunchy foundation.
- 1 (15 oz) can black beans, rinsed and drained: Adds fiber and plant-based protein.
- 1 cup corn kernels (fresh, frozen, or canned): Brings a touch of sweetness and pops of color.
- 1 cup cherry tomatoes, halved: Offers a juicy, fresh burst.
- 1 avocado, diced: Provides healthy fats and a creamy texture.
- 1/2 cup shredded cheddar cheese: Melts beautifully and adds a salty kick.
- 1/4 cup plain Greek yogurt (or sour cream): Creates a cool, tangy contrast.
- Your favorite salsa: Acts as the flavorful, saucy dressing.
- Tortilla chips, for serving: Because every taco salad needs a little crunch!
Step-By-Step Method
- Cook the Protein: In a large skillet over medium-high heat, brown the ground beef, breaking it up with a spoon until it’s no longer pink. Drain any excess fat. Stir in the taco seasoning and the amount of water listed on the packet. Let it simmer for about 5 minutes until the sauce thickens.
- Prepare the Toppings: While the meat cooks, this is your chance to get everything else ready. Chop the lettuce, rinse the beans, halve the tomatoes, and dice the avocado. It’s all about that assembly line efficiency!
- Assemble the Bowls: Now for the fun part! Divide the chopped romaine among four bowls. Top each with a generous scoop of the seasoned meat, followed by the black beans, corn, tomatoes, and avocado.
- Add the Finishing Touches: Sprinkle with shredded cheese, add a dollop of Greek yogurt, and a hearty spoonful of salsa. Crumble a few tortilla chips over the top for that essential crunch. Serve immediately and dig in!
Meal-Prep Version
This recipe is absolutely perfect for meal prep, making your easy lunches for work a total breeze. Here’s how I do it: Cook the taco meat and let it cool completely. Store it in a separate airtight container. Prepare all your veggie toppings—except the avocado—and store them together in another container. Keep the salsa, Greek yogurt, and cheese in their own small containers. The morning of, simply dice the avocado, assemble your bowl, and you’re out the door with a healthy lunch idea for work that’s miles better than takeout.
Serving Ideas & Pairings
These bowls are a full meal on their own, but they also play well with others. For a heartier dinner, serve them alongside some cilantro-lime rice or wrapped up in warm flour tortillas. They’re fantastic kid friendly dinners; just set up a “taco bar” and let everyone build their own. For a casual gathering, pair them with a big pitcher of agua fresca or homemade lemonade. Honestly, the possibilities are endless.
Creative Variations
Don’t be afraid to mix it up! Here are a few simple twists:
- Southwest Style: Swap the ground beef for shredded rotisserie chicken and use a ranch-style dressing.
- Fully Loaded: Add a scoop of cooked quinoa or brown rice right in the bowl for extra staying power.
- Veggie-Packed: Use lentils or a plant-based ground “meat” instead of beef and load up on even more veggies like bell peppers and red onion.
Storage Tips
Store any leftover components in separate airtight containers in the fridge. The seasoned meat will last for 3-4 days. I don’t recommend freezing the assembled salad, but the cooked meat freezes beautifully for up to 3 months. Thaw it overnight in the refrigerator before reheating.
Doneness Test
The key here is the ground meat. You’ll know it’s perfectly cooked when there is no pink left and the juices run clear. The taco seasoning mixture should be simmered until it coats the meat nicely and isn’t watery. For the veggies, you just want them crisp-tender and fresh.
Troubleshooting & Common Mistakes
My biggest tip? Don’t overcrowd your skillet when browning the meat. If you add too much at once, it’ll steam instead of sear. Give it space to get a nice, flavorful crust. Another common mistake is adding the toppings too early. If you’re not eating right away, keep the dressing and wet ingredients like salsa separate until the last second to prevent a soggy salad. And really, don’t skip the crunch—those tortilla chips make all the difference.
FAQs
Can I make this vegetarian? Absolutely! For a simple healthy dinner without meat, swap the ground beef for two cans of rinsed black beans or a plant-based ground alternative. It’s just as satisfying.
Is this a good cold lunch idea? It sure is! This is one of the best cold lunch ideas because all the components travel well. Just pack the meat and veggies separately and combine when you’re ready to eat.
How can I make it spicier? If your family loves heat, add a diced jalapeño to the meat as it cooks or use a hot salsa. You can even add a pinch of cayenne pepper to the seasoning. So, so spicy!