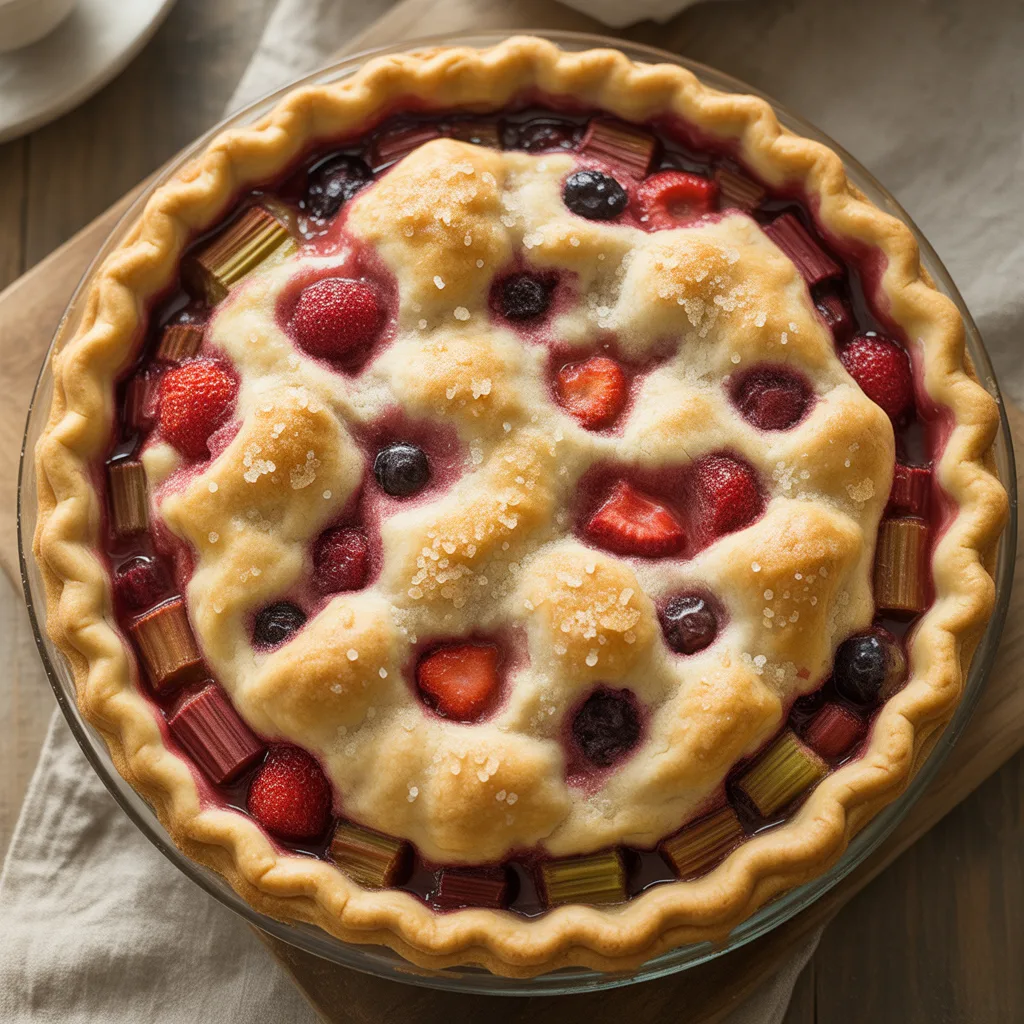
Is there anything more classic and comforting than a homemade pie? And when that pie features the sweet-tart magic of rhubarb and berries, it’s an absolute showstopper. This Rhubarb Berry Pie recipe is my go-to for a reason—it delivers that perfect balance of flavors without requiring you to spend all day in the kitchen. Seriously, who has time for that? Let’s get baking.
Why You’ll Love This
You’re going to adore this pie because it’s the perfect blend of sweet and tangy, wrapped up in a flaky, buttery crust. It’s the kind of dessert that feels fancy but is honestly so approachable. The filling is vibrant and jammy, and the aroma that fills your kitchen while it bakes is pure happiness. It’s a total crowd-pleaser that’s perfect for everything from a weeknight treat to your holiday table.
Equipements Needed
- 9-inch pie plate (glass is my favorite for even browning)
- Mixing bowls (one large, one medium)
- Rolling pin
- Pastry cutter or two forks
- Measuring cups and spoons
- Rimmed baking sheet (to catch any drips!)
Ingredients
- 1 recipe double-crust pie dough (homemade or your favorite store-bought, because no judgment here)
- 3 cups fresh rhubarb, chopped into 1/2-inch pieces (to provide that signature tangy punch)
- 3 cups mixed fresh berries (strawberries, raspberries, and blueberries work great for a burst of sweetness and color)
- 1 cup granulated sugar (to sweeten the tart fruit)
- 1/4 cup cornstarch (the key to a thick, sliceable filling that isn’t runny)
- 1 tablespoon lemon juice (to brighten all the flavors)
- 1 teaspoon vanilla extract (for a little warm, cozy depth)
- 1/4 teaspoon salt (to balance the sweetness)
- 1 large egg, beaten with 1 tablespoon water (for that gorgeous golden, shiny crust)
- Coarse sugar, for sprinkling (for a delightful crunchy top)
Step By Step
- Preheat your oven to 400°F (200°C). Place a rimmed baking sheet on a lower rack to catch any potential spills.
- In a large bowl, gently toss the chopped rhubarb and berries with the granulated sugar, cornstarch, lemon juice, vanilla extract, and salt until everything is evenly coated. Let this mixture sit for about 15 minutes; you’ll see a lovely syrup start to form.
- Roll out one disc of your pie dough and fit it into your 9-inch pie plate. Trim the edges, leaving about a 1-inch overhang.
- Give the fruit filling one more gentle stir and pour it into the bottom crust, spreading it out evenly.
- Roll out the second disc of dough. You can create a full top crust with slits cut for steam, or get creative with a lattice weave. Place the top crust over the filling. Trim and crimp the edges to seal everything beautifully.
- Brush the top crust lightly with the egg wash and sprinkle generously with coarse sugar.
- Place the pie on the preheated baking sheet and bake for 20 minutes. Then, reduce the oven temperature to 350°F (175°C) and continue baking for another 40-50 minutes. The pie is done when the crust is a deep golden brown and the filling is bubbling vigorously through the vents.
- This is the hard part: let the pie cool completely on a wire rack for at least 4 hours. This allows the filling to set properly so you get clean slices. So worth the wait.
Tips For Success
- Don’t skip the preheating of the baking sheet! It helps cook the bottom crust and saves you from a messy oven cleanup.
- Let your filling macerate. Those 15 minutes of resting with the sugar and cornstarch are crucial for getting the right consistency.
- If your crust is browning too quickly, tent the edges with foil or a pie shield to prevent burning.
- Patience is a virtue. I know it’s tempting, but letting the pie cool completely is non-negotiable for a perfect slice.
- Use cold butter and ice water for your homemade crust. A cold crust equals a flaky crust.
- Have fun with it! A simple leaf cut-out or a braided edge makes it feel extra special.
Variations & Substitutions
- Gluten-Free: Use a 1:1 gluten-free flour blend for your pie crust. My favorite brands work like a charm.
- Vegan: Use your favorite vegan pie crust and substitute the egg wash with a brush of almond milk or maple syrup for browning.
- Berry Swap: No fresh berries? Frozen work perfectly! Just don’t thaw them first; toss them frozen right into the mix.
- Flavor Twist: Add a pinch of cinnamon or a dash of orange zest to the filling for a little something extra.
Serving Ideas & Pairings
This pie is a dream all on its own. But let’s be real, a scoop of vanilla bean ice cream melting into the warm slice is pretty much heaven. A dollop of freshly whipped cream is another classic winner. For a brunch vibe, serve it with a hot cup of coffee. And if you’re feeling fancy, a drizzle of homemade custard sauce takes it over the top.
Storage & Reheating
Once cooled, you can keep your Rhubarb Berry Pie covered at room temperature for up to 2 days. For longer storage, pop it in the fridge for up to 5 days. It also freezes beautifully for up to 3 months; just wrap it tightly in plastic wrap and foil. To reheat, warm individual slices in a 300°F (150°C) oven for about 15 minutes until the crust is crisp again. So good.
Frequently Asked Questions
- Do I have to peel rhubarb for pie? Nope! For fresh, tender stalks, just give them a good wash and chop. The skin is totally edible and adds color.
- Can I use frozen fruit for this strawberry rhubarb pie recipe? Absolutely. Using frozen fruit is a great time-saver. There’s no need to thaw; just use it straight from the freezer and expect to add maybe 5-10 extra minutes to the bake time.
- Why is my strawberry rhubarb pie filling runny? This usually happens if the filling didn’t have enough time to cool and set, or if there wasn’t quite enough cornstarch to thicken the natural juices. Letting it cool completely is key!
- What’s the best rhubarb pie recipe for a beginner? You’re looking at it! This method is straightforward and forgiving. Using a reliable store-bought crust can help build confidence, too.