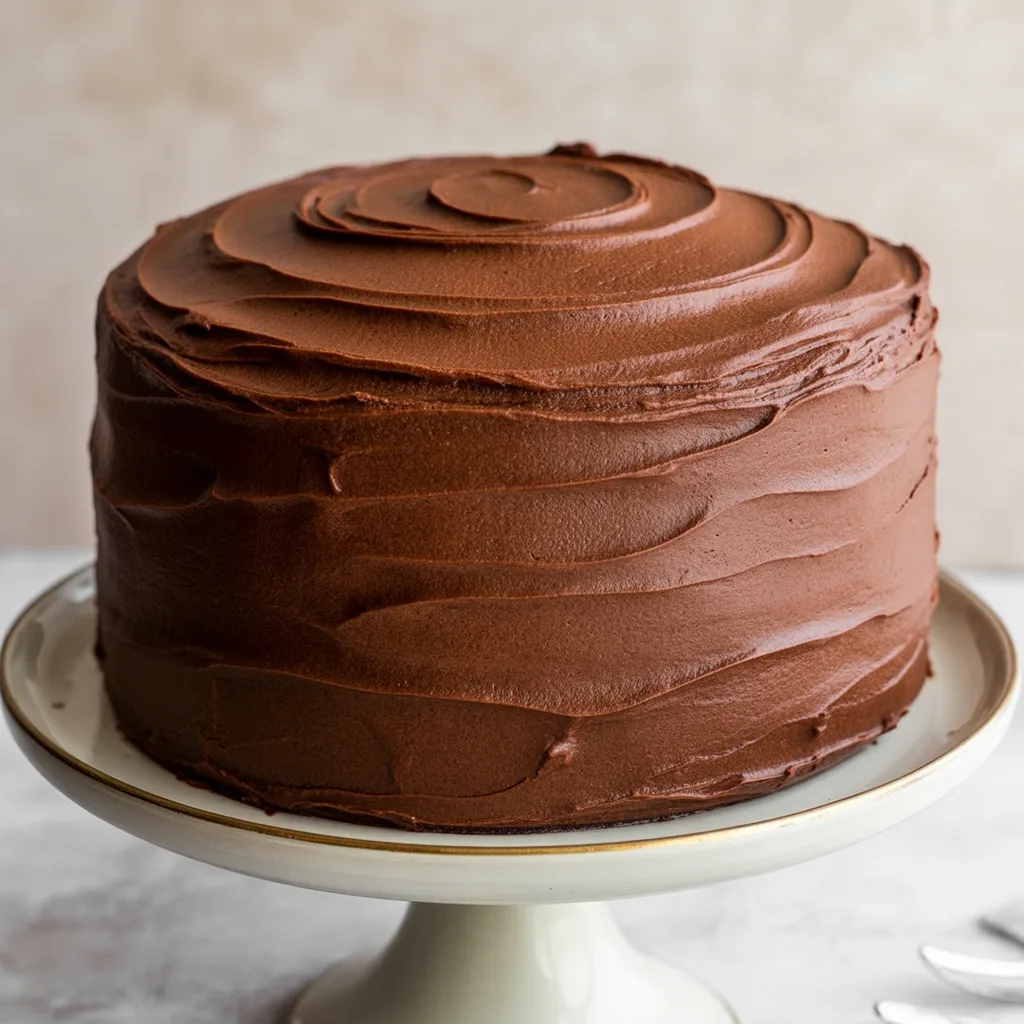
Is there anything more rewarding than pulling a gorgeous, homemade chocolate cake out of the oven? You know, the kind that makes the whole house smell like a bakery and promises a slice of pure comfort? Well, honey, this is that cake. This Rich Chocolate Cake with Smooth, Silky Frosting is my absolute standby for birthdays, potlucks, or those Tuesday afternoons that just scream for chocolate. It’s the one I’ve made so many times I could probably do it in my sleep, and I’m so excited to share it with you.
Why You’ll Love This
This isn’t a fussy, complicated dessert. It’s a straightforward, one-bowl wonder that delivers a deeply chocolatey, moist crumb every single time. The frosting is a dream to spread and tastes like a rich chocolate truffle. It’s the perfect canvas for simple Chocolate Cake Decoration or something more elaborate if you’re feeling fancy. Honestly, it’s the kind of simple chocolate cake that feels like a hug.
Equipements Needed
- Two 9-inch round cake pans
- Parchment paper
- Mixing bowls (one large, one medium)
- Whisk and a spatula
- Electric mixer (hand or stand)
- Cooling rack
- Offset spatula or butter knife for frosting
Ingredients
For the Cake:
- 2 cups all-purpose flour: The structure of our cake.
- 2 cups granulated sugar: For the perfect sweetness.
- 3/4 cup unsweetened cocoa powder: Use a good one for deep flavor.
- 2 teaspoons baking soda
- 1 teaspoon baking powder: Our leavening dream team.
- 1 teaspoon salt: Balances the sweetness.
- 1 cup buttermilk: For an incredibly tender crumb.
- 1/2 cup vegetable oil: Keeps things moist.
- 2 large eggs: Binds it all together.
- 1 cup hot, strong brewed coffee: The secret to intensifying the chocolate flavor.
For the Smooth, Silky Frosting:
- 1 1/2 cups (3 sticks) unsalted butter, softened: The base for our silky frosting.
- 1 cup unsweetened cocoa powder
- 5 cups powdered sugar: Creates that smooth, sweet base.
- 1/2 cup whole milk or heavy cream: For spreadable consistency.
- 1 tablespoon vanilla extract: A flavor booster.
- 1/4 teaspoon salt: Cuts the sweetness perfectly.
Step By Step
- Preheat your oven to 350°F. Grease your two cake pans, line the bottoms with parchment paper circles, and grease the parchment. This is my no-fail method for perfect release.
- In your large bowl, whisk together the flour, sugar, cocoa, baking soda, baking powder, and salt. Get it all nice and combined.
- In a separate bowl or a large measuring cup, whisk together the buttermilk, oil, and eggs.
- Pour the wet ingredients into the dry ingredients and mix with an electric mixer on medium until just combined. The batter will be thick.
- Carefully pour in the hot coffee. The batter will become thin – that’s exactly what you want! Mix until it’s smooth.
- Divide the batter evenly between the prepared pans. Bake for 30-35 minutes, or until a toothpick inserted into the center comes out clean.
- Let the cakes cool in the pans for 10 minutes, then turn them out onto a cooling rack to cool completely. Do not try to frost a warm cake. I’ve learned that lesson the hard way!
- While the cakes cool, make the frosting. Beat the softened butter with an electric mixer until it’s creamy and pale.
- Sift in the cocoa powder and powdered sugar to avoid lumps. Add the milk, vanilla, and salt. Start mixing on low, then increase the speed to high and beat for 3-4 minutes until it’s incredibly light, fluffy, and smooth.
- Once the cakes are completely cool, place one layer on a plate or cake stand. Spread a generous layer of frosting on top. Place the second layer on top and frost the top and sides of the cake. Don’t worry if it’s not perfect – it’s homemade, and that’s the charm!
Oven Temperatures for Perfect Baking
Ovens can be tricky beasts, can’t they? My oven runs a little hot, so I always keep an oven thermometer inside to be sure. The key here is 350°F. If your oven runs hot, you might check the cakes at 28 minutes. If it runs cool, they might need the full 35, or even a minute or two more. The toothpick test is your best friend – a few moist crumbs are okay, but wet batter is not.
Variations & Substitutions
- Dairy-Free: Use a plant-based milk and a vegan butter stick for the frosting. For the cake, substitute the buttermilk with 1 cup of plant-based milk mixed with 1 tablespoon of lemon juice or vinegar.
- Gluten-Free: A 1:1 gluten-free flour blend works beautifully in this recipe.
- Oreo Cake: Crush about 15 Oreo cookies and gently fold them into the batter before baking for a fun twist.
- KitKat Cake: After frosting, press whole or halved KitKat bars vertically around the sides of the cake for a stunning and easy Unique Chocolate Cake Design. Fill the top with M&Ms or chocolate shavings!
- Espresso Boost: Add an extra teaspoon of instant espresso powder to the dry ingredients for an even deeper flavor.
Serving Ideas & Pairings
This cake is a star on its own, but a scoop of vanilla bean ice cream takes it to another level. A cold glass of milk is the classic pairing for a reason. For a fancy dessert, a drizzle of raspberry sauce or a few fresh berries on the side complements the rich chocolate perfectly. So good.
Storage & Reheating
Store any leftover cake (what’s that?!) covered at room temperature for up to 2 days, or in the refrigerator for up to 5 days. The frosting will firm up in the fridge, so let the cake sit out for 30 minutes before serving to let it soften back up. You can freeze the unfrosted cake layers, tightly wrapped, for up to 3 months. Thaw overnight in the refrigerator before frosting.
Frequently Asked Questions
- Can I make this into cupcakes? Absolutely! Line a muffin tin with cupcake liners and fill them 2/3 full. Bake at 350°F for 18-22 minutes. This recipe should make about 24 cupcakes.
- I don’t have buttermilk. What can I use? No problem! Add 1 tablespoon of white vinegar or lemon juice to a 1-cup measuring cup. Fill the rest with regular milk and let it sit for 5 minutes before using.
- Can I use a different type of pan? A 9×13-inch pan works great! Just grease and flour it well and bake for about 40-45 minutes.
- My frosting is too thin/thick. How can I fix it? If it’s thin, add a little more powdered sugar. If it’s too thick, add a teaspoon of milk at a time until it’s spreadable.
- What’s the secret to making Chocolate Birthday Cakes that look professional? A simple turntable and an offset spatula make a world of difference. And don’t underestimate the power of a decorative piping border or a sprinkle of sea salt on top for that perfect Chocolate Cake Aesthetic.