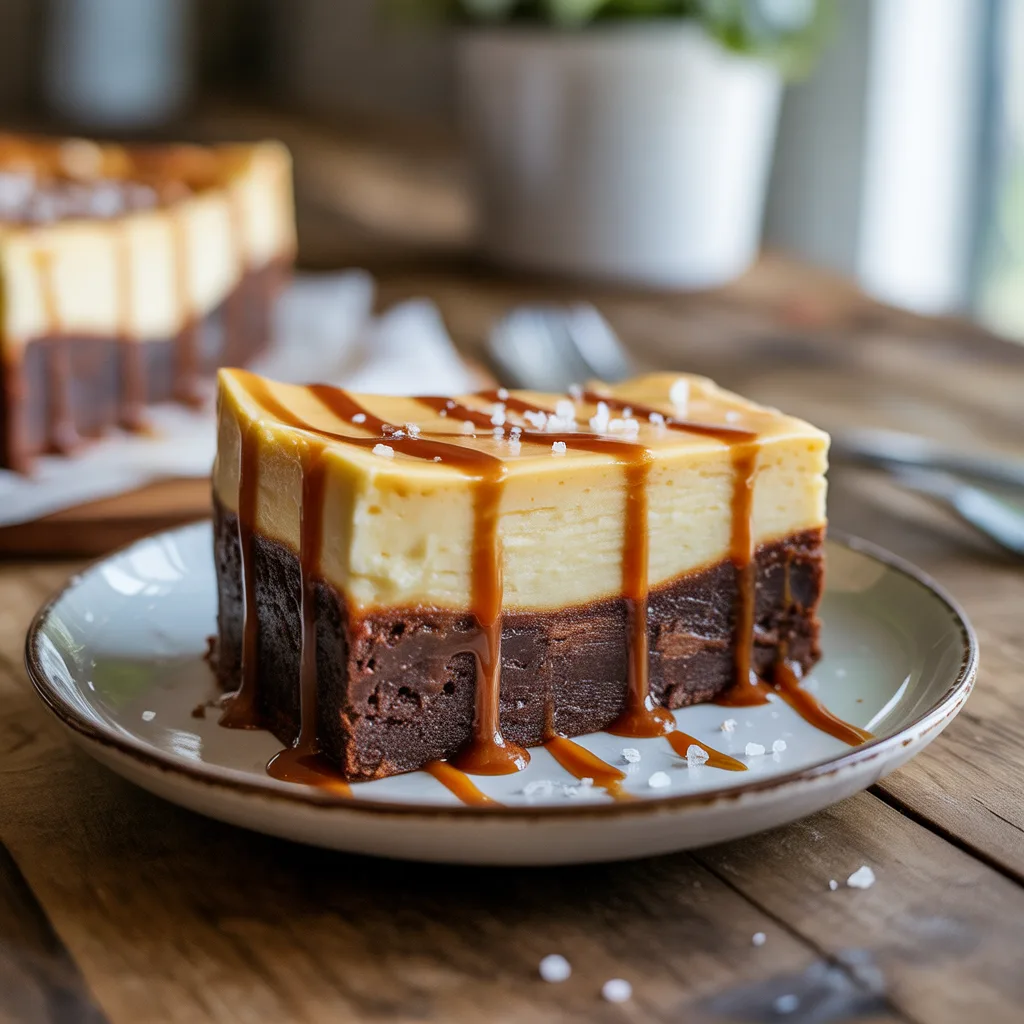
Is there anything better than a dessert that looks like you spent all day in the kitchen but secretly comes together without a fuss? I didn’t think so. These Salted Caramel Christmas Cheesecake Brownies are my go-treat for holiday parties, cookie swaps, and those nights when you just need a little something sweet. They’re the perfect mashup of fudgy brownie, creamy cheesecake, and that sweet-and-salty caramel we all love. Trust me, your people are going to go wild for these.
Why You’ll Love This
You’ll love this recipe because it delivers maximum festive flavor with minimal kitchen drama. We’re using a simple boxed brownie mix as our base—no shame in that game!—to make the whole process a breeze. The creamy cheesecake layer swirled on top feels fancy, and the drizzle of salted caramel at the end? Pure magic. It’s the kind of dessert that makes everyone think you’re a baking pro, and I’ll never tell your secret.
Equipements Needed
- One 9×13 inch baking pan
- Parchment paper
- Two medium mixing bowls
- Electric hand mixer or stand mixer
- Rubber spatula
- Toothpick or cake tester
- Small saucepan or microwave-safe bowl
Ingredients
- 1 box (18-19 oz) fudge brownie mix, plus the oil, water, and egg it calls for
- 2 packages (8 oz each) cream cheese, softened to room temperature
- 2/3 cup granulated sugar
- 2 large eggs
- 1 teaspoon vanilla extract
- 1/2 cup salted caramel sauce, plus more for drizzling
- Coarse sea salt, for sprinkling
Step By Step
- Preheat your oven to 350°F (325°F if using a dark metal pan). Line your 9×13 inch pan with parchment paper, leaving some overhang on the sides for easy lifting later.
- In your first bowl, prepare the brownie batter according to the package directions. Pour it evenly into your prepared pan and set it aside.
- In your second bowl, beat the softened cream cheese and sugar together with your mixer until it’s completely smooth and there are no lumps. Scrape down the sides.
- Beat in the eggs, one at a time, followed by the vanilla. Mix until everything is just combined and creamy. Don’t overmix!
- Dollop big spoonfuls of the cheesecake mixture all over the top of the brownie batter. Then, take a knife or a skewer and gently swirl it through the two batters to create a beautiful marbled effect.
- Bake for 35-45 minutes. You’ll know it’s done when the edges are set but the center still has a very slight jiggle. A toothpick inserted into the brownie part should come out with a few moist crumbs.
- Let the pan cool completely on a wire rack. Once cool, warm up your 1/2 cup of caramel sauce slightly so it’s easy to drizzle. Pour it over the top and spread it gently. Finish with a generous sprinkle of coarse sea salt.
- Use the parchment paper to lift the whole slab out of the pan onto a cutting board. Slice into squares and serve.
Serving Ideas & Pairings
These brownies are a star all on their own, but I love serving them with a hot cup of coffee after a big holiday dinner. They’re also the perfect addition to any Christmas brunch spread or cookie platter. For a real showstopper, place a square on a plate with a little extra drizzle of caramel and a tiny scoop of vanilla ice cream. So good.
Variations & Substitutions
- Gluten-Free: Use your favorite gluten-free brownie mix.
- Dairy-Free: Swap the cream cheese for a dairy-free alternative and use a dairy-free caramel sauce.
- Nutty Twist: Stir 1/2 cup of chopped toasted pecans into the brownie batter.
- Peppermint Vibes: For a fun Christmas twist, crush up some candy canes and sprinkle them on top with the sea salt.
- Chocolate Lover’s Dream: Add a handful of chocolate chips to the brownie batter before pouring it into the pan.
Storage & Reheating
These brownies store beautifully. Keep them in an airtight container in the refrigerator for up to 5 days. They are delicious cold, but I honestly think they’re best at room temperature. So, so good. Let them sit out for about 20 minutes before serving. You can also freeze them for up to 3 months. Just wrap individual squares tightly in plastic wrap and place them in a freezer bag. Thaw in the fridge overnight.
Frequently Asked Questions
- Can I make these ahead of time for a Christmas party? Absolutely! They are actually even better the next day. Bake them, let them cool, add the caramel and salt, cover tightly, and refrigerate. Slice them right before your party.
- My cheesecake layer sank a little. What happened? Don’t you worry one bit. This can happen if the cream cheese wasn’t fully softened or if we overmixed the batter. It’s still going to taste incredible, I promise.
- What’s the best way to get clean slices? For the prettiest squares, use a sharp knife and wipe the blade clean with a warm, damp cloth between each cut.
- Are these considered easy Christmas desserts? Yes! Using the brownie mix as a shortcut makes this one of the easiest Christmas dessert ideas out there, perfect for busy bakers.