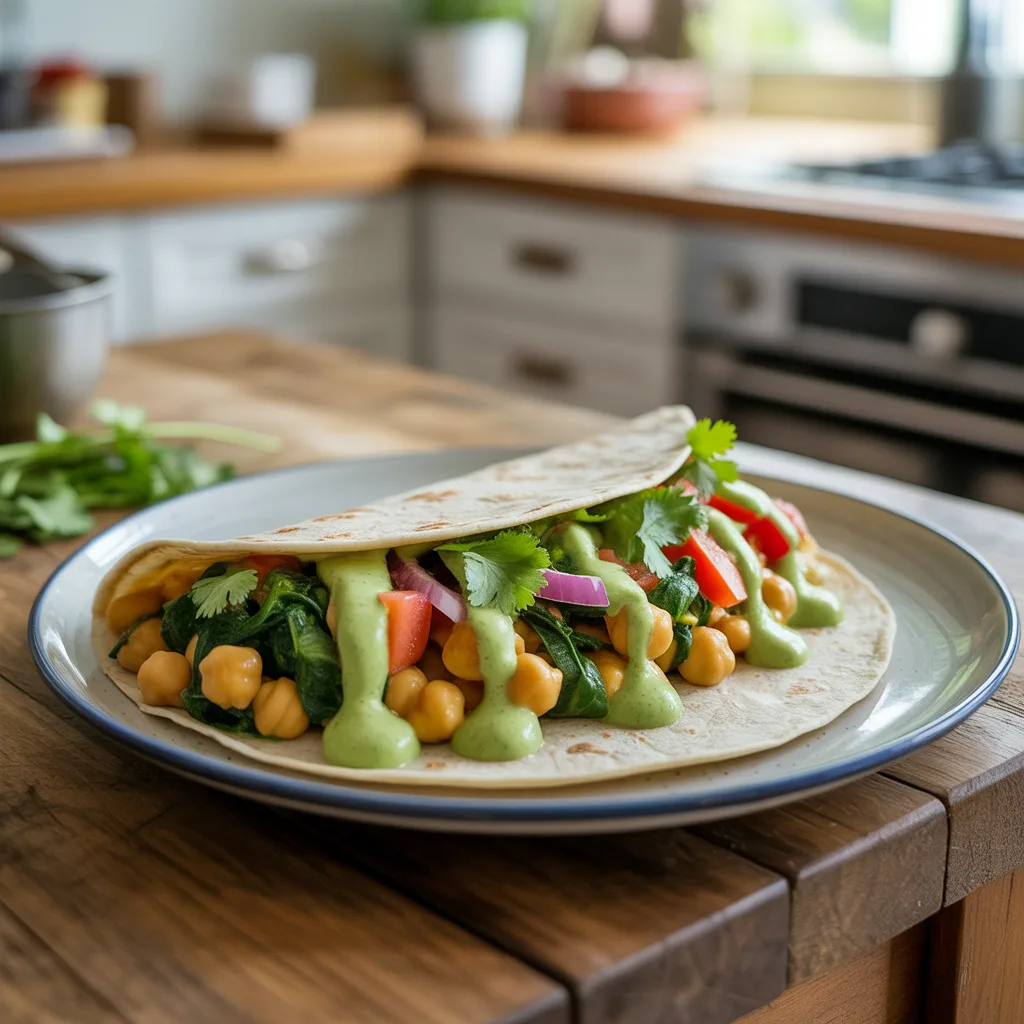
Ever have one of those mornings where you’re craving something hearty and savory, but your average bowl of cereal or sweet oatmeal just isn’t cutting it? And let’s be real, who has time for a complicated egg scramble when the morning chaos is already in full swing? That’s where this Savory Chickpea Omelet Wrap With Plant-Based Protein swoops in to save the day. It’s a total game-changer for busy mornings, packing all the comfort of a classic omelet into a delicious, protein-packed wrap that just happens to be completely plant-based. So good.
Why You’ll Love This
You are going to love this recipe because it is so, so versatile. It comes together in about 20 minutes, uses mostly pantry staples, and is incredibly forgiving. Made from a simple chickpea flour batter, this ‘omelet’ is naturally gluten-free and packed with protein to keep you full and fueled all morning long. Plus, it’s just plain fun to make. It’s the perfect answer for anyone looking for quick breakfast ideas that don’t sacrifice flavor or satisfaction. You get that beautiful, aesthetic food moment without any of the fuss.
Equipements Needed
- 1 medium-sized non-stick skillet (an 8 or 10-inch works best)
- Mixing bowl
- Whisk
- Spatula
- Measuring cups and spoons
Ingredients
- 1 cup chickpea flour: The base of our plant-powered ‘omelet’.
- 1 cup water: To create the perfect batter consistency.
- 1 tbsp nutritional yeast: For a cheesy, savory flavor.
- 1/2 tsp turmeric: For that classic golden yellow color.
- 1/2 tsp garlic powder: For a little savory depth.
- 1/4 tsp black salt (kala namak): The secret for an authentic ‘eggy’ flavor (optional but recommended).
- 1/4 tsp black pepper: Freshly ground is best.
- 1 tbsp olive oil: For cooking.
- 1 large whole wheat tortilla: For wrapping everything up.
- Fillings of choice: Think sliced avocado, fresh spinach, diced tomato, or a handful of black beans.
Step By Step
- In a medium bowl, whisk together the chickpea flour, nutritional yeast, turmeric, garlic powder, black salt, and black pepper.
- Slowly pour in the water while continuing to whisk. Keep whisking until the batter is completely smooth and there are no lumps. Let it rest for 5 minutes; this allows the flour to fully hydrate.
- While the batter rests, prep your fillings and have your tortilla ready. You can warm the tortilla briefly in a dry skillet or the microwave for easier wrapping.
- Heat the olive oil in your non-stick skillet over medium heat. Give the batter one final whisk and pour it all into the heated skillet, swirling the pan to create an even circle.
- Cook for 3-4 minutes, until the edges look set and the top is covered with little holes. Carefully slide your spatula underneath and flip. Cook for another 2-3 minutes on the second side until golden.
- Slide the cooked chickpea omelet onto your waiting tortilla. Top with your desired fillings, fold in the sides, and roll it up tightly into a wrap. Slice in half and enjoy immediately!
Tips For Success
- Don’t skip the batter rest! It makes for a much more tender final product.
- If you don’t have black salt, just use regular salt. You’ll miss the eggy flavor, but it will still be delicious.
- Get your fillings ready to go before you start cooking the omelet. This is a fast process once the batter hits the pan.
- Honestly, if your first flip is a bit of a messy disaster, just call it ‘scramble style’ and pile it into the tortilla anyway. It will taste just as good.
- A non-stick skillet is your best friend here for a perfect, easy flip.
Variations & Substitutions
- Spice it Up: Add a pinch of smoked paprika or a dash of hot sauce to the batter.
- Veggie-Loaded: Stir finely chopped bell pepper, onion, or mushrooms directly into the batter before cooking.
- Flour Power: Any flour tortilla will work—spinach, sun-dried tomato, or a gluten-free wrap.
- Cheesy Goodness: Add a sprinkle of dairy-free cheddar shreds on top of the omelet right after you flip it.
Storage & Reheating
The wrap is always best enjoyed fresh. However, you can store a cooked, unfilled omelet in an airtight container in the fridge for up to 3 days. Reheat it gently in the skillet or microwave until warmed through, then add to your tortilla with fresh toppings. I don’t recommend freezing the omelet, as the texture can become a bit spongy.
Serving Ideas & Pairings
This wrap is a complete meal all on its own! But if you’re building a bigger breakfast buffet for a weekend crowd, it pairs beautifully with a simple fruit salad, crispy hash browns, or a refreshing green smoothie. It’s the ultimate savory breakfast that’s sure to become part of your regular morning breakfast ideas rotation.
Frequently Asked Questions
- Q: Can I make the batter ahead of time?
A: Absolutely! You can whisk the batter together, cover it, and keep it in the fridge for up to 24 hours. Just give it a good stir before using. - Q: I don’t have chickpea flour. What can I use?
A: Chickpea flour is key for the protein content and structure, so I don’t recommend substituting it. But it’s readily available in most grocery stores in the baking or gluten-free aisle. - Q: Is this recipe good for meal prep?
A: For sure. Cook a few omelets ahead of time and store them (without toppings) in the fridge. In the morning, just reheat, wrap, and go for the easiest quick breakfast ideas.