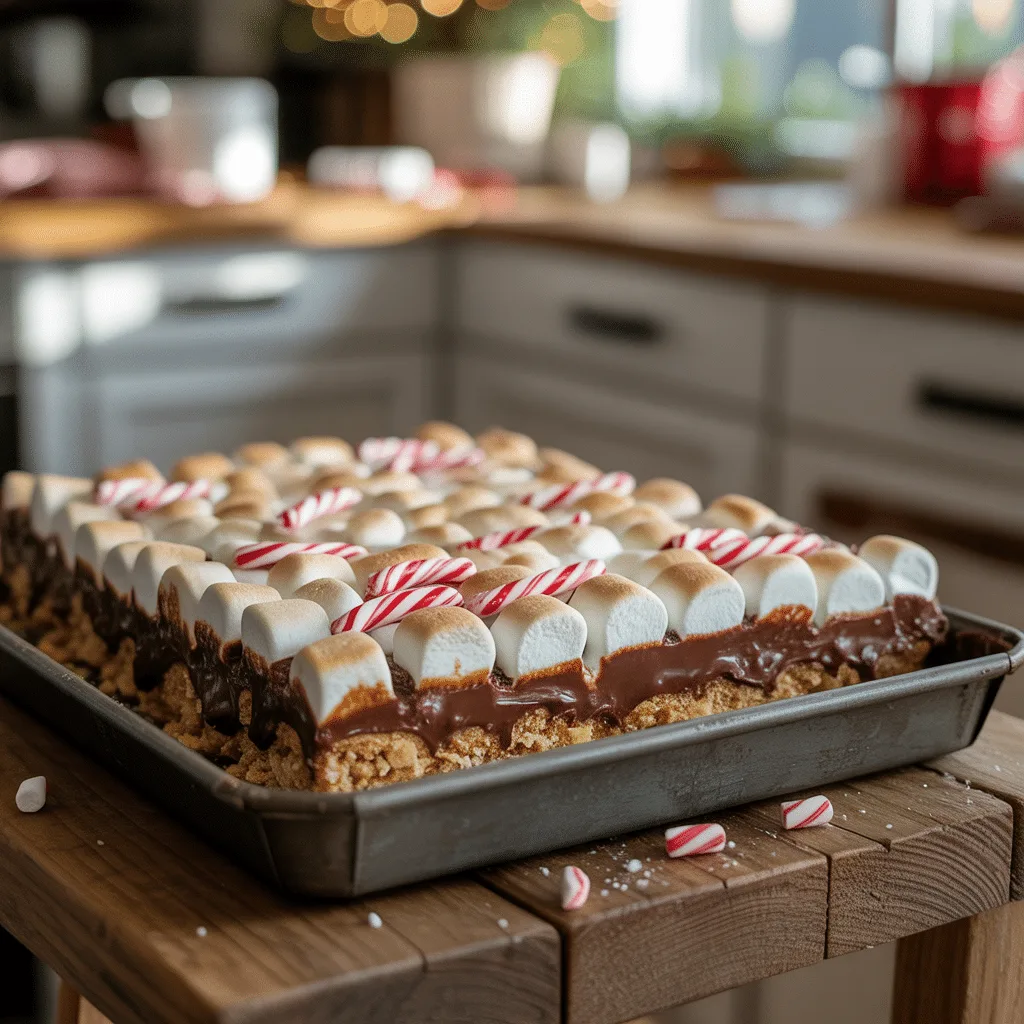
Imagine if a s’more and a classic magic cookie bar fell in love and had the most perfect holiday baby. That’s exactly what you get with these S’mores Christmas Magic Cookie Bars. They’re built on a graham cracker crust, layered with rich chocolate and buttery toffee bits, then covered in mini marshmallows that get all toasty and golden. It’s the cozy campfire treat, all dressed up for the holidays. They’re the ultimate no-fuss dessert that brings so much joy and nostalgia to the table. Seriously, does it get any better than that?
Why You’ll Love This
These bars are an instant holiday favorite, and here’s why:
- Super simple to make — no mixer, no special tools, no chilling time.
- One-pan prep means fast assembly and easy cleanup.
- Perfect for busy holiday schedules when you need a crowd-pleasing dessert in minutes.
- The flavor is incredible — a mix of:
- Crunchy graham cracker crust
- Melted chocolate
- Buttery toffee
- Toasty, golden marshmallows
Guaranteed smiles — they’re chewy, chocolatey, cozy, and nostalgic in the best way.
Equipment Needed
You only need a few simple tools to make these bars come together smoothly:
- 8×8 or 9×9-inch baking pan
- Parchment paper
- Mixing bowl
Measuring cups and spoons
Ingredients
Here’s everything you’ll need to make these cozy S’mores Christmas Magic Cookie Bars:
- Melted unsalted butter for a rich, buttery base
- Graham cracker crumbs for that classic s’mores flavor
- Sweetened condensed milk to bring all the layers together
- Semi-sweet chocolate chips for melty chocolate pockets
- Toffee bits for a buttery crunch
- Mini marshmallows for a golden, toasty topping
Crushed peppermint candies (optional) for a festive holiday twist
Exact measurements are listed in the recipe card below.
Step by Step Method
- Prep the pan. Heat oven to 350°F (175°C). Line an 8×8 or 9×9-inch pan with parchment, leaving overhang for easy lifting.
- Make the crust. Stir melted butter and graham cracker crumbs until it looks like wet sand. Press firmly and evenly into the pan.
- Add the “magic.” Pour sweetened condensed milk evenly over the crust.
- Layer it up. Sprinkle on chocolate chips, then toffee bits.
- Top with marshmallows. Cover the surface from corner to corner.
- Bake. Bake 25–30 minutes, until the marshmallows are toasty golden and the edges look lightly bubbly.
- Cool and slice. Cool the pan completely on a rack (crucial for clean cuts!). Lift out using the parchment, transfer to a board, and slice into squares.
Tip: If the marshmallows brown too quickly, tent the pan loosely with foil for the last few minutes.
Creative Variations
These bars are such a fun base to play with — mix and match your favorite add-ins to make them your own:
- Switch up the chocolate: Use dark chocolate, milk chocolate, or even white chocolate chips.
- Add some crunch: Stir in chopped pecans, peanuts, or walnuts.
- Make them extra festive: Add holiday sprinkles or a light drizzle of melted peanut butter after baking.
- Try a salty twist: Swap the toffee bits for chopped pretzels for a sweet-and-salty bite.
Peppermint lovers: Add crushed peppermint candies for a cool, minty holiday touch.
Feel free to customize — this recipe is wonderfully flexible!
Storage & Reheating
Keeping these bars fresh is easy — here’s the best way to store them:
- Room temperature: Store in an airtight container for up to 4 days. Keep them in a single layer, or stack with parchment between layers to prevent sticking.
- Freezer-friendly: Wrap each bar tightly in plastic wrap, then in foil. Freeze for up to 3 months. Thaw at room temperature before serving.
Reheating (optional): Not recommended because the marshmallows can get overly sticky. If you really want them warm, heat 5–10 seconds in the microwave just to soften.
They hold up beautifully on the counter — perfect for holiday snacking all week long!
Serving Ideas & Pairings
Serving Ideas & Pairings
These bars already shine on their own, but here are a few fun ways to make them even more festive:
- Classic pairings: Serve with a cold glass of milk or a cozy mug of hot cocoa.
- Holiday dessert boards: Add them to a Christmas cookie platter, dessert buffet, or potluck spread.
- Party-friendly idea: Set up a “build-your-own dessert plate” station with these bars, assorted cookies, brownies, and other holiday treats.
After-dinner treat: They make the perfect sweet bite to wrap up a holiday meal.
Easy, nostalgic, and always a crowd-pleaser!
Doneness Test
Here’s how to tell your bars are perfectly baked:
- Check the marshmallows: They should be a light, toasty golden brown—not pale, but not dark or burned.
- Look at the edges: The sides of the pan should look lightly bubbly as the layers melt together.
Don’t stress about the center: It may seem a little soft when you pull it from the oven, but it will firm up as it cools.
If it looks toasty and smells amazing, you’re right on track!
FAQs
Can I use homemade graham cracker crumbs?
Absolutely! Crush about 12 full-sheet graham crackers in a zip-top bag with a rolling pin until you get fine crumbs. They work just as well as store-bought.
Why did my marshmallows get too dark?
Marshmallows brown quickly, and oven temperatures can vary. If yours are toasting too fast, loosely tent the pan with foil during the last 10 minutes to protect the top while the center finishes baking.
Any other easy Christmas treats that use similar ingredients?
Definitely! Try using a chocolate cookie crust for a fun twist on magic bars, or press these same ingredients onto pre-made sugar cookie dough for another simple and festive dessert idea.
There you have it, friends—your new go-to recipe for creating a little S’mores Christmas Magic Cookie Bars magic this holiday season. It’s the kind of easy, joyful baking that feels just right, whether you’re hosting a big crowd or simply enjoying a quiet night by the tree.