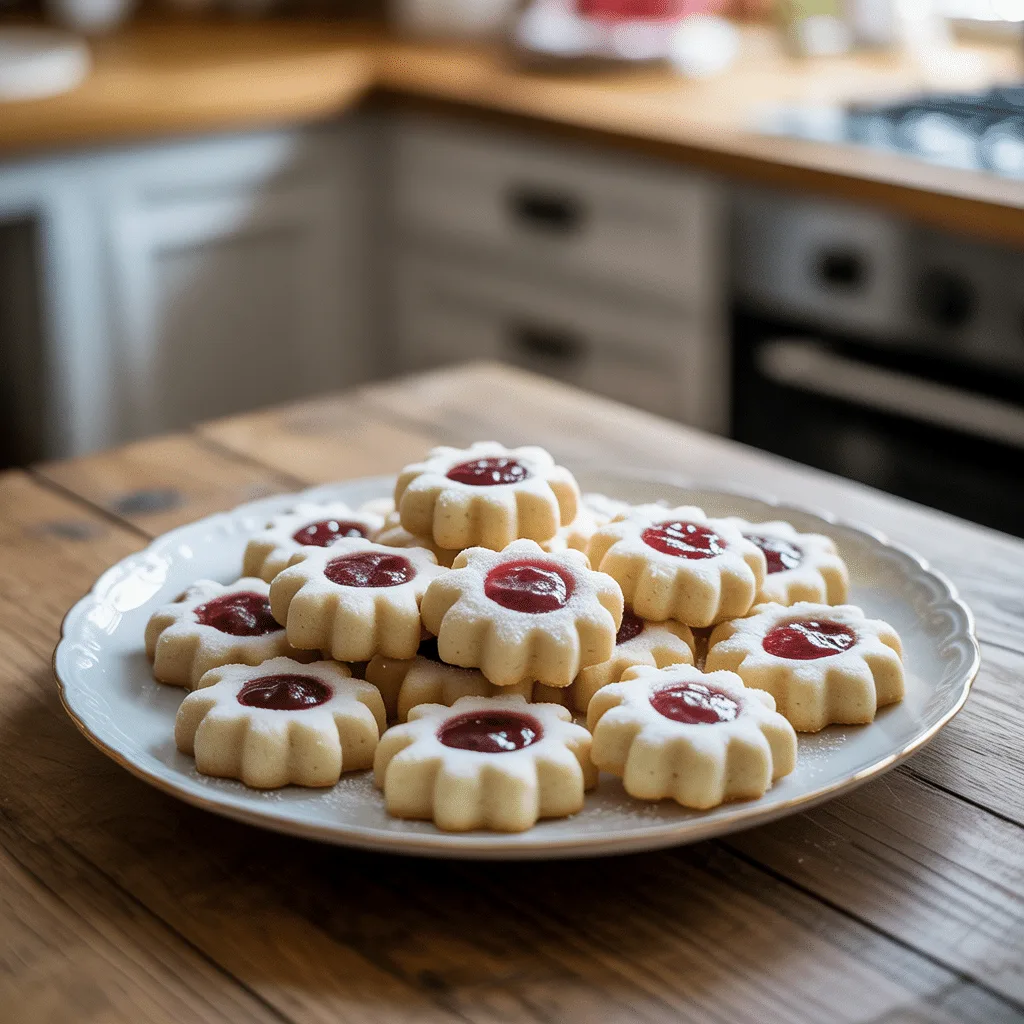
Picture your favorite, melt-in-your-mouth sugar cookie. Now imagine it dressed up for the holidays with a delicate, sparkling snowflake design and a little sweet pocket of jewel-toned jam right in the center. That’s exactly what these Snowflake Sugar Thumbprint Cookies are all about. They’re a festive twist on a classic, perfect for leaving out for Santa or stacking high on a plate for your next cookie exchange. They look fancy, like you spent all day decorating, but the secret is that they are wonderfully simple to make. Just a few basic pantry staples come together to create a cookie that’s buttery, just sweet enough, and so fun.
Why You’ll Love This Recipe
You’re busy, I’m busy—we all are, especially during the holidays. That’s why this recipe is such a winner. It uses one bowl and doesn’t require any fancy chilling time for the dough, which means you can go from zero to cookies in well under an hour. The process is hands-on and tactile, making it a fantastic recipe to do with little helpers in the kitchen. And honestly, is there anything more satisfying than pressing your thumb into a ball of dough to make the perfect little well for jam? It’s a little moment of kitchen therapy. The final result is a cookie that’s tender and crumbly, with a beautiful contrast of textures between the sugary exterior and the soft, fruity jam center. So good.
Ingredients
- 1 cup (2 sticks) unsalted butter, softened: The base for our rich, tender dough.
- 2/3 cup granulated sugar: For just the right amount of sweetness.
- 2 large egg yolks: Helps bind the dough together for the perfect texture.
- 1 teaspoon vanilla extract: Adds a warm, classic flavor note.
- 2 1/4 cups all-purpose flour: The structure for our cookies.
- 1/2 teaspoon salt: Balances the sweetness and enhances all the flavors.
- 1/2 cup raspberry or apricot jam: For that beautiful, sweet center burst.
- 1/2 cup coarse or sparkling sugar: Creates that magical, snowy sparkle on top.
Step-By-Step Method
- Preheat your oven to 350°F (175°C) and line two large baking sheets with parchment paper.
- In a large mixing bowl, use an electric mixer to beat the softened butter and granulated sugar together on medium speed until the mixture is light and fluffy, about 2-3 minutes.
- Beat in the egg yolks and vanilla extract until everything is just combined and smooth.
- With your mixer on low speed, gradually add the flour and salt to the wet ingredients. Mix until the dough just comes together and no dry streaks of flour remain. Be careful not to overmix.
- Pour the coarse sugar into a small, shallow bowl. Scoop out about 1 tablespoon of dough and roll it between your palms to form a smooth ball.
- Roll the dough ball in the coarse sugar until it’s completely coated, then place it on your prepared baking sheet. Repeat with the remaining dough, spacing the balls about 2 inches apart.
- Use your thumb or the back of a 1/2 teaspoon measuring spoon to press a deep indentation into the center of each cookie.
- Fill each indentation with about 1/2 teaspoon of your chosen jam.
- Bake for 12-14 minutes, or until the cookies are set and the edges are just beginning to turn a very light golden brown.
- Let the cookies cool on the baking sheet for 5 minutes before transferring them to a wire rack to cool completely.
Equipment Needed
You won’t need anything out of the ordinary for these easy Christmas desserts. A standard set of measuring cups and spoons, a large mixing bowl, an electric hand mixer (or a sturdy wooden spoon and some arm muscle if you prefer), two large baking sheets, and parchment paper are the main players. A wire cooling rack is also super helpful for ensuring your cookies don’t get soggy on the bottom as they cool.
Serving Ideas & Pairings
These cookies are stars on any holiday dessert platter. Arrange them on a festive plate next to some fudge and peppermint bark for a real showstopper. For a cozy holiday treat, serve them alongside a big mug of hot chocolate or a steaming cup of coffee—the sweet jam and buttery cookie are just perfect with a warm drink. They also make wonderful edible gifts! Simply stack them in a cellophane bag tied with a pretty ribbon, or arrange them in a tin between layers of wax paper. A homemade gift from the kitchen is always so special.
Creative Variations
Don’t be afraid to make this recipe your own! The jam center is a blank canvas. Try out different flavors like strawberry, blackberry, or even a tangy lemon curd. For a nutty twist, you can roll the dough balls in finely chopped pecans or almonds instead of coarse sugar before making the thumbprint. If you’re feeling a little decadent, you can drizzle the cooled cookies with a simple powdered sugar glaze. And honestly, a little pinch of cinnamon in the dough is a wonderful addition if you’re a spice lover like me.
Storage Tips
To keep your Christmas treats easy to enjoy, store the completely cooled cookies in an airtight container at room temperature. They’ll stay fresh and delicious for up to 5 days. If you want to get a head start on your holiday baking, you can also freeze them. Place the cooled cookies in a single layer on a baking sheet and freeze until solid, then transfer them to a freezer-safe bag or container. They’ll keep for up to 3 months. Thaw at room temperature whenever a cookie craving strikes!
Doneness Test
The key to perfect Snowflake Sugar Thumbprint Cookies is not overbaking them. You’re looking for cookies that are set and no longer look wet or raw. The edges should be very lightly, lightly golden. The centers might still look a little soft, and that’s exactly what you want. They will continue to firm up as they cool on the baking sheet. If you wait for them to turn brown on top, they’ll be overdone and too crunchy.
FAQs
- Can I use a different type of jam? Absolutely! This is one of the best things about these holiday desserts. Any jam or preserves you love will work wonderfully. Just avoid anything with large chunks of fruit, as it might not melt evenly.
- My thumbprint puffed up and closed during baking. What happened?This can happen if the indentation isn’t deep or wide enough. Really press that thumb in there to make a good, deep well for the jam. Using the back of a measuring spoon helps ensure consistency.
- Are these good Christmas party desserts for making ahead? They are fantastic make-ahead Christmas food ideas! You can bake them a day or two before your event and store them in an airtight container. The flavors are even better the next day.