Nothing beats the joy of slicing into a homemade Sweet Cherry Pie with its bubbling fruit filling and crisp golden crust. Fresh cherries, a simple filling, and a flaky pie crust come together in a way that feels comforting without being complicated. Whether it’s sitting proudly on a holiday table or cooling on the counter after Sunday supper, this pie brings a little extra happiness wherever it goes.
Why You’ll Love This Sweet Cherry Pie
- Balanced Sweetness: The filling uses just enough sugar to let the natural flavor of the cherries shine without becoming overly sweet.
- Beautiful Homemade Look: A lattice crust or classic top crust gives this pie that bakery-style charm straight from your own kitchen.
- Simple Ingredients: Every ingredient in this pie is easy to recognize and works together to create a classic homemade dessert.
- Rich Cherry Flavor: Sweet cherries paired with almond extract and lemon juice create a filling that tastes bright, bold, and full of depth.
- Perfect Make-Ahead Dessert: This pie stores beautifully, making it easy to prepare before family dinners or gatherings.
- Crowd-Pleasing Texture: The thick, juicy filling and flaky crust make every slice satisfying from the first bite to the last.
- Wonderful for Sharing: With eight servings, this pie is made for passing around the table and enjoying with family and friends.
Ingredients You’ll Need
One thing I adore about this Sweet Cherry Pie is how a handful of humble ingredients can bake up into something that feels downright special. The cherries do most of the heavy lifting here, while a few pantry staples help create that thick, glossy filling folks expect from truly memorable dessert recipes.
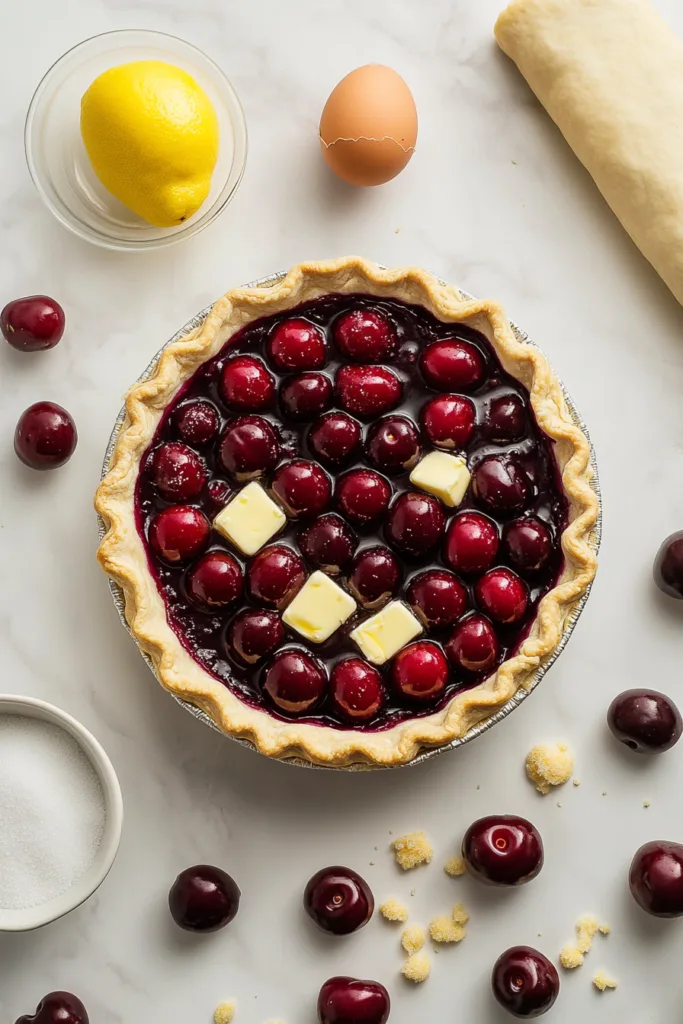
- Pie dough for top and bottom 9- or 10-inch pie: The pie dough forms the flaky shell that holds the filling together. Using enough dough for both the top and bottom crust gives the pie structure and that classic homemade look.
- 5 cups sweet cherries, pitted: These are the heart of the pie, bringing juicy texture and rich fruit flavor. Five cups creates a generously filled pie without overflowing the crust too heavily.
- 1/2 cup sugar: The sugar sweetens the cherries while still allowing their natural flavor to stand out. The amount keeps the pie pleasantly balanced instead of overly sugary.
- 1/2 teaspoon almond extract: Almond extract adds warmth and depth to the filling, helping the cherries taste even richer and fuller.
- 1 tablespoon lemon juice: Lemon juice brightens the filling and balances the sweetness of the cherries so the pie tastes lively instead of flat.
- 6 tablespoons cornstarch: Cornstarch thickens the cherry juices as the pie bakes, helping the filling hold together into clean, sliceable pieces.
- 2 teaspoons butter, cut into small pieces: Small dabs of butter melt into the filling during baking and add richness throughout the pie.
- 1 large egg: The egg is whisked for the optional egg wash, which gives the crust a glossy finish and deeper color while baking.
- Coarse sugar, for sprinkling: A sprinkle of coarse sugar on top adds a little sparkle and a light crunch to the finished crust.
How to Make Sweet Cherry Pie
There’s something mighty satisfying about building a pie from scratch and watching it turn into a bubbling beauty in the oven. This Sweet Cherry Pie comes together step by step in a way that feels cozy, comforting, and completely doable—even if homemade pies still make you a little nervous.
- Prepare the cherry filling by placing the pitted cherries, sugar, almond extract, lemon juice, and cornstarch into a large bowl. Toss everything together until the cherries are fully coated and the mixture looks evenly combined.
- Roll out the bottom pie crust on a lightly floured surface and fit it into a 9- or 10-inch pie pan. Trim the edges so the dough extends about 1 inch beyond the edge of the pan, then place the crust in the refrigerator while preparing the top crust.
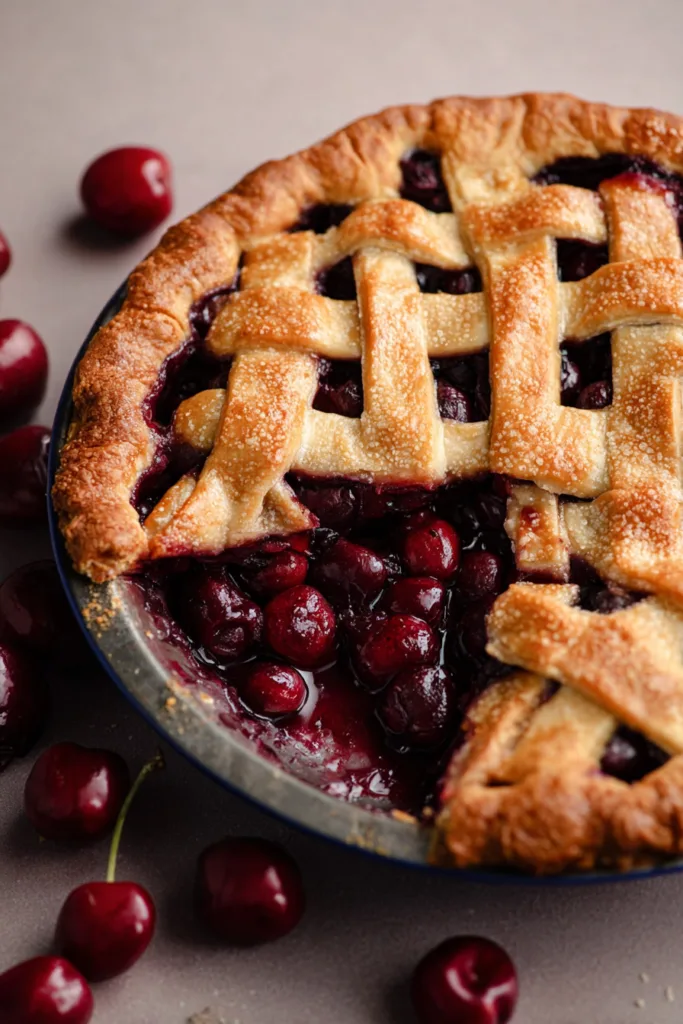
- Shape the top crust by rolling it out to roughly the same size as the bottom crust. If you’d like, create a lattice crust for a more traditional homemade look.
- Fill the pie using a slotted spoon to transfer the cherries into the prepared crust, leaving excess liquid behind in the bowl. Dot the filling with small pieces of butter, then cover with the top crust. Trim the edges and crimp them together to seal the pie.
- Score the top crust with several cuts to allow steam to escape while baking, unless using a lattice crust. Chill the assembled pie for 30 minutes before baking while the oven preheats to 425°F.
- Brush the crust with the egg wash if using, then sprinkle coarse sugar over the top. Bake the pie on the middle rack with a baking sheet underneath to catch drips. Bake for 15 minutes at 425°F, then reduce the oven temperature to 350°F and continue baking for 45 to 55 minutes until the crust is browned and the filling is thick and bubbly. Allow the pie to cool completely before serving.
Tips for the Best Sweet Cherry Pie
- Leave Extra Liquid Behind — Using a slotted spoon to transfer the cherries into the crust helps prevent the filling from becoming too loose while baking.
- Chill Before Baking — Letting the assembled pie chill for 30 minutes helps the crust hold its shape better in the oven.
- Use the Middle Oven Rack — Baking the pie in the center of the oven encourages even browning on both the top and bottom crust.
- Protect Against Drips — Placing a baking sheet on the rack below catches bubbling juices and keeps cleanup easier during baking.
- Cool Completely Before Slicing — Allowing the pie to cool fully gives the filling time to set properly so the slices hold together more cleanly.
- Adjust the Sugar Carefully — Since cherries can vary in sweetness, you can slightly increase or decrease the sugar to suit your taste and the fruit you’re using for this easy dessert.
Storage & Make-Ahead Tips
Fridge: Store the pie covered with plastic wrap in the refrigerator for up to 5 days. The filling stays thick and flavorful, and the crust still tastes delicious chilled or brought back to room temperature before serving.
Freezer: Wrap the completely cooled pie tightly before freezing. It can be frozen for up to 3 months. Let the pie thaw in the refrigerator before serving.
Make-Ahead: Sweet Cherry Pie is a wonderful make-ahead dessert for family gatherings and summer meals because the flavor holds beautifully after cooling. You can bake it the day before serving and keep it covered at room temperature for up to 3 days.
What to Serve With Sweet Cherry Pie
This pie shines beautifully all on its own, but a few simple additions can make dessert time feel even more special. I love pairing it with easy sides that let the cherry filling stay front and center.
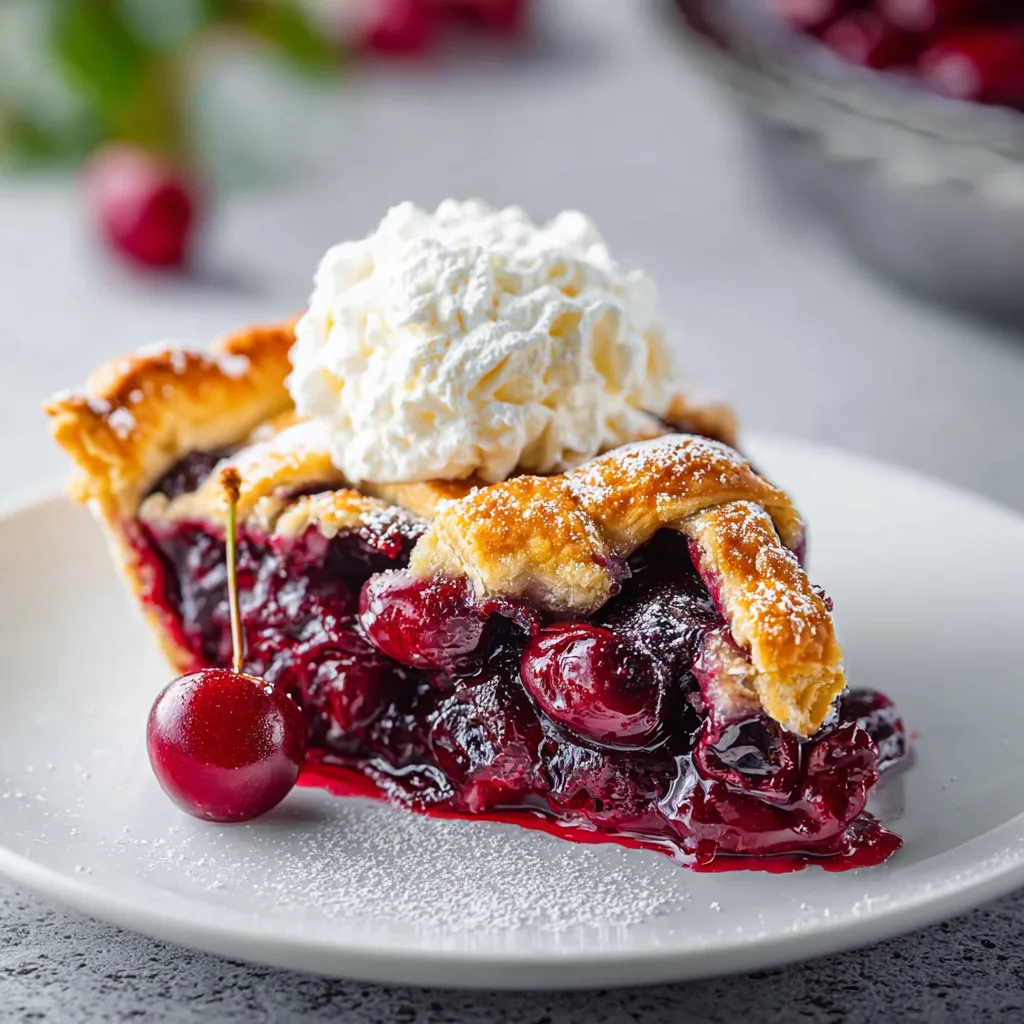
- Vanilla ice cream
- Fresh whipped cream
- Hot coffee or tea
- Fresh fruit platters
- Simple cheese boards
- Cold milk
Frequently Asked Questions
Q: Can I use more sugar in the filling?
Yes, the recipe is intentionally balanced so the cherries remain the star of the pie. If your cherries are especially tart or you prefer a sweeter pie, you can increase the sugar slightly. Since cherry sweetness varies from batch to batch, adjusting the sugar to your personal taste is completely reasonable.
Q: Why is cornstarch added to the filling?
Cornstarch helps thicken the juices released by the cherries while the pie bakes. Without it, the filling would be much looser and harder to slice neatly. The amount used here creates a filling that stays rich and juicy while still holding together once cooled.
Q: Do I have to make a lattice crust?
Not at all. A lattice crust gives the pie a beautiful traditional appearance, but a full top crust works just as well. If using a full crust, remember to score several cuts into the top so steam can escape while the pie bakes.
Q: Why does the pie need to chill before baking?
Chilling the assembled pie before baking helps the crust stay firm and hold its shape in the oven. That short resting time also gives the dough a chance to cool down after handling, which supports a better finished texture once baked.
Q: Why do you leave excess liquid behind when filling the pie?
Using a slotted spoon to transfer the cherries keeps too much liquid from entering the crust before baking. This helps the filling stay thick instead of overly runny and prevents the bottom crust from becoming overly wet during baking.
Q: Can I skip the egg wash?
Yes, the egg wash is optional. It mainly gives the crust a shinier appearance and helps deepen the color as the pie bakes. The pie will still bake properly without it, though the crust may look slightly less glossy.
Q: How do I know when the pie is finished baking?
The crust should look nicely browned, and the filling should appear thick and bubbly. Since ovens can vary, checking both the crust color and the bubbling filling is more reliable than watching the clock alone.
Q: Is this a good pie for gatherings and holidays?
Absolutely. Sweet Cherry Pie has that comforting homemade quality that fits right in at celebrations, potlucks, and family dinners. It’s one of those desserts that feels both nostalgic and cheerful sitting right in the middle of the table.
Sweet Cherry Pie has a way of making an ordinary day feel like a celebration, and that’s exactly the kind of dessert I love keeping in my recipe box. That bubbling cherry filling, flaky crust, and little sparkle of coarse sugar on top never fail to bring folks running to the kitchen.
Sweet Cherry Pie
Ingredients
Method
- Place the pitted cherries, sugar, almond extract, lemon juice, and cornstarch in a large bowl and toss until well coated.
- Roll out the bottom crust on a lightly floured surface and fit it into a 9- or 10-inch pie pan.
- Trim the edges of the bottom crust so they extend 1 inch beyond the edge of the pie pan and refrigerate while rolling out the top crust.
- Roll out the top crust to about the same size as the bottom crust.
- Transfer the cherries into the pie crust using a slotted spoon, leaving excess liquid behind.
- Dot the filling with small pieces of butter.
- Cover with the top crust, trim the edges, and crimp to seal.
- Score the top crust with several cuts if not using a lattice crust.
- Chill the assembled pie for 30 minutes before baking.
- Preheat the oven to 425°F.
- Whisk the egg with 1 tablespoon of water or milk and brush over the top crust if desired.
- Sprinkle the top crust with coarse sugar.
- Place the pie on the middle rack with a baking sheet on the rack below to catch drips.
- Bake for 15 minutes at 425°F.
- Reduce the oven temperature to 350°F and bake for 45 to 55 minutes longer until the crust is browned and the filling is thick and bubbly.
- Allow the pie to cool completely before serving.