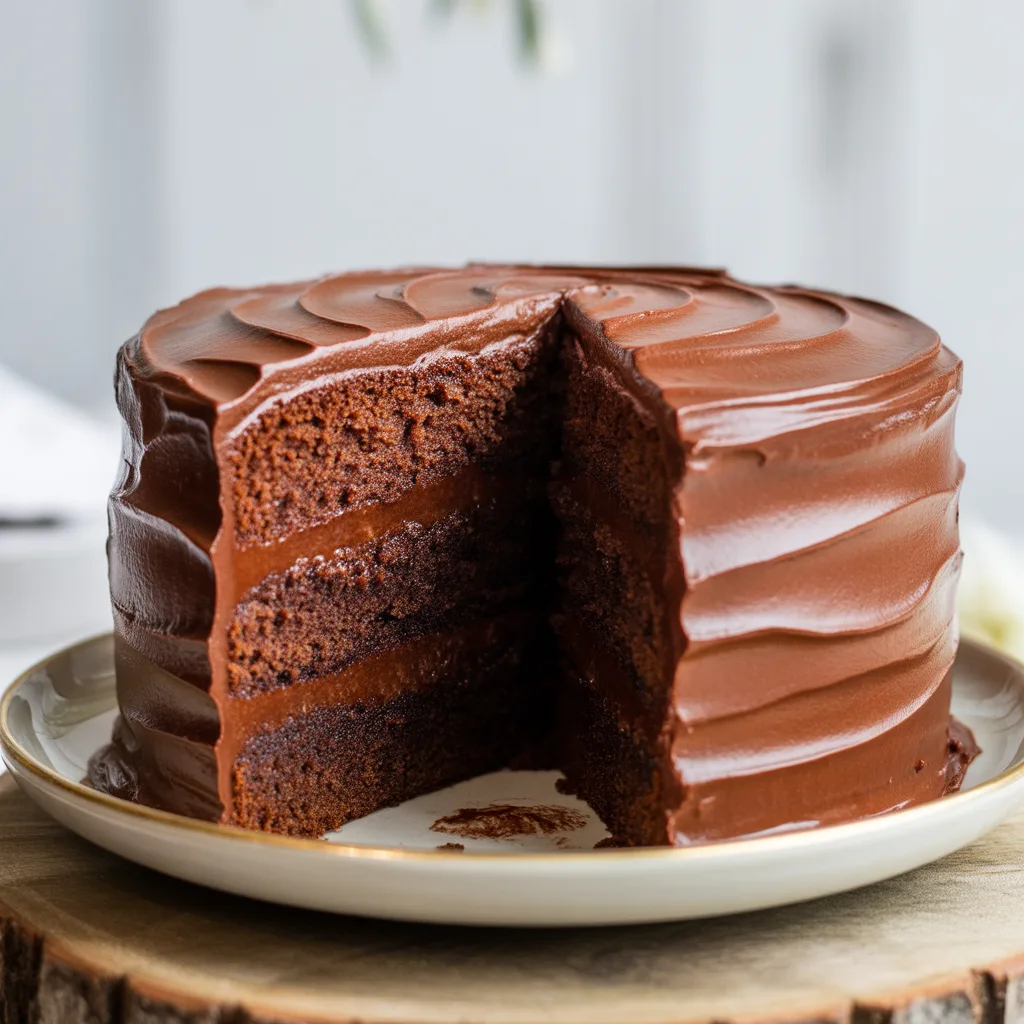
Have you ever baked a beautiful chocolate cake, only to find it’s dry as a bone by the next day? I feel you. After one too many disappointing slices, I went on a mission to create a cake that’s not just moist on day one, but stays incredibly soft for days. This recipe is the happy result. It’s the kind of cake that makes you look like a baking rockstar with minimal fuss. Perfect for a birthday, a potluck, or just because it’s Tuesday. This is the only recipe you’ll need for an Ultra-Moist Chocolate Cake That Stays Soft for Days.
Why You’ll Love This
This cake is the whole package. It’s incredibly simple to whip up—we’re talking about a bowl, a whisk, and about ten minutes of effort. No fancy techniques required. But the real magic is in the texture. Thanks to a little secret ingredient (hint: it’s probably in your fridge right now), this cake bakes up so, so tender and maintains that delicate crumb. It’s a sturdy yet soft cake that can handle all your favorite frostings and decorations without falling apart. A real workhorse of a dessert.
Equipements Needed
- Two 9-inch round cake pans
- Parchment paper
- Mixing bowls (one large, one medium)
- Whisk
- Measuring cups and spoons
- Rubber spatula
- Cooling rack
- Electric mixer (hand or stand, for frosting)
Ingredients
- 2 cups all-purpose flour: The sturdy base of our cake.
- 2 cups granulated sugar: For the perfect sweetness.
- 3/4 cup unsweetened cocoa powder: Use good quality for deep chocolate flavor.
- 2 teaspoons baking soda
- 1 teaspoon baking powder: Our leavening duo for a good rise.
- 1 teaspoon salt: Balances the sweetness.
- 1 cup buttermilk: The secret to an ultra-moist crumb!
- 1/2 cup vegetable oil: Keeps the cake tender.
- 2 large eggs: Binds everything together.
- 1 cup hot, strong brewed coffee: intensifies the chocolate flavor without a coffee taste.
- 1 teaspoon vanilla extract: For a little warmth.
Step By Step
- Prep your pans. Preheat your oven to 350°F. Grease two 9-inch round cake pans, line the bottoms with parchment paper, and grease the paper. This is your best insurance for easy release.
- Combine the dry ingredients. In your large bowl, whisk together the flour, sugar, cocoa powder, baking soda, baking powder, and salt. Get it all nice and combined.
- Combine the wet ingredients. In the medium bowl, whisk the buttermilk, oil, eggs, and vanilla until smooth.
- Bring it together. Pour the wet ingredients into the dry ingredients and whisk until just combined. It will be thick. Now, carefully whisk in the hot coffee. The batter will be thin. That’s exactly what you want.
- Bake. Divide the batter evenly between the prepared pans. Bake for 30-35 minutes, or until a toothpick inserted into the center comes out clean.
- Cool. Let the cakes cool in their pans for 10 minutes. Then, run a knife around the edges and invert them onto a cooling rack. Let them cool completely before frosting. Patience is key here!
Chocolate Cake Decoration Ideas
This cake is a fantastic blank canvas for any Chocolate Cake Decoration dream you have. For a simple Chocolate Cake Aesthetic, just frost it with your favorite chocolate buttercream and add a sprinkle of chocolate shavings. For a show-stopping Chocolate Birthday Cake, try a KitKat Cake: surround the frosted cake with KitKat bars and fill the top with colorful M&Ms. An Oreo Cake is another crowd-pleaser—crush some Oreos into the frosting and use whole ones as garnish. Feeling fancy? Look up Chocolate Truffle Cake Designs for inspiration with ganache drips and truffles. The possibilities for a Unique Chocolate Cake Design are endless.
Pro Tips For Perfect Chocolate Cake
- Don’t overmix the batter! Stir until the ingredients are just combined. Overmixing leads to a tough cake.
- Use room temperature ingredients. This helps everything emulsify properly for a better texture.
- The coffee is key. Honestly, even if you don’t like coffee, use it. You won’t taste it; it just makes the chocolate flavor richer and deeper.
- Do not frost a warm cake. I know it’s tempting, but the frosting will melt right off. Let it cool completely.
- For super flat layers, wrap the cooled cake layers in plastic wrap and pop them in the freezer for about 30 minutes before frosting. So much easier.
Variations & Substitutions
- Dairy-Free: Swap the buttermilk for an equal amount of plain, unsweetened almond or oat milk mixed with 1 tablespoon of vinegar or lemon juice. Let it sit for 5 minutes to curdle.
- Gluten-Free: Use a 1:1 gluten-free all-purpose flour blend.
- Different Pans: This recipe can be made in a 9×13-inch pan. Bake for 35-40 minutes.
- Flavor Twist: Add a teaspoon of mint or orange extract to the batter for a fun change.
Storage & Reheating
This cake stores beautifully. Once frosted, cover it loosely and keep it at room temperature for up to 2 days. For longer storage, refrigerate it for up to 5 days. Let it sit out for 30 minutes before serving to take the chill off. You can also freeze the unfrosted cake layers, tightly wrapped, for up to 3 months. Thaw in the refrigerator overnight before frosting. No reheating needed—it’s perfect as is!
Frequently Asked Questions
- Can I make this without coffee? You can use an equal amount of hot water, but the chocolate flavor won’t be as intense.
- My cake didn’t rise very much. What happened? Check the expiration date on your baking soda and powder. Old leaveners are often the culprit.
- What’s the best frosting for this cake? A classic chocolate buttercream or a smooth chocolate ganache are my go-to choices for Chocolate Birthday Cakes.
- Can I turn this into cupcakes? Absolutely! Fill lined muffin tins 2/3 full and bake for 18-22 minutes. Perfect for a party!