Nothing beats a scoop of rich, creamy vanilla ice cream made right in your own kitchen. With just a handful of simple ingredients and an ice cream maker, this recipe comes together in a way that feels downright special without being fussy. It’s the kind of homemade treat that belongs beside backyard cookouts, birthday cakes, and big family suppers all summer long.
Why You’ll Love This Classic Homemade Vanilla Ice Cream
- Simple Ingredients: Everything in this recipe is easy to find and comes together into a smooth, rich ice cream without any complicated steps.
- Rich Vanilla Flavor: The vanilla extract shines beautifully here, giving every scoop that timeless homemade flavor.
- Creamy Texture: The combination of heavy cream and whole milk creates an ice cream that’s soft, luscious, and satisfying.
- Perfect for Gatherings: This recipe makes enough to share, making it wonderful for family dinners, cookouts, and celebrations.
- Easy to Customize: Once you master the base recipe, it pairs beautifully with all kinds of toppings and mix-ins.
- Make-Ahead Friendly: Since the ice cream needs time to chill and freeze, it’s a great dessert to prepare ahead for guests.
- Classic Homemade Comfort: There’s something nostalgic and joyful about making ice cream from scratch that never goes out of style.
Ingredients You’ll Need
This old-fashioned favorite keeps things beautifully simple, and that’s exactly why it works so well. Every ingredient plays an important role in creating that creamy, scoopable texture folks expect from truly good homemade ice cream. It’s one of those easy dessert recipes that proves you don’t need a long ingredient list to make something memorable.

- 1½ cups heavy cream: Heavy cream gives the ice cream its rich body and velvety texture. Using the full amount keeps the finished ice cream creamy and helps prevent an icy consistency.
- 1½ cups whole milk: Whole milk balances the richness of the cream while keeping the texture smooth and light enough to scoop easily. The fat content in whole milk helps create a softer, creamier finish.
- ⅔ cup cane sugar: Cane sugar sweetens the ice cream while also helping create a softer texture after freezing. The quantity here keeps the flavor balanced without making the ice cream overly sweet.
- 2 teaspoons vanilla extract: Vanilla extract is the star flavor in this recipe, bringing warmth and classic homemade flavor to every bite. Using the full amount gives the ice cream that familiar old-fashioned taste.
- ⅛ teaspoon sea salt: Just a small amount of sea salt balances the sweetness and helps the vanilla flavor stand out even more.
One of my favorite things about this recipe is how those everyday ingredients transform into something that tastes straight from an old-fashioned ice cream parlor. It’s proof that the simplest desserts can sometimes be the most unforgettable.
How to Make Classic Homemade Vanilla Ice Cream
Homemade ice cream always feels a little magical to me. Watching a few simple ingredients turn into a creamy frozen treat never gets old, and this recipe keeps the process easy enough for anybody to tackle with confidence.
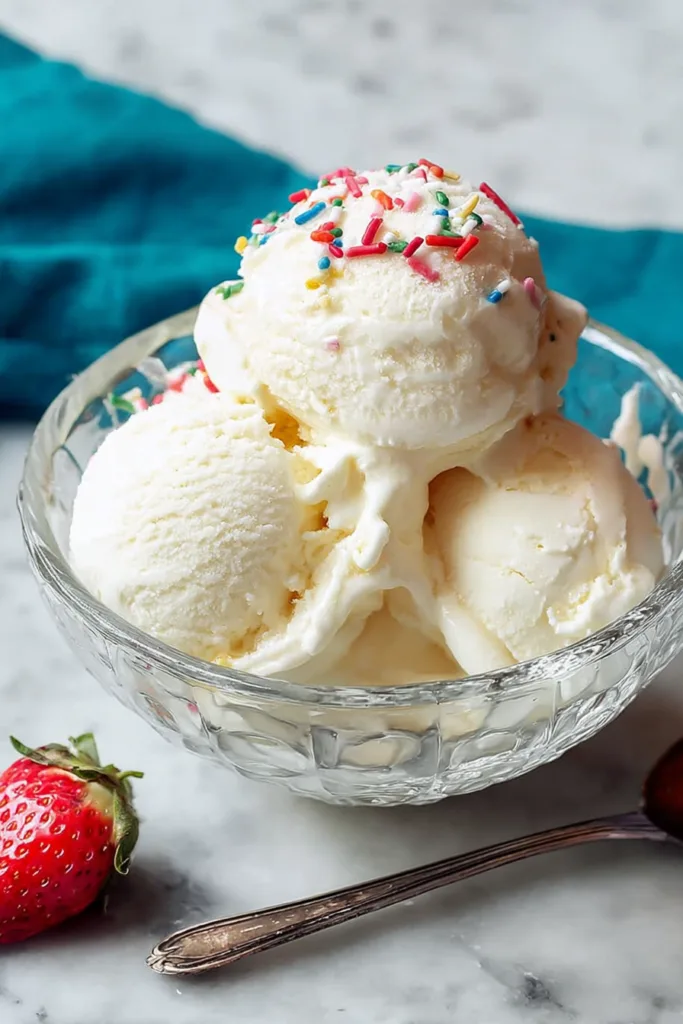
- Warm the ice cream base by combining the heavy cream, whole milk, cane sugar, vanilla extract, and sea salt in a medium saucepan. Place the pan over medium-low heat and whisk often for about 5 minutes, until the sugar dissolves and the mixture is fully warmed through.
- Chill the mixture by pouring it into a heatproof bowl and covering it well. Place it in the refrigerator for 2 hours or overnight so the base becomes completely cold before churning.
- Whisk the chilled base once more after removing it from the refrigerator. This helps bring everything back together evenly before it goes into the ice cream maker.
- Churn the ice cream in your ice cream maker according to the manufacturer’s instructions, typically 20 to 30 minutes. The mixture will thicken into a soft, creamy ice cream as it churns.
- Freeze the churned ice cream in an airtight container for 2 to 4 hours if you’d like a firmer texture before serving. If you enjoy softer ice cream, you can serve it right after churning.
That first scoop always feels like a little celebration in my kitchen. It’s creamy, comforting, and the kind of homemade dessert that gets everybody smiling before the bowls even hit the table.
Tips for the Best Classic Homemade Vanilla Ice Cream
- Whisk Often While Heating — Stirring the mixture frequently while it warms helps the sugar dissolve evenly into the cream and milk.
- Chill the Base Thoroughly — Letting the mixture chill for the full 2 hours or overnight helps the ice cream churn into a smoother texture.
- Whisk Before Churning — Giving the chilled base a quick whisk helps evenly combine the ingredients again after refrigeration.
- Freeze for Firmer Scoops — The ice cream will be soft immediately after churning, so extra freezer time gives it a more traditional scoopable texture.
- Let It Soften Slightly — If the ice cream becomes too firm in the freezer, allowing it to sit at room temperature for a few minutes makes scooping much easier.
- Use an Airtight Container — Storing the ice cream properly helps maintain the creamy texture and fresh vanilla flavor while frozen.
Storage & Make-Ahead Tips
Fridge: The prepared ice cream base can be covered and chilled in the refrigerator for up to overnight before churning. Keeping it cold helps the mixture churn properly in the ice cream maker.
Freezer: Store the finished ice cream in an airtight container in the freezer for up to 1 month. If it freezes too firmly, let it rest at room temperature for a few minutes before scooping.
Make-Ahead: This recipe is wonderful for preparing ahead of gatherings or summer meals because the ice cream base can chill overnight and the finished ice cream can be frozen until ready to serve.
Frequently Asked Questions
Q: Why does the ice cream base need to chill before churning?
Chilling the base helps the mixture become fully cold before it enters the ice cream maker, which allows it to churn more evenly. A cold base also helps create a creamier texture during the churning process. Skipping the chilling step can affect how the ice cream thickens and freezes.
Q: Can I chill the ice cream base overnight?
Yes, absolutely. The recipe specifically allows the base to chill for 2 hours or overnight. Overnight chilling is a great option when you want to prepare part of the recipe ahead of time. Just give the mixture a good whisk before pouring it into the ice cream maker.
Q: Why is my ice cream soft after churning?
Freshly churned ice cream naturally has a softer consistency straight from the machine. The recipe notes that the ice cream can be enjoyed soft right away or frozen for 2 to 4 additional hours for a firmer texture. Both options work beautifully depending on how you like to serve it.
Q: How long should I churn the ice cream?
The recipe recommends churning the mixture according to your ice cream maker’s instructions, which is typically 20 to 30 minutes. The exact timing can vary slightly depending on the machine, but the mixture should thicken into a soft ice cream texture as it churns.
Q: What does the sea salt do in vanilla ice cream?
Even a small amount of sea salt helps balance the sweetness and brings out the vanilla flavor more clearly. It doesn’t make the ice cream taste salty. Instead, it gives the overall flavor a smoother and more balanced finish.
Q: How should I store homemade vanilla ice cream?
The ice cream should be transferred to an airtight container and stored in the freezer. Proper storage helps preserve the creamy texture and keeps the ice cream from becoming overly icy. The recipe recommends storing it for up to a month.
Q: Why do I need to whisk the mixture again before churning?
After chilling, some separation can naturally happen in the mixture. Giving the base a quick whisk helps recombine everything so the texture stays smooth and even during churning.
Q: Is this a good easy dessert for beginners?
It really is. The ingredient list is short, the instructions are straightforward, and the process is easy to follow step by step. As long as you have an ice cream maker and give the mixture enough chilling time, this recipe is approachable even if it’s your first time making homemade desserts.
What to Serve With Classic Homemade Vanilla Ice Cream
This creamy vanilla ice cream fits right in with all kinds of sweet treats and comforting family favorites. It’s one of those desserts that can dress up a simple meal or become the star of the whole table.
- Warm brownies
- Fresh fruit
- Chocolate chip cookies
- Fruit cobblers
- Simple cake slices
- Hot coffee or iced coffee
There’s something mighty special about pulling homemade ice cream out of the freezer and sharing it with people you love. One scoop somehow turns an ordinary evening into a memory worth holding onto.
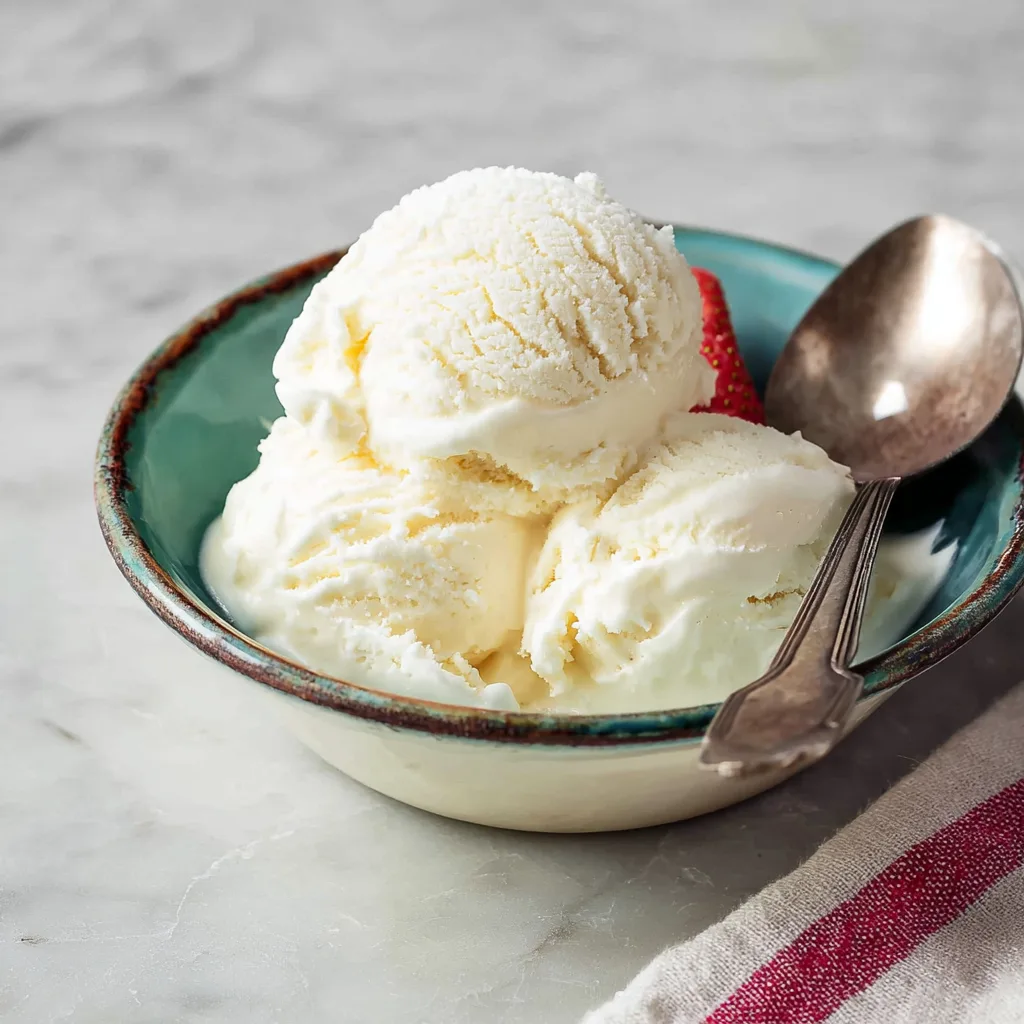
Classic Homemade Vanilla Ice Cream
Ingredients
Method
- In a medium saucepan, combine the heavy cream, whole milk, cane sugar, vanilla extract, and sea salt.
- Warm the mixture over medium-low heat, whisking often for 5 minutes, until the sugar dissolves and the mixture is warmed through.
- Pour the mixture into a heatproof bowl and cover.
- Chill the ice cream base for 2 hours or overnight.
- Remove the chilled base from the refrigerator and whisk well.
- Churn the mixture in an ice cream maker according to the manufacturer’s instructions, typically 20 to 30 minutes.
- Serve immediately for soft ice cream or transfer to an airtight container and freeze for 2 to 4 hours for a firmer texture.
- Store the ice cream in an airtight container in the freezer for up to 1 month.
- If the ice cream is too firm to scoop, let it sit at room temperature for a few minutes before serving.