Sweet, buttery, and bubbling with cherry goodness, this Cherry Cobbler brings pure comfort to the table with hardly any fuss. Made with simple pantry staples and canned cherry pie filling, it’s the kind of cozy treat anybody can pull together with confidence. Whether it’s Sunday supper, a family gathering, or one of those evenings when you just need something warm and homemade, this cobbler always feels right at home.
Why You’ll Love This Cherry Cobbler
- Simple Ingredients: Everything in this cobbler comes together with basic ingredients that are easy to keep on hand.
- Beginner-Friendly: The batter and filling are layered straight into the dish without complicated steps or special techniques.
- Buttery Texture: Melting the butter directly in the baking dish creates a rich, tender base with a beautifully crisp top.
- Perfectly Sweet: The cherry pie filling brings bright fruit flavor while the batter bakes up soft and lightly sweet around it.
- Great for Gatherings: With enough servings for a crowd, this recipe fits right in at potlucks, cookouts, and family dinners.
- Classic Comfort: That bubbling fruit and golden topping make every spoonful feel warm, nostalgic, and satisfying.
- No Fancy Equipment: All you need is a bowl, a spoon, and one baking dish to make this easy dessert.
Ingredients You’ll Need
One thing I adore about this Cherry Cobbler is how a handful of everyday ingredients can turn into something that tastes like it came straight from a little country bakery window. If you love easy dessert recipes that don’t keep you tied to the kitchen all day, this one’s fixing to become a favorite in your house too.
Each ingredient has a job to do here, and together they create that soft, buttery cobbler topping wrapped around rich cherry filling that everybody races to scoop onto their plate.
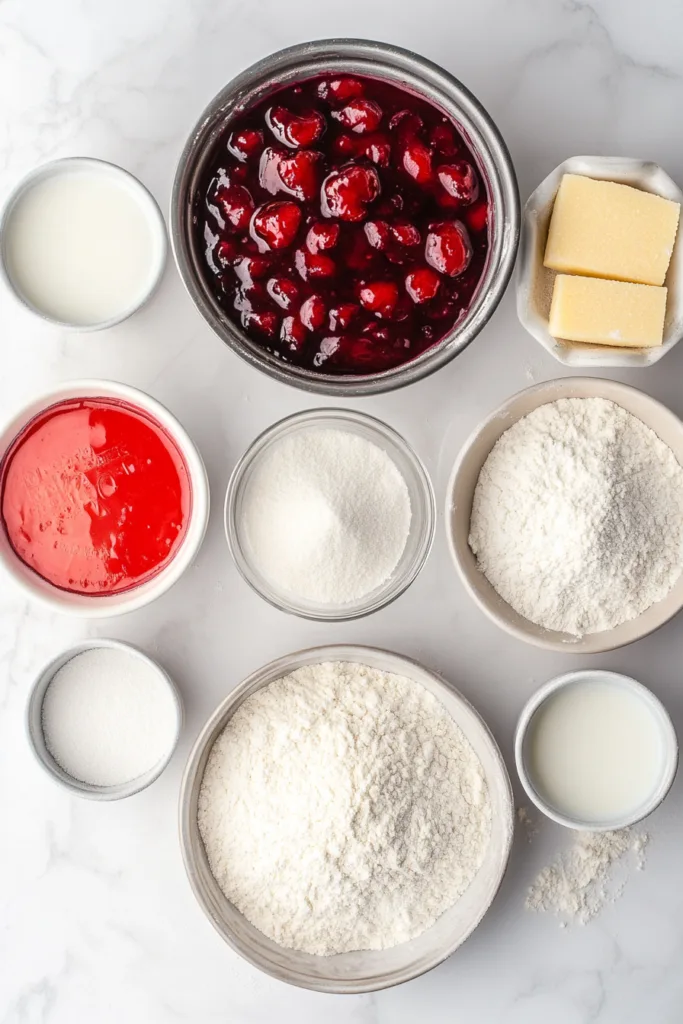
- ½ cup butter: The butter melts directly in the baking dish before the batter is added, creating a rich base that helps the cobbler bake up tender with a beautifully crisp edge. Using the full amount keeps the texture moist and gives the topping its classic buttery flavor.
- 1 cup all-purpose flour: Flour forms the structure of the cobbler batter. This amount creates a soft topping that rises around the cherries while still staying light and easy to spoon into bowls.
- 1 cup white sugar: Sugar sweetens the batter and balances the tartness from the cherry filling. It also helps the top bake into that gorgeous golden layer everybody loves.
- 1 teaspoon baking powder: Baking powder gives the batter lift while baking, helping it puff up around the fruit for that classic cobbler texture.
- 1 cup milk: Milk brings the batter together into a smooth pourable consistency. It keeps the cobbler soft and tender while helping all the dry ingredients blend evenly.
- 1 (21 ounce) can cherry pie filling: The cherry pie filling adds rich fruit flavor and creates those bubbling pockets of sweet cherries throughout the cobbler. Pouring it evenly over the batter helps every bite get a little bit of fruit and topping together.
How to Make Cherry Cobbler
This Cherry Cobbler is the kind of old-fashioned dessert that feels like pure Southern comfort from the very first bite. I love how the batter and cherries work their magic right in the oven without any extra fuss or fancy steps.
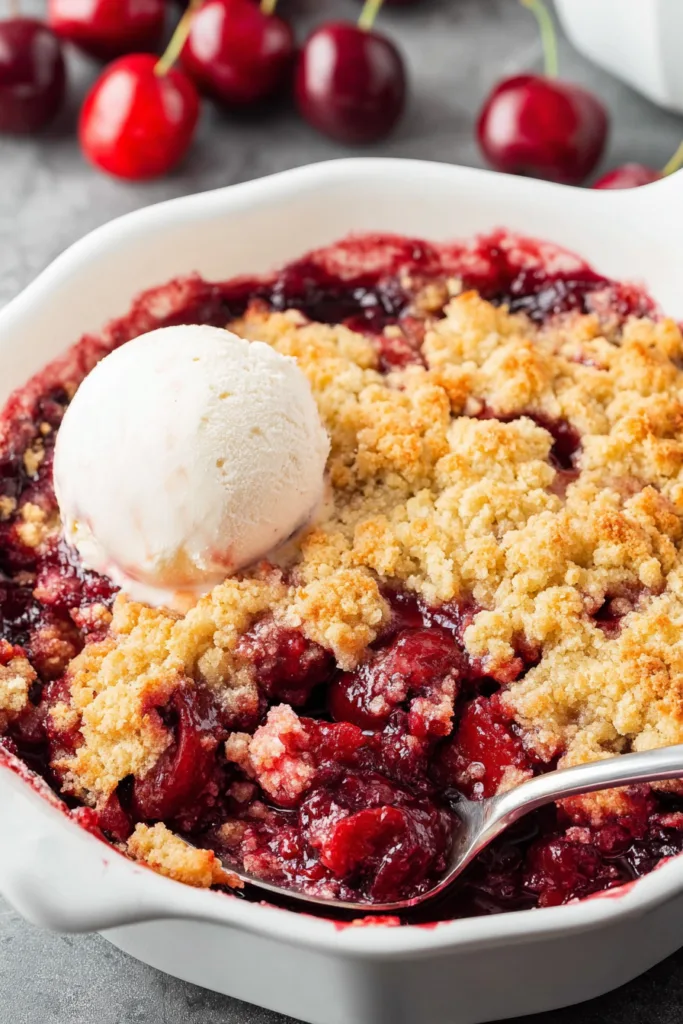
- Preheat the oven to 275 degrees F (135 degrees C). Place the butter in a 9×13-inch baking dish and set the dish in the oven so the butter can melt while the oven heats.
- Mix the flour, sugar, and baking powder together in a medium bowl until combined. Stir in the milk until the batter comes together smooth and pourable.
- Remove the baking dish from the oven once the butter has melted completely. Pour the batter directly into the dish over the melted butter, making sure not to stir. Pour the cherry pie filling evenly over the batter, again without stirring.
- Increase the oven temperature to 350 degrees F (175 degrees C). Return the dish to the oven and bake until the fruit is bubbling and the cobbler is golden on top, about 50 to 60 minutes.
- Serve the cobbler warm once it has cooled slightly. The buttery topping and sweet cherries settle together beautifully as it rests for a few minutes after baking.
Tips for the Best Cherry Cobbler
- Let the Butter Fully Melt — Make sure the butter is completely melted before adding the batter so the cobbler develops that rich, buttery texture throughout.
- Don’t Stir the Layers — Pouring the batter over the butter and the cherries over the batter without stirring helps the cobbler bake into its signature layered texture.
- Spread the Filling Evenly — Distributing the cherry pie filling across the entire dish gives every serving plenty of fruit.
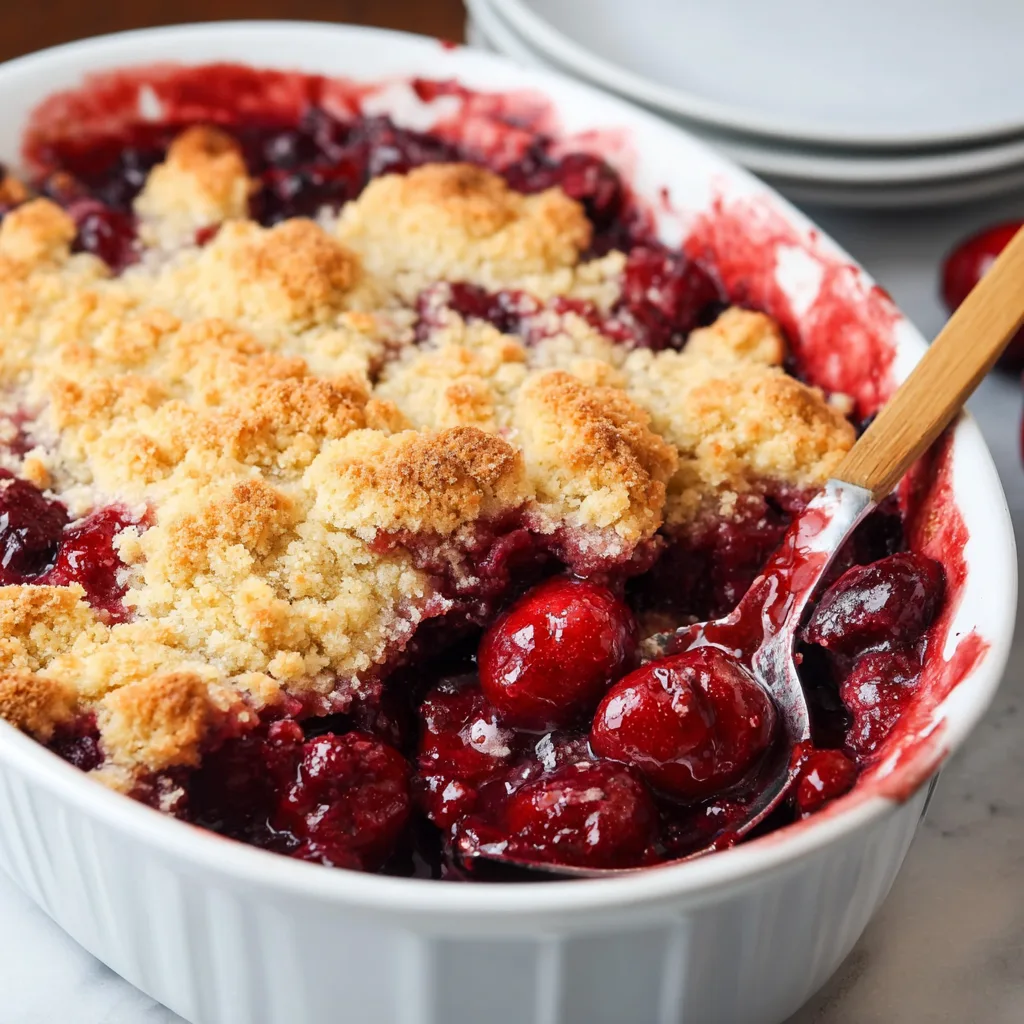
- Watch for Bubbling Fruit — The cobbler is ready when the cherry filling is bubbling and the top turns golden across the surface.
- Use the Right Baking Dish — A 9×13-inch baking dish gives the batter enough room to rise properly while baking.
- Serve Warm — This easy dessert tastes especially comforting while still slightly warm from the oven.
Storage & Make-Ahead Tips
Fridge: Store leftover Cherry Cobbler covered in the refrigerator for up to 3 to 4 days. The topping will soften a bit as it sits, but the flavor stays rich and delicious.
Freezer: Once cooled completely, portions of cobbler can be wrapped tightly and frozen for up to 3 months. Thaw in the refrigerator before reheating.
Make-Ahead: This cobbler can be baked earlier in the day and warmed before serving. It’s a wonderful option for family dinners, potlucks, and summer meals when you want dessert ready to go ahead of time.
What to Serve With Cherry Cobbler
This Cherry Cobbler shines all on its own, but pairing it with a few simple extras can turn dessert into something downright memorable. Whether you’re serving it after a casual family dinner or bringing it to a gathering filled with desserts and laughter, these pairings fit beautifully alongside those sweet cherries and buttery topping.
- Vanilla ice cream
- Fresh whipped cream
- Hot coffee
- Cold milk
- Fresh fruit
- Simple snack spreads for gatherings
Frequently Asked Questions
Q: Why do you pour the batter over melted butter without stirring?
The melted butter creates the rich base that gives cobbler its classic texture. Leaving the layers undisturbed allows the batter to rise around the cherry filling while baking. That’s what creates the soft, buttery topping with pockets of bubbling fruit throughout the dish.
Q: Can I use homemade cherry filling instead of canned pie filling?
This recipe was written using canned cherry pie filling, which provides both the fruit and the sweet sauce needed for the cobbler texture. If you decide to use homemade filling, it should have a similar consistency so the cobbler bakes properly and stays moist.
Q: How do I know when the cobbler is finished baking?
The cobbler is ready once the fruit filling is bubbling around the edges and the top becomes golden. Those visual cues matter because they show the batter has baked through and the filling has heated completely.
Q: Does the cobbler need to cool before serving?
Letting the cobbler rest briefly after baking helps the filling settle slightly and makes it easier to scoop. It will still be warm and comforting, but the texture holds together a little better after a few minutes out of the oven.
Q: What kind of texture should the topping have?
The topping should bake up soft and tender inside with a lightly crisp golden surface. Because the batter rises around the fruit while baking, every spoonful has a mix of buttery cobbler and sweet cherry filling.
Q: Can I double this recipe?
This recipe already makes enough for 12 servings in a 9×13-inch baking dish, which works wonderfully for gatherings and family dinners. If you need more, it’s usually easiest to prepare two separate pans so the cobbler bakes evenly.
Q: Is Cherry Cobbler best served warm or cold?
Most folks love this cobbler warm because the buttery topping and cherry filling taste especially comforting fresh from the oven. Chilled leftovers are still delicious though, and the flavors deepen a little after resting in the refrigerator.
There’s just something special about pulling a warm cobbler from the oven and watching everybody drift into the kitchen for a scoop. Recipes like this remind me that the best desserts don’t have to be complicated to bring people together around the table.
Cherry Cobbler
Ingredients
Method
- Preheat the oven to 275 degrees F (135 degrees C). Place butter in a 9×13-inch baking dish and set it on the oven rack to melt.
- Mix together flour, sugar, and baking powder in a medium bowl.
- Stir milk into the dry ingredients until combined.
- Remove the baking dish from the oven once the butter has melted.
- Pour batter into the baking dish over the melted butter without stirring.
- Pour cherry pie filling evenly into the dish without stirring.
- Increase oven temperature to 350 degrees F (175 degrees C).
- Bake until the fruit is bubbling and the cobbler is golden on top, 50 to 60 minutes.