Buttery crust, juicy cherries, and that rustic bakery-style look make this Cherry Galette downright irresistible. Even if homemade pastry sounds intimidating, this recipe keeps things simple and approachable with easy-to-follow steps and everyday ingredients. It’s the kind of sweet treat that feels right at home on a family table, especially when fresh cherries are calling your name.
Why You’ll Love This Cherry Galette
- Rustic Beauty: The folded edges and bubbling cherry filling give this galette a homemade charm that doesn’t need perfect pastry skills.
- Simple Ingredients: Everything in this recipe comes together with pantry staples and fresh cherries you can easily find during cherry season.
- Flaky Pie Crust: Cold butter and just enough ice water create a tender crust with a crisp, delicate texture.
- Sweet Cherry Flavor: The cherries stay front and center with just enough sugar, vanilla, and almond extract to bring out their natural flavor.
- No Pie Dish Needed: Since the galette bakes right on a sheet pan, there’s no fussing with special pans or tricky crimping.
- Perfect for Gatherings: This recipe makes enough slices to share, making it wonderful for family dinners, cookouts, or casual summer meals.
- Delicious Warm or Cold: Fresh from the oven with vanilla ice cream or chilled the next day, every bite is just as satisfying.
Ingredients You’ll Need
One thing I absolutely adore about this Cherry Galette is how a handful of simple ingredients can turn into something that looks straight out of a little countryside bakery window. The fresh cherries do most of the heavy lifting here, while the buttery crust wraps everything together in the coziest way possible.
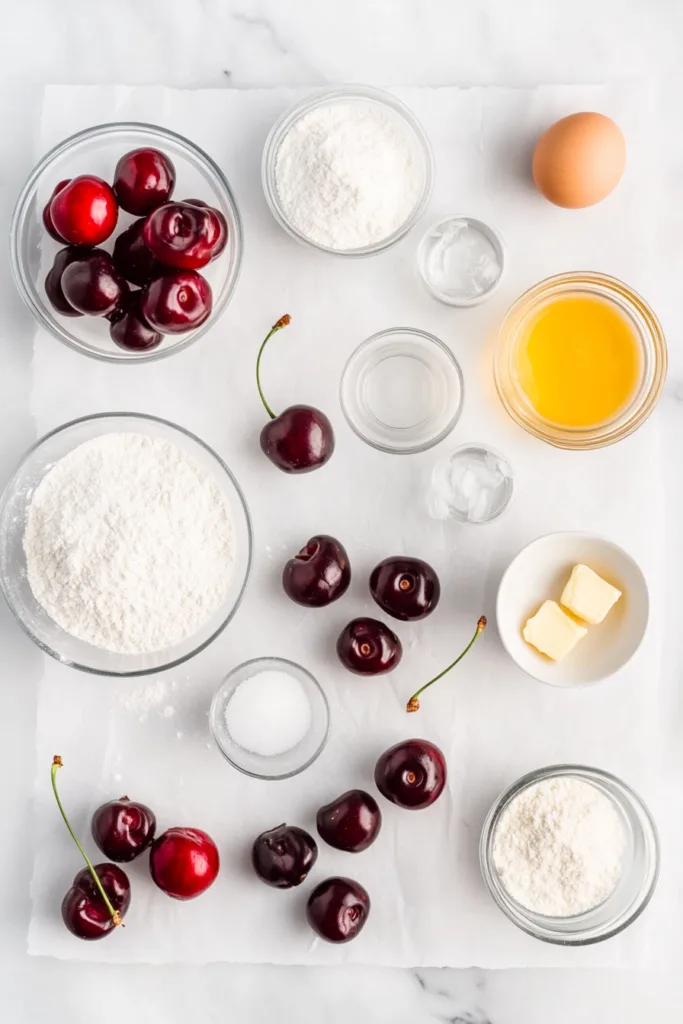
If you’ve been looking for easy dessert recipes that still feel extra special, this one checks every box without making you spend all day in the kitchen.
- 1 1/4 cups all-purpose flour: This gives the pie crust its structure and creates a tender but sturdy base that can hold all that juicy cherry filling without falling apart.
- 2 tablespoons granulated sugar: A little sugar in the crust adds subtle sweetness and helps balance the tartness of the cherries.
- 1/4 teaspoon salt: Salt keeps the crust from tasting flat and helps bring out the buttery flavor in every bite.
- 1/2 cup unsalted butter, cold and cut into cubes: Cold butter is the secret to a flaky crust. Those chilled cubes create little pockets throughout the dough that bake into delicate layers.
- 2 to 3 tablespoons ice water: Ice water helps the dough come together while keeping the butter cold, which is important for texture. Add only enough to bind the dough.
- 1 egg, for egg wash: Brushing the crust with egg wash gives the galette that beautiful baked finish and rich color.
- 1.5 pounds fresh cherries, rinsed and pitted: These are the star of the show. Fresh cherries bake down into a sweet, juicy filling that tastes bright and rich at the same time.
- 1/4 cup granulated sugar: This sweetens the filling just enough while still letting the cherries shine naturally.
- 1/4 cup cornstarch: Cornstarch thickens the cherry juices so the filling stays luscious instead of running all over the pan.
- 1/2 teaspoon vanilla extract: Vanilla softens and rounds out the flavor of the cherries with a warm sweetness.
- 1/2 teaspoon almond extract: Almond extract pairs beautifully with cherries and gives the filling that classic bakery-style flavor folks always notice right away.
What I love most about this recipe is that nothing feels overly complicated or fussy. Every ingredient has a purpose, and together they create one of those desserts that looks impressive while still feeling wonderfully homemade.
How to Make Cherry Galette
There’s something downright comforting about making a galette. It doesn’t ask for perfection, and honestly, that’s part of its charm. A few folds here, a little bubbling filling there, and suddenly you’ve got a gorgeous homemade dessert sitting on your table like you’ve been baking pies your whole life.
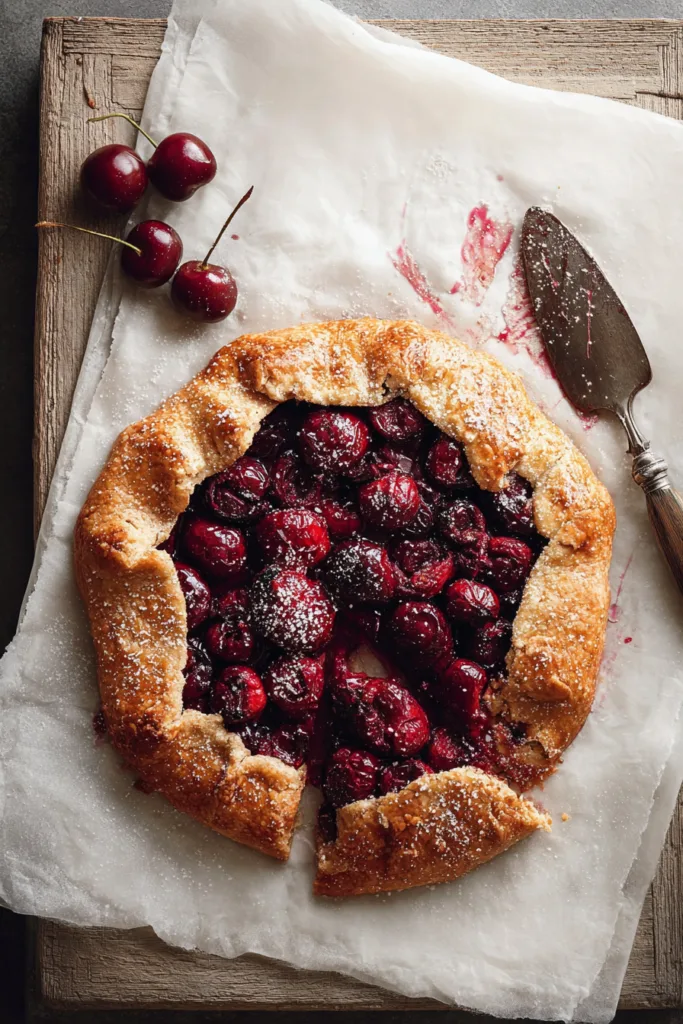
- Prepare the pie crust by adding the flour, sugar, and salt to a food processor. Add the cold butter cubes and pulse until the mixture resembles wet sand with no large butter pieces remaining. Slowly add the ice water one tablespoon at a time, mixing just until the dough comes together. Form the dough into a flat oval disk, wrap it in plastic wrap, and chill it in the refrigerator.
- Preheat the oven to 375°F once the dough has chilled. Line a baking sheet with parchment paper, then lightly flour your work surface and roll the dough into a 12-inch circle. Transfer the dough to the prepared baking sheet. Press a 9-inch cake pan gently into the center of the dough to create a guide for the filling.
- Make the cherry filling by placing the pitted cherries into a large bowl. Add the granulated sugar, cornstarch, vanilla extract, and almond extract, then toss everything together until the cherries are evenly coated.
- Fill the center of the dough with the cherry mixture, keeping the filling inside the indentation you created earlier. Fold the edges of the dough inward toward the center, making folds every few inches around the galette to hold everything in place.
- Brush the crust with the egg wash made from the egg and 1 tablespoon water. If desired, sprinkle coarse sugar over the crust. Bake for 30–40 minutes until the filling is bubbling and the crust is golden brown. Serve with vanilla ice cream for the ultimate easy dessert.
Tips for the Best Cherry Galette
- Keep the Butter Cold — Cold butter helps create a flaky crust, so work quickly once the butter is added to the flour mixture.
- Add Water Slowly — The dough only needs enough water to come together. Too much can make the crust heavier instead of tender.
- Use the Cake Pan Trick — Pressing the cake pan into the dough gives you an easy guide for placing the filling neatly in the center.
- Coat the Cherries Evenly — Tossing the cherries thoroughly with the sugar and cornstarch helps distribute the thickener evenly throughout the filling.
- Fold as You Go — Folding the dough every few inches keeps the galette shape secure while still giving it that rustic bakery-style look.
- Watch for Bubbling Filling — Once the filling is bubbling and the crust turns golden brown, your galette is ready to come out of the oven.
Storage & Make-Ahead Tips
- Fridge: Store leftover Cherry Galette covered in the refrigerator for up to 3–4 days. The crust will soften slightly over time, but the flavors stay absolutely delicious.
- Freezer: You can freeze the baked galette for up to 3 months. Let it cool completely before wrapping tightly to help protect the crust and filling.
- Make-Ahead: The pie dough can stay refrigerated for up to 2 days before baking, or frozen for up to a month, which makes planning ahead for dessert recipes so much easier.
What to Serve With Cherry Galette
This Cherry Galette already shines all on its own, but pairing it with a few simple additions can make dessert feel even more special. Whether you’re serving it after family dinners or bringing it out for casual desserts on the porch, these pairings fit beautifully alongside those sweet cherries.
- Vanilla ice cream — The creamy texture pairs perfectly with the warm cherry filling.
- Fresh whipped cream — A light topping that balances the richness of the buttery crust.
- Hot coffee — A simple cup of coffee makes the sweet cherry flavors stand out even more.
- Iced tea — Cool tea alongside a slice of galette feels especially nice during warm weather.
- Fresh fruit — A small bowl of fresh berries or sliced fruit keeps the dessert table bright and simple.
Frequently Asked Questions
Q: What makes a galette different from a pie?
A galette has a much more relaxed, rustic style compared to a traditional pie. Instead of fitting dough into a pie pan and crimping edges, the dough is rolled flat and folded around the filling right on a baking sheet. That simple folding technique gives it a beautiful homemade look without needing any fancy pastry skills.
Q: Can I make the dough ahead of time?
Absolutely. The dough can stay wrapped in the refrigerator for up to 2 days before you bake the galette. You can also freeze it for up to a month if you want to prep even further ahead. Just let the dough thaw in the refrigerator before rolling it out.
Q: Why is the butter kept cold for the crust?
Cold butter is important because it helps create a flaky texture in the crust. As the butter bakes, it forms little layers throughout the dough. If the butter becomes too soft before baking, the crust can lose some of that delicate texture that makes homemade pastry so satisfying.
Q: Do I really need cornstarch in the filling?
Yes, the cornstarch plays an important role in thickening the cherry juices as the galette bakes. Without it, the filling would likely become too runny and could spill out onto the baking sheet. It helps create a filling that slices more neatly while still staying juicy.
Q: Can I use a metal straw to pit cherries?
You sure can. The recipe gives the option of using either a cherry pitter or a metal straw. A metal straw works surprisingly well for pushing the pits out of fresh cherries if you don’t have a dedicated kitchen tool on hand.
Q: What does almond extract add to the filling?
Almond extract gives the cherries a deeper, bakery-style flavor that pairs beautifully with the fruit. Even though it’s only a small amount, it brings a little extra richness to the filling that really makes the cherries stand out.
Q: How do I know when the galette is fully baked?
The galette is ready when the filling is bubbling and the crust turns golden brown. Those two visual cues are the best way to tell that both the filling and pastry have baked properly.
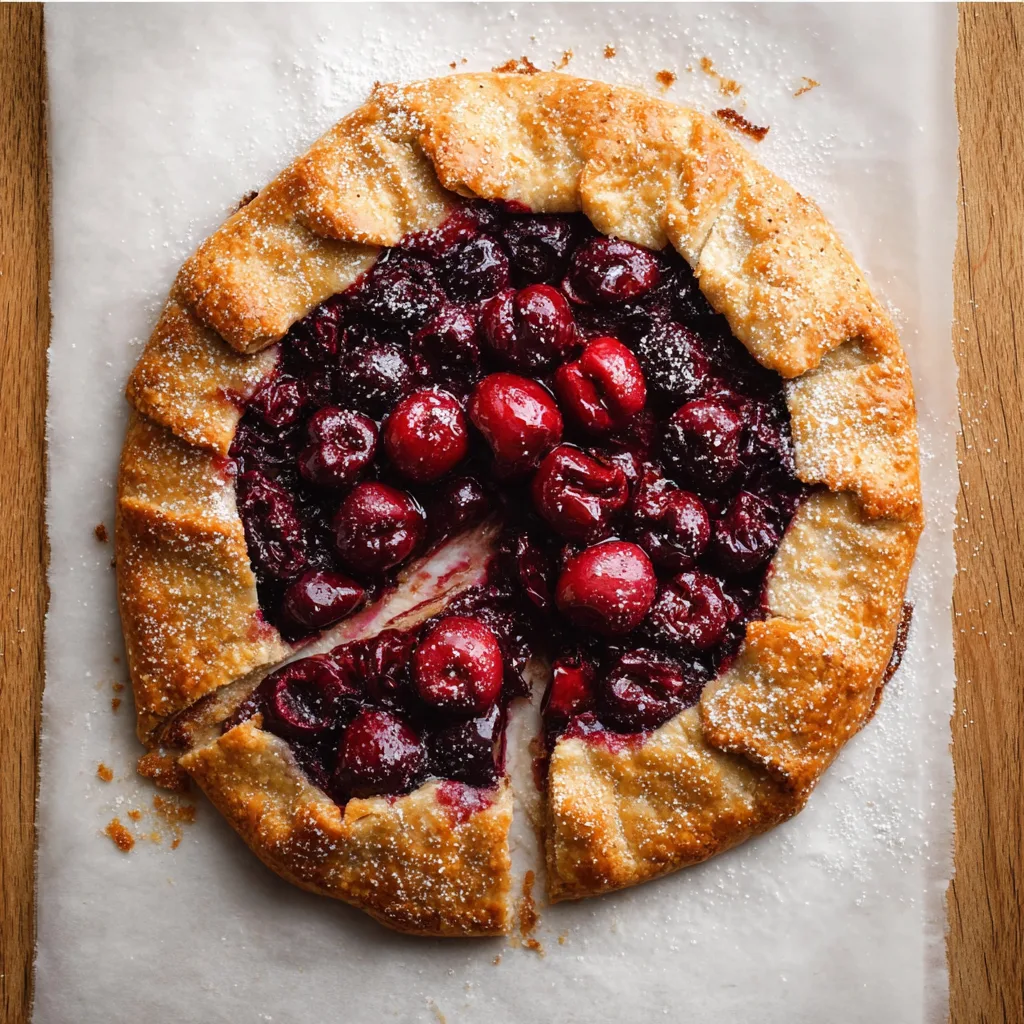
There’s just something joyful about pulling a homemade Cherry Galette out of the oven and setting it down in the middle of the table for everyone to dig into together. It’s rustic, beautiful, and packed with sweet cherry goodness in every single slice.
Cherry Galette
Ingredients
Method
- Place the flour, sugar, and salt in a food processor.
- Add the cold butter cubes and pulse until the mixture resembles wet sand and no large chunks of butter remain.
- Add the ice water one tablespoon at a time until the dough just comes together.
- Form the dough into a flat oval disk, wrap in plastic wrap, and refrigerate for at least 30 minutes.
- Preheat the oven to 375°F and line a baking sheet with parchment paper.
- Roll the dough into a 12-inch circle on a floured surface and transfer to the prepared baking sheet.
- Press a 9-inch cake pan lightly into the center of the dough to create a filling guide.
- Place the pitted cherries in a large bowl with the sugar, cornstarch, vanilla extract, and almond extract.
- Toss the cherry filling until evenly coated.
- Spread the cherry filling in the center of the dough.
- Fold the dough edges toward the center every 3 to 4 inches around the galette.
- Mix the egg with 1 tablespoon water and brush over the crust.
- Top with coarse sugar if desired.
- Bake for 30 to 40 minutes until the filling is bubbling and the crust is golden brown.
- Serve with vanilla ice cream.