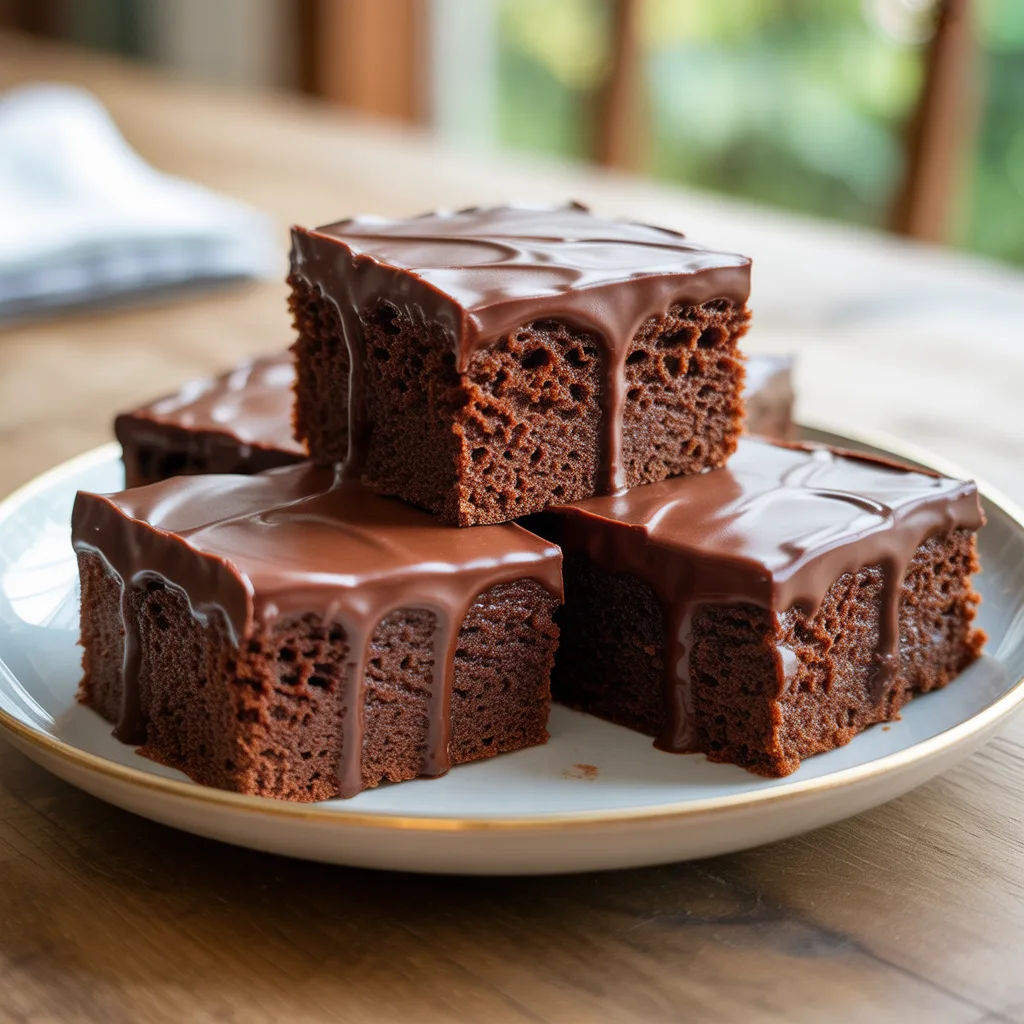
Is there anything more reliably joyful than a seriously fudgy piece of chocolate cake? You know, the kind that’s dense, intensely chocolatey, and so, so satisfying? These Fudgy Chocolate Cake Squares with Creamy Glaze are exactly that. They’re the perfect cross between a brownie and a classic cake, finished with a simple glaze that makes them feel like a total celebration. They’re fantastic for a casual weeknight treat and absolutely stunning for a chocolate birthday cake.
Why You’ll Love This
You’ll love these cake squares because they deliver massive flavor with minimal mess. They’re incredibly moist and fudgy, thanks to a clever mixing method that doesn’t even require a mixer. The creamy glaze on top is a breeze to whip up and gives you that gorgeous, professional-looking finish without any fuss. Seriously, it’s the kind of dessert that looks like you spent hours but secretly comes together in a snap. Perfect for when you need a quick win.
Equipements Needed
- 8×8-inch Square Baking Pan: The ideal size for that perfect, thick square.
- Parchment Paper: For easy lifting and cleanup. A game-changer.
- Medium and Large Mixing Bowls: For keeping your ingredients organized.
- Whisk and Spatula: Your main tools for a smooth batter.
- Cooling Rack: Essential for letting the cake cool before glazing.
Ingredients
- 1 cup all-purpose flour: The foundation of our cake structure.
- 1 cup granulated sugar: For the perfect level of sweetness.
- 1/2 cup unsweetened cocoa powder: The star of the show for deep chocolate flavor.
- 1/2 teaspoon baking soda: Helps our squares rise just enough.
- 1/4 teaspoon salt: Balances and enhances all the chocolatey goodness.
- 1/2 cup vegetable oil: Keeps the crumb incredibly moist and fudgy.
- 1 large egg: Binds everything together.
- 1 teaspoon vanilla extract: Adds a warm, classic flavor note.
- 1/2 cup strong brewed coffee, cooled: Secret weapon for intensifying the chocolate flavor.
- 1/2 cup buttermilk: The key to a tender, delicate texture.
- For the Creamy Glaze: 1 cup powdered sugar, 2 tablespoons unsweetened cocoa powder, 2-3 tablespoons milk, 1/2 teaspoon vanilla extract.
Step By Step
- Preheat your oven to 350°F (175°C). Line your 8×8-inch pan with parchment paper, leaving some overhang on two sides for easy removal.
- In a large bowl, whisk together the flour, sugar, cocoa powder, baking soda, and salt until they’re completely combined and there are no lumps.
- In a separate medium bowl, whisk the vegetable oil, egg, vanilla, coffee, and buttermilk until smooth.
- Pour the wet ingredients into the dry ingredients. Use a spatula to gently fold and stir until the batter is just combined. Be careful not to overmix!
- Pour the batter into your prepared pan and spread it into an even layer.
- Bake for 25-30 minutes, or until a toothpick inserted into the center comes out with a few moist crumbs attached. Let the cake cool completely in the pan on a wire rack.
- For the glaze, whisk the powdered sugar, cocoa powder, 2 tablespoons of milk, and vanilla in a small bowl. Add the extra tablespoon of milk if needed to reach a pourable consistency.
- Pour the glaze over the completely cooled cake and spread it evenly. Let it set for about 15 minutes before cutting into squares.
Fudgy Texture Tips
That fudgy texture is what we’re after, and a few simple tips make all the difference. First, don’t overmix the batter once you combine wet and dry ingredients; a few streaks of flour are fine. Overmixing leads to a tougher cake. Second, use the toothpick test as a guide, not an absolute rule. You want a few sticky crumbs, not a completely clean pick. That means it’s perfectly baked and will stay moist. And honestly, the coffee is a pro move—it doesn’t make the cake taste like coffee, it just makes the chocolate flavor richer and deeper. So good.
Variations & Substitutions
Want to mix it up? You’ve got options. For a fun Oreo cake twist, fold in a cup of roughly chopped Oreos into the batter before baking. If you’re out of buttermilk, make a quick substitute by adding 1 1/2 teaspoons of white vinegar or lemon juice to a 1/2 cup measuring cup, then filling the rest with regular milk. Let it sit for 5 minutes before using. For a nutty crunch, a handful of chopped walnuts or pecans is a classic addition. Feeling fancy? A pinch of espresso powder in the dry ingredients will amplify the chocolate flavor even more.
Serving Ideas & Pairings
These squares are delicious all on their own, but a little extra flair never hurts. For an over-the-top dessert, serve a square slightly warm with a scoop of vanilla ice cream. The combination of warm cake and cold ice cream is pure magic. For a beautiful Chocolate Cake Aesthetic, top each square with a fresh raspberry or a sprinkle of sea salt. They also pair wonderfully with a cup of cold milk for the kids or a rich, dark roast coffee for the adults. It’s the ultimate comfort pairing.
Storage & Reheating
Store any leftover squares in an airtight container at room temperature for up to 2 days, or in the refrigerator for up to 5 days. The glaze will hold up perfectly. You can also freeze them! Wrap individual squares tightly in plastic wrap and place them in a freezer bag for up to 3 months. Thaw at room temperature whenever a chocolate craving strikes. To revive that just-baked warmth, pop a square in the microwave for 10-15 seconds.
Frequently Asked Questions
Q: Can I make this into a layer cake for a Chocolate Birthday Cake? A: Absolutely! Simply double the recipe and divide the batter between two 9-inch round cake pans. Adjust the baking time, starting to check at around 20-25 minutes. You can use the same glaze or whip up a batch of buttercream for a more traditional frosting.
Q: My family loves KitKat. Can I incorporate that? A: For a fun Kitkat Cake decoration, after you’ve poured the glaze, immediately press whole or halved KitKat bars vertically around the edges of the entire cake before the glaze sets. It creates a fantastic ‘fence’ look that’s always a hit.
Q: What’s the best way to get clean cuts? A: For the cleanest slices, use a sharp knife and wipe it clean with a damp paper towel between each cut. This is especially helpful if you’re going for a precise Chocolate Truffle Cake Design look.