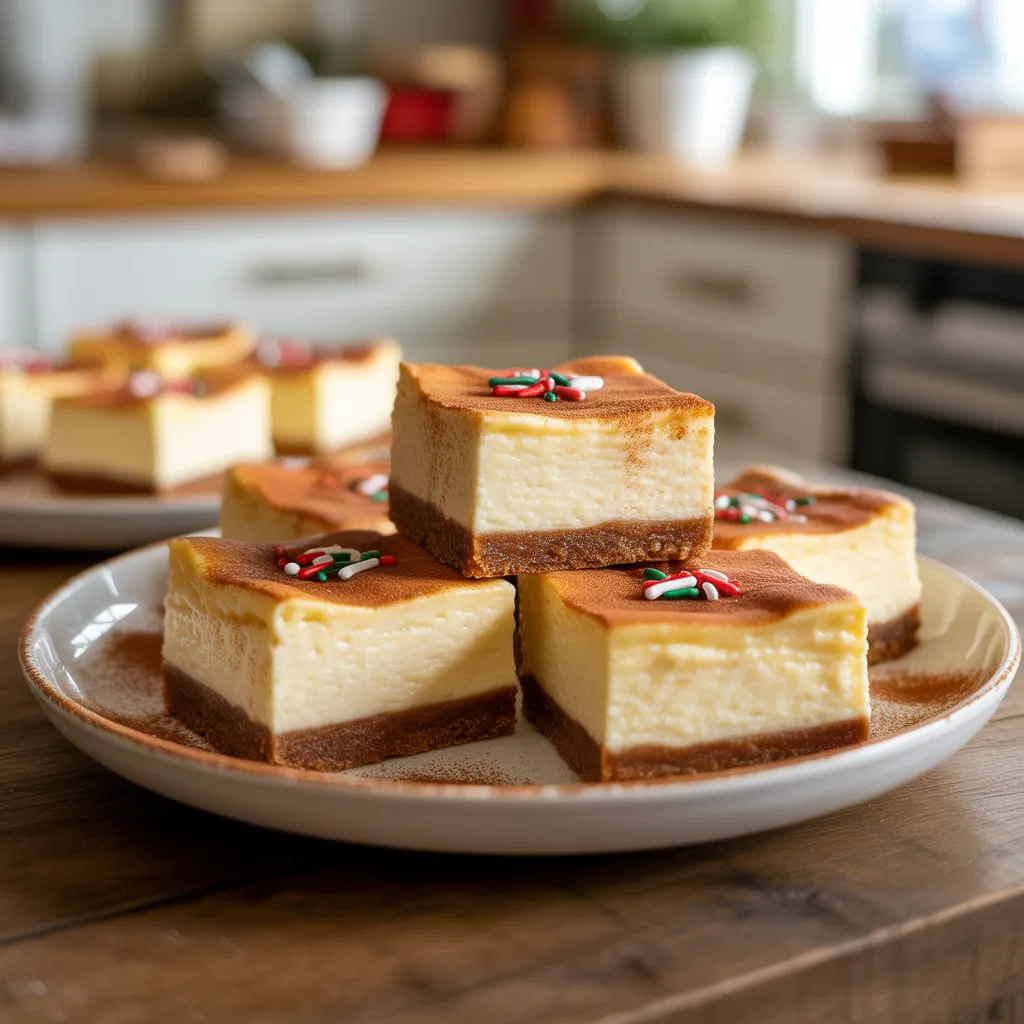
You know that moment at a holiday party when you take a bite of something so good you have to stop all conversation to fully appreciate it? That’s the reaction I’m always chasing, and it’s exactly why I created these Holiday Snickerdoodle Cheesecake Squares. They combine the soft, cinnamony bliss of a classic snickerdoodle cookie with the rich, creamy luxury of cheesecake, all in a no-fuss bar form. Honestly, I think they might just be my new favorite holiday treat.
Why You’ll Love This
First off, these squares are the ultimate crowd-pleaser. They deliver the nostalgic comfort of snickerdoodles alongside the decadence of cheesecake in one irresistible bite. But the real win? They’re so much simpler than making a whole cheesecake. You don’t need a springform pan or a water bath, and there’s no worrying about cracks. Just a simple press-in crust, a quick mix for the filling, and a sprinkle of that iconic cinnamon-sugar topping. They bake up perfectly every single time, making them the perfect easy Christmas dessert for even the busiest of schedules.
Equipements Needed
- A 9×13 inch Baking Pan: This is our trusty vessel for creating these perfect squares.
- Parchment Paper: An absolute must for easy lifting and clean slicing. I don’t even try it without parchment anymore.
- Stand Mixer or Hand Mixer: You can mix the crust and filling by hand, but a mixer makes it a breeze and gives the filling that super smooth texture.
- Medium Mixing Bowl: For combining the crust ingredients.
- Small Bowl: For mixing your cinnamon-sugar topping.
Ingredients
For the Crust:
- 2 cups all-purpose flour: The sturdy base for our cookie-like crust.
- 1/2 cup granulated sugar: Adds just the right amount of sweetness.
- 1/2 teaspoon baking soda: Helps the crust get a little lift and a soft texture.
- 1/2 teaspoon cream of tartar: This is the secret snickerdoodle ingredient that gives that signature tang.
- 1/2 teaspoon salt: Balances all the sweetness.
- 3/4 cup unsalted butter, melted: Binds the crust and gives it a rich, buttery flavor.
For the Filling:
- 16 ounces cream cheese, softened to room temperature: The star of the show for that creamy cheesecake layer.
- 1/2 cup granulated sugar: Sweetens the filling perfectly.
- 1/2 cup sour cream: This is my little trick for an extra tangy, ultra-creamy filling that doesn’t crack.
- 2 large eggs, room temperature: They help set the cheesecake as it bakes.
- 1 teaspoon vanilla extract: A must for that warm, classic flavor.
For the Topping:
- 2 tablespoons granulated sugar
- 1 teaspoon ground cinnamon: This classic duo gives you that unmistakable snickerdoodle finish.
Step By Step
- Preheat your oven to 350°F (175°C). Line your 9×13 inch pan with parchment paper, letting the ends hang over the sides a bit. This creates ‘handles’ to lift the whole thing out later. A game-changer for clean cuts.
- Make the crust. In your medium bowl, whisk together the flour, sugar, baking soda, cream of tartar, and salt. Pour in the melted butter and stir until a soft dough forms. It might seem a little dry at first, but keep stirring—it’ll come together.
- Press about two-thirds of the dough firmly into the bottom of your prepared pan. You want an even layer. Set the remaining dough aside for the topping.
- Make the filling. In your mixer bowl, beat the softened cream cheese and sugar on medium speed until it’s completely smooth and no lumps remain. Scrape down the sides of the bowl. This step is key for a silky texture.
- Beat in the sour cream and vanilla extract until just combined. Then, add the eggs one at a time, mixing on low speed after each addition until the yolk disappears. Don’t overmix once the eggs are in!
- Pour the cheesecake filling over the crust and spread it out evenly.
- Finish the topping. Take the dough you set aside and crumble it with your fingers over the filling. It doesn’t have to be perfect—little clumps are good! In your small bowl, mix the 2 tablespoons of sugar with the cinnamon, then sprinkle this all over the top.
- Bake for 25-30 minutes, or until the edges are set and the center only has a slight jiggle when you gently shake the pan.
- Let the pan cool completely on a wire rack, then cover and refrigerate for at least 4 hours, or ideally overnight. This chilling time is non-negotiable for those perfect, clean slices.
- Once chilled, use the parchment paper handles to lift the entire block out of the pan. Place it on a cutting board and slice into squares with a sharp knife. Wipe the knife clean between cuts for the prettiest squares.
Variations & Substitutions
Want to mix it up? You can easily make these Holiday Snickerdoodle Cheesecake Squares your own. For a nutty crunch, sprinkle a handful of chopped pecans over the cinnamon-sugar topping before baking. If you’re feeling extra festive, a 1/2 teaspoon of nutmeg added to the topping adds a wonderful warmth. For a gluten-free version, a 1-to-1 gluten-free flour blend works wonderfully in the crust. And if you’re out of sour cream, plain Greek yogurt is a fantastic substitute that works just as well.
Serving Ideas & Pairings
These squares are rich and satisfying all on their own, but a little dollop of whipped cream or a drizzle of salted caramel sauce takes them to another level. They are the perfect finale for a Christmas brunch or the star of your dessert platter at any holiday party. I love serving them alongside a pot of strong coffee or a glass of cold milk to balance the sweetness. So good.
Storage & Reheating
Store any leftover squares (if you have any!) in an airtight container in the refrigerator for up to 5 days. They also freeze beautifully for up to 3 months. Just wrap individual squares tightly in plastic wrap and then place them in a freezer bag. Thaw overnight in the fridge before serving. There’s no need to reheat them—they’re best enjoyed cold, straight from the fridge.
Frequently Asked Questions
Can I make these ahead of time?
Absolutely! In fact, I highly recommend it. These are one of the best make-ahead easy Christmas treats because the flavor gets even better after a night in the fridge. They free up your precious time on party day.
Why is my cream cheese filling lumpy?
This almost always happens when the cream cheese is too cold. Making sure it’s truly softened at room temperature is the number one trick for a silky-smooth filling. If you’re in a pinch, you can microwave the unwrapped blocks on low power for 15-second intervals, but room temp is best.
What’s the purpose of cream of tartar?
It’s what gives snickerdoodles their distinct, slightly tangy flavor and helps create a soft, chewy texture. Don’t skip it! If you’re in a real bind, you can substitute it with an equal amount of lemon juice or white vinegar, but the flavor will be a little different.
Are these bars too rich for a Christmas brunch?
Not at all! When cut into smaller, bite-sized pieces, they become delightful little Christmas dessert ideas perfect for a brunch spread. They’re a sweet counterpoint to savory dishes like quiche or breakfast casseroles.