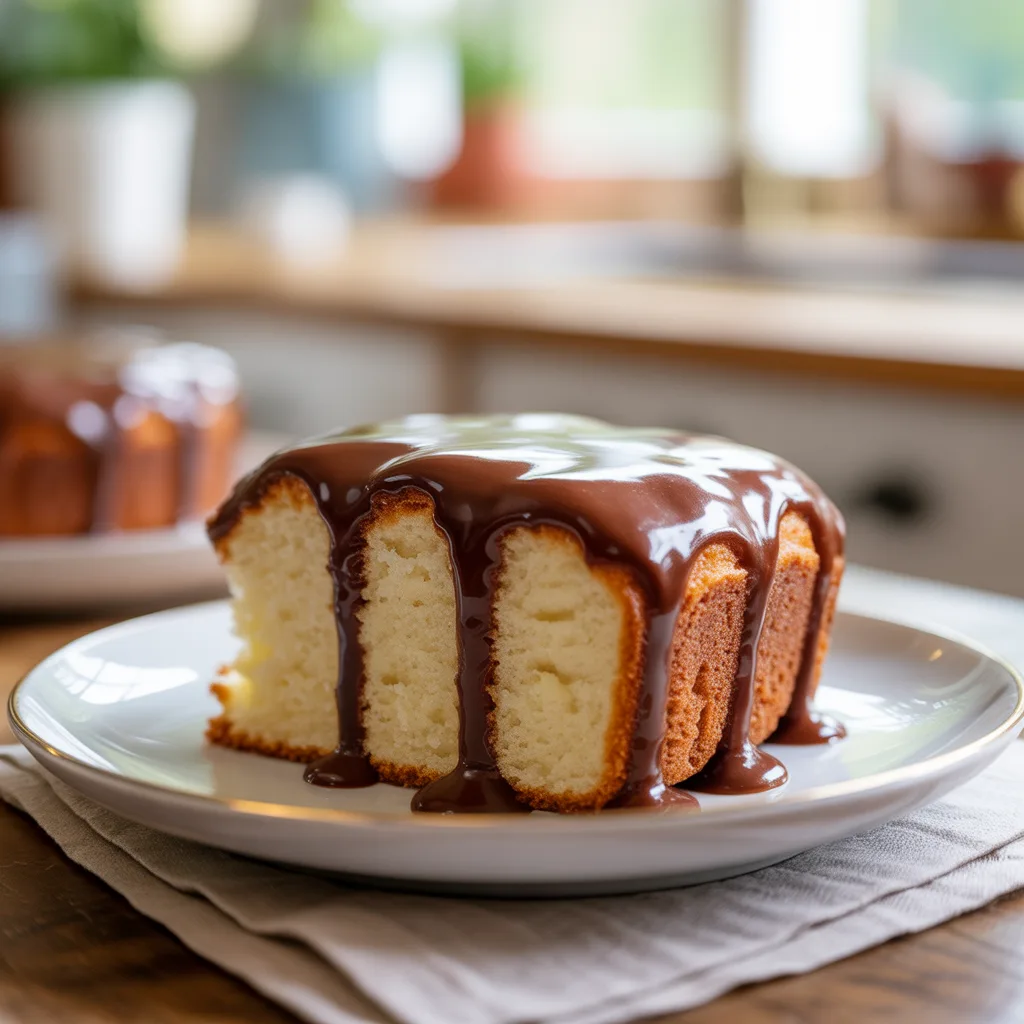
Have you ever needed a little something sweet to go with your afternoon coffee or to round out the kids’ lunchboxes? This Moist Vanilla Snack Cake is that perfect, un-fussy treat. It’s a simple, single-layer cake that’s tender and rich with vanilla flavor, topped with a smooth, shiny chocolate glaze that sets up beautifully. It bridges the gap between a casual snack and a proper dessert, and it’s so easy to throw together, you might just memorize the recipe after one try. It’s the kind of recipe that feels like a warm hug from the kitchen.
Why You’ll Love This Recipe
You’ll love this recipe because it delivers maximum flavor and satisfaction with minimal effort. Seriously, why spend hours on a complicated layer cake when this humble beauty hits the spot? It relies on simple pantry staples, meaning you can probably whip it up without a special trip to the store. The texture is wonderfully moist and stays that way for days. Plus, that glossy chocolate glaze? It’s a two-ingredient wonder that makes the whole cake look and taste special. It’s the ultimate solution for your Easy Desserts With Few Ingredients craving.
Equipment Needed
You don’t need any fancy gear for this recipe! Here’s the short list:
- 8×8-inch square baking pan
- Mixing bowls (one medium, one large)
- Whisk
- Electric hand mixer or stand mixer
- Rubber spatula
- Wire cooling rack
- Small saucepan for the glaze
Ingredients
Let’s gather our ingredients. This is where we build the foundation for all that delicious flavor.
- For the Cake:
- 1 ½ cups all-purpose flour: The structure of our cake.
- 1 cup granulated sugar: For the perfect sweetness.
- 1 ½ teaspoons baking powder: Gives the cake its lift.
- ½ teaspoon salt: Balances the sweetness and enhances flavor.
- ½ cup (1 stick) unsalted butter, softened: Creates a rich, tender crumb.
- ½ cup whole milk: Adds moisture and richness.
- 2 large eggs: Binds everything together and adds structure.
- 2 teaspoons pure vanilla extract: The star of the show for that warm, classic flavor.
- For the Chocolate Glaze:
- 1 cup semi-sweet chocolate chips: The base of our simple glaze.
- ¼ cup heavy cream: Thins the chocolate to a perfect pouring consistency.
Step by Step Method
Don’t be intimidated—this is where the magic happens, and it’s easier than you think.
- Preheat your oven to 350°F (175°C). Grease an 8×8-inch square baking pan and line it with parchment paper, leaving an overhang on two sides. This makes it a breeze to lift the cake out later.
- In a medium bowl, whisk together the flour, baking powder, and salt. This ensures our leavening is evenly distributed for a uniform rise.
- In a larger bowl, use an electric mixer (or a lot of elbow grease!) to beat the softened butter and sugar together until the mixture is light and fluffy. This step is key for incorporating air, which helps make the cake light.
- Beat in the eggs, one at a time, followed by the vanilla extract. Scrape down the sides of the bowl to make sure everything is well combined.
- With the mixer on low speed, alternately add the dry ingredients and the milk, starting and ending with the dry ingredients. Mix just until the batter is smooth—be careful not to overmix!
- Pour the batter into your prepared pan and smooth the top with a spatula. Bake for 25-30 minutes, or until a toothpick inserted into the center comes out clean.
- Let the cake cool completely in the pan on a wire rack. Patience is a virtue here; if you glaze a warm cake, it will melt and become a mess.
- For the glaze, place the chocolate chips in a heatproof bowl. Heat the heavy cream in a small saucepan until it just begins to simmer. Pour the hot cream over the chocolate chips, let it sit for one minute, then whisk until smooth and glossy.
- Pour the glaze over the cooled cake and spread it gently to the edges. Let the glaze set for at least 30 minutes before slicing.
Creative Variations
This cake is a fantastic canvas for your creativity. Here are a few ideas to make it your own:
- Citrus Twist: Add the zest of one lemon or orange to the cake batter for a bright, fresh flavor.
- Nutty Delight: Fold ½ cup of chopped toasted pecans or walnuts into the batter before baking.
- Confetti Fun: Stir in ¼ cup of rainbow sprinkles for a birthday-party vibe.
- Mocha Glaze: Add ½ teaspoon of instant espresso powder to the hot cream for the glaze to create a delicious mocha flavor.
- Dairy-Free: Use your favorite plant-based butter and milk, and swap the heavy cream for full-fat coconut milk in the glaze.
These are just a few ideas for Yummy Food twists.
Serving Ideas & Pairings
This cake is delightful all on its own, but it can easily be dressed up. For a simple dessert, serve a square with a cold glass of milk or a hot cup of coffee. It’s one of those perfect Chocolate Desserts that doesn’t overwhelm. For a fancier presentation, add a dollop of freshly whipped cream and a few berries on the side. It also makes for a lovely addition to a brunch spread alongside other Mini Desserts and Breakfast Ideas.
Storage Tips
This cake stores beautifully. Once the glaze is set, cover the pan tightly with plastic wrap or transfer the cake to an airtight container. It will keep at room temperature for up to 2 days. For longer storage, you can refrigerate it for up to 5 days. I honestly think the flavor is even better the next day. You can also freeze the unglazed cake—wrap it tightly in plastic and then foil, and it will keep for up to 3 months. Thaw overnight in the fridge before glazing and serving.
Doneness Test
The most reliable way to know if your cake is done is the toothpick test. Insert a toothpick or a thin wooden skewer into the center of the cake. If it comes out clean or with just a few moist crumbs attached, it’s ready. You might also see the edges of the cake just starting to pull away from the sides of the pan. The top should be a lovely golden brown. So, so golden.
Leftover Ideas
Leftover cake? It’s a great problem to have! Crumble a square over a bowl of vanilla ice cream for an instant sundae. You can also cube it and layer it with berries and whipped cream for a quick trifle. For a real treat, lightly toast a slice in a buttered skillet and serve it for breakfast. It’s a fantastic way to turn last night’s dessert into today’s Breakfast Ideas.
FAQs
- Can I make this cake ahead of time? Absolutely! You can bake the cake a day in advance, let it cool completely, wrap it tightly, and store it at room temperature. Make the glaze and assemble the cake the day you plan to serve it.
- My glaze is too thick/thin. What happened? If your glaze is too thick, whisk in a teaspoon of warm cream at a time until it reaches the desired consistency. If it’s too thin, let it sit for a few minutes to thicken up, or add a few more chocolate chips.
- Can I use a different size pan? You can use a 9-inch round cake pan, but the baking time will be slightly less, so start checking for doneness around 20 minutes. For Delicious Desserts that are a bit thinner, that works great.
This Moist Vanilla Snack Cake with Chocolate Glaze is truly a testament to how simple ingredients can create something extraordinary.