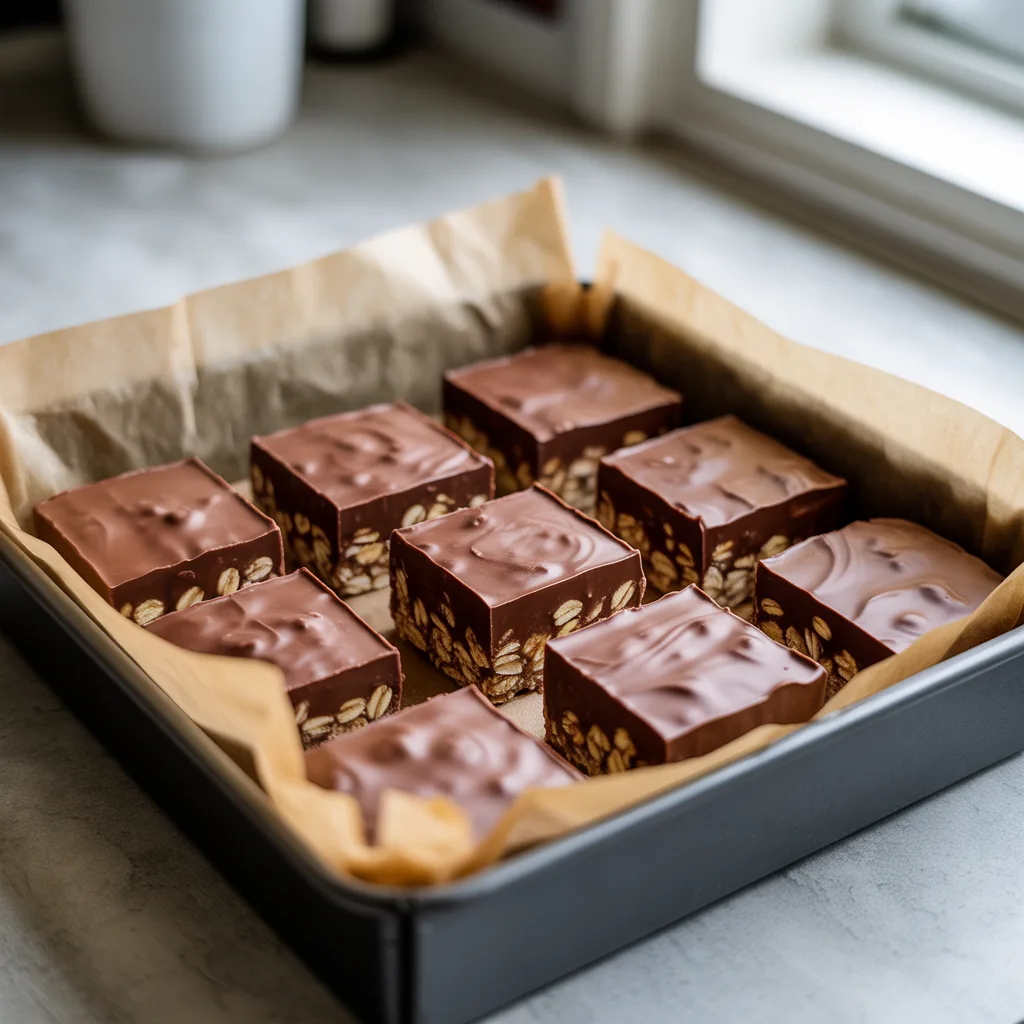
Have you ever needed a dessert that feels like a hug but doesn’t require turning on the oven? That’s exactly what these No-Bake Chocolate Oat Dessert Squares are all about. They’re a classic, humble treat that brings together the rich flavor of chocolate and the wholesome heartiness of oats in a chewy, fudgy bar. Think of them as a cross between a chocolate fudge and an oatmeal cookie, but without any of the baking fuss. They come together in a flash, set up in the fridge, and are the perfect answer for when a sweet craving hits. So good.
Why You’ll Love This Recipe
You’re going to adore this recipe for so many reasons. First, it’s incredibly easy. We’re talking about a handful of simple ingredients and zero baking required. It’s the kind of recipe you can whip up with your kids on a lazy afternoon or throw together last minute when friends pop over. Second, it’s wonderfully versatile. You can dress these squares up for a fancy potluck or keep them simple for a quick after-school snack. And honestly, the combination of chocolate and oats is just a match made in heaven. It’s a little bit indulgent and a little bit wholesome, making it one of those truly delicious desserts you can feel good about serving.
Ingredients
- 1 cup (2 sticks) unsalted butter: Provides the rich, melt-in-your-mouth base that holds everything together.
- 1/2 cup packed brown sugar: Adds a deep, caramel-like sweetness and helps create the perfect chewy texture.
- 1/4 cup cocoa powder: Gives that essential, beloved chocolate flavor we all crave.
- 1 teaspoon vanilla extract: Enhances all the other flavors and adds a warm, comforting aroma.
- 3 cups old-fashioned rolled oats: The star of the show, offering a hearty, chewy texture and wholesome goodness.
- 1/2 cup creamy peanut butter: Acts as a binder and adds a delicious, nutty richness. (See substitutions for alternatives!)
- 1/4 teaspoon salt: Balances the sweetness and makes the chocolate flavor pop.
Step-By-Step Method
- Line an 8×8 or 9×9 inch square baking pan with parchment paper, letting the edges hang over for easy removal later.
- In a medium saucepan, melt the butter, brown sugar, and cocoa powder together over medium-low heat. Stir it constantly until the butter is fully melted and the mixture is smooth and begins to bubble gently. This should take about 3-4 minutes.
- Remove the pan from the heat. Stir in the vanilla extract and salt until they’re fully incorporated.
- Add the peanut butter to the warm mixture and stir until it’s completely melted and smooth.
- Fold in the old-fashioned oats. Stir until every single oat is thoroughly coated in that gorgeous chocolate mixture.
- Transfer the mixture to your prepared pan. Use the back of a spoon or a small piece of parchment paper to press it down firmly and evenly into all the corners.
- Refrigerate for at least 2-3 hours, or until the squares are completely firm and set. Then, use the parchment paper to lift the whole block out onto a cutting board. Slice into squares and enjoy!
Serving Ideas & Pairings
These squares are fantastic all on their own, but a little extra touch never hurt anybody. For a real treat, try drizzling a little melted chocolate over the top before you slice them. They pair beautifully with a cold glass of milk for the kids or a hot cup of coffee for the adults. If you’re looking for breakfast ideas that feel a little special, one of these with some fresh berries on the side is a wonderful way to start the day. And for dinner ideas? They make the perfect, easy dessert to cap off a busy weeknight meal without any extra hassle.
Variations & Substitutions
This recipe is a dream to play with! Don’t have peanut butter or have an allergy? No problem. Sunflower seed butter or almond butter work just as well. For a nut-free version, use tahini or just leave it out entirely—you might just need to press the mixture a bit more firmly into the pan. Want to mix things up? Try stirring in 1/2 cup of shredded coconut, chopped nuts, or even a handful of mini chocolate chips after you add the oats. For a hint of something different, a 1/2 teaspoon of cinnamon added with the cocoa powder is just delicious.
Storage Tips
These No-Bake Chocolate Oat Dessert Squares are best stored in an airtight container in the refrigerator. They’ll keep their perfect texture and stay fresh for up to a week. You can also freeze them for longer storage! Just place the sliced squares in a single layer on a parchment-lined baking sheet and freeze until solid. Then, transfer them to a freezer-safe bag or container. They’ll keep for up to 3 months. Let them thaw in the fridge or for a few minutes on the counter before serving.
Baking Ideas for the Sweet Tooth
Now, if you’re in the mood for something that does involve your oven, I’ve got you covered. These no-bake squares are inspired by all the yummy food that comes out of a warm kitchen. If you love the flavor profile here, you might adore baking a batch of classic chocolate chip oatmeal cookies. Or, for a more decadent project, a rich chocolate fudge brownie is always a crowd-pleaser. The world of baking ideas is vast and wonderful, but sometimes, the simplest route is the most satisfying.
Doneness Test for Best Results
Since we’re not actually baking, our “doneness test” is all about the setting process. The key is to let the squares chill for the full time—don’t rush it! You’ll know they are perfectly set when you can press the top firmly and it doesn’t give way. They should be firm to the touch all the way through. If you try to cut them too early, they’ll be crumbly and messy. A little patience here gives you those clean, neat slices we all love.
FAQs
- Can I use quick oats instead of old-fashioned rolled oats? You can, but the texture will be different. Quick oats are smaller and will result in a softer, less chewy bar. Old-fashioned oats give that classic, hearty bite that makes these so good.
- My mixture seems too dry or too wet. What happened? This usually comes down to how firmly you packed your brown sugar or slight variations in oat volume. If it’s too dry, add another tablespoon of melted butter. If it’s too wet, add another handful of oats until it comes together.
- Are these considered healthy desserts? They’ve got wholesome oats and aren’t loaded with refined sugar, so they’re a better-for-you option compared to many desserts. But I’d still call them a treat—everything in moderation!
- Can I make these into mini desserts? Absolutely! Instead of slicing into larger squares, cut them into bite-sized pieces. They make for a perfect little pop of chocolate at a party.