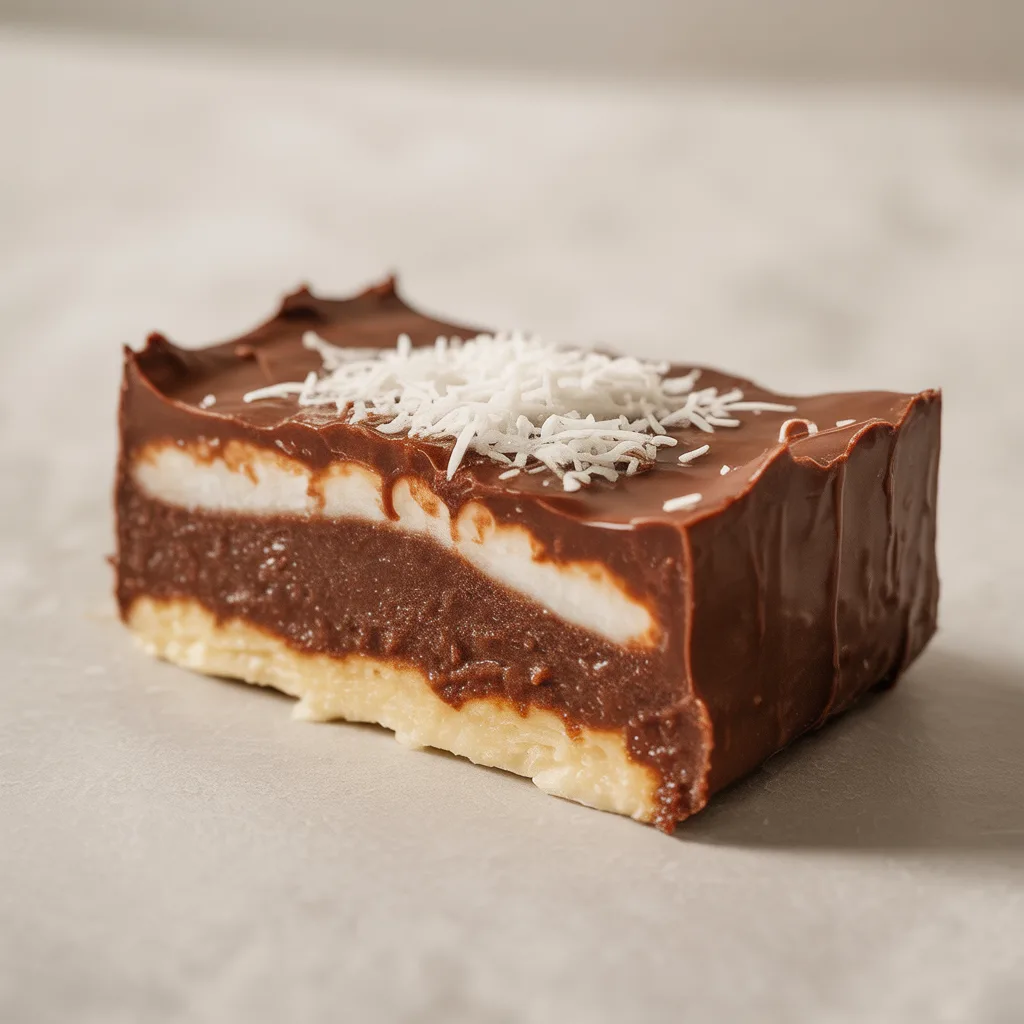
Have you ever craved a decadent, fudgy dessert but the thought of turning on the oven just felt like too much? On those busy days where you need a little sweetness without the fuss, these No Bake Chocolate Coconut Bars with a fudgy center are your perfect kitchen companion. They come together in a flash, and honestly, the hardest part is waiting for them to set. So good. I love how the rich chocolate and chewy coconut create a treat that feels indulgent yet is made with such simple, wholesome ingredients.
Top Reasons To Make It
- The entire recipe comes together in about 15 minutes of active time – no oven required.
- These bars are naturally dairy free, gluten free, and vegan, making them a wonderful allergy friendly dessert for gatherings.
- They satisfy even the most intense chocolate craving with their intensely fudgy, rich center.
- Using simple pantry staples, this is one of those easy dairy free treats you can whip up on a whim.
- They are perfect for making ahead, so you always have a healthy dairy free sweet on hand.
Ingredients
- 2 cups pitted dates: These are the secret to our naturally sweet, fudgy center.
- 1 ½ cups raw almonds: They create a sturdy, nutty base for our bars.
- ½ cup unsweetened shredded coconut: For that classic, chewy coconut texture.
- ½ cup cocoa powder: Provides the deep, rich chocolate flavor.
- ¼ cup pure maple syrup: Adds a touch of sweetness and helps everything bind.
- 1 teaspoon vanilla extract: Enhances all the other flavors beautifully.
- A pinch of sea salt: Balances the sweetness and makes the chocolate pop.
- For the topping: ¼ cup melted coconut oil and 2 tablespoons more of shredded coconut.
Instructions
- First, place the pitted dates in a bowl of warm water for about 10 minutes to soften them. This makes them much easier to blend. Then, drain them well.
- While the dates are soaking, add the raw almonds to your food processor. Pulse them until they form a coarse meal, but stop before they turn into almond butter.
- Add the softened dates, ½ cup of shredded coconut, cocoa powder, maple syrup, vanilla, and salt to the food processor with the almond meal.
- Blend everything until the mixture is completely combined and starts to clump together. It should hold its shape when you press it between your fingers.
- Line an 8×8 inch baking pan with parchment paper. Transfer the mixture into the pan and press it down firmly and evenly with your hands or the back of a measuring cup.
- In a small bowl, stir together the melted coconut oil and the remaining 2 tablespoons of shredded coconut. Spread this thinly over the top of the bars.
- Place the pan in the freezer for at least 2 hours, or until the bars are completely firm. This is key for getting a clean slice.
- Once firm, lift the bars out using the parchment paper and slice them into squares with a sharp knife. Enjoy immediately!
Variations & Substitutions
- Nut-Free: Swap the almonds for an equal amount of sunflower seeds or certified gluten-free oats.
- Different Nuts: Pecans or walnuts would be delicious in place of the almonds for a different flavor profile.
- Chocolate Dip: For an extra-decadent version, melt some dairy-free chocolate chips and dip the bottom of each bar before the final freeze.
- Add-Ins: Feel free to fold in a handful of dairy-free chocolate chips or chia seeds into the mixture before pressing it into the pan.
Serving Ideas & Pairings
These bars are fantastic all on their own, straight from the freezer for a cool, firm treat, or slightly thawed for a softer, even fuggier bite. They’re a wonderful dessert to pack in lunchboxes or to enjoy with a cup of coffee or tea in the afternoon. For a special occasion, you could crumble one over a scoop of your favorite dairy-free vanilla ice cream. Honestly, they are so, so good just as they are.
Storage & Reheating
Because of their fudgy center, these bars are best stored in a single layer in an airtight container in the freezer. They will keep beautifully for up to 2 months. You can store them in the fridge, but they will be much softer. There’s no need to reheat them; just let them sit at room temperature for a few minutes if you prefer a less frozen texture.
Pro Tips For Perfect Bars
- Don’t skip soaking the dates! It makes them much easier to blend and creates that signature fudgy texture.
- Press the mixture into the pan as firmly as you can. This prevents the bars from being crumbly.
- Use a sharp knife and wipe it clean between cuts for the prettiest, cleanest squares.
- If your mixture seems a bit dry and isn’t holding together, add a teaspoon of water or maple syrup and blend again.
- And my favorite tip? Lick the spoon. The mixture is delicious before it even hits the freezer!
Frequently Asked Questions
- Can I use a different sweetener? You can try substituting agave nectar for the maple syrup, but the flavor will be slightly different.
- My food processor is small. Can I make these in batches? Absolutely! Just pulse the almonds first, then mix everything together in a large bowl. You may need to get in there with your hands to really combine it.
- Are these considered healthy dairy free sweets? They are made with whole food ingredients like nuts, dates, and cocoa, which offer more fiber and nutrients than many traditional desserts. But as with any sweet treat, enjoy them in moderation.
- Can I make these without coconut? You can omit the shredded coconut, but you may need to add a few more almonds to achieve the right texture for the base.