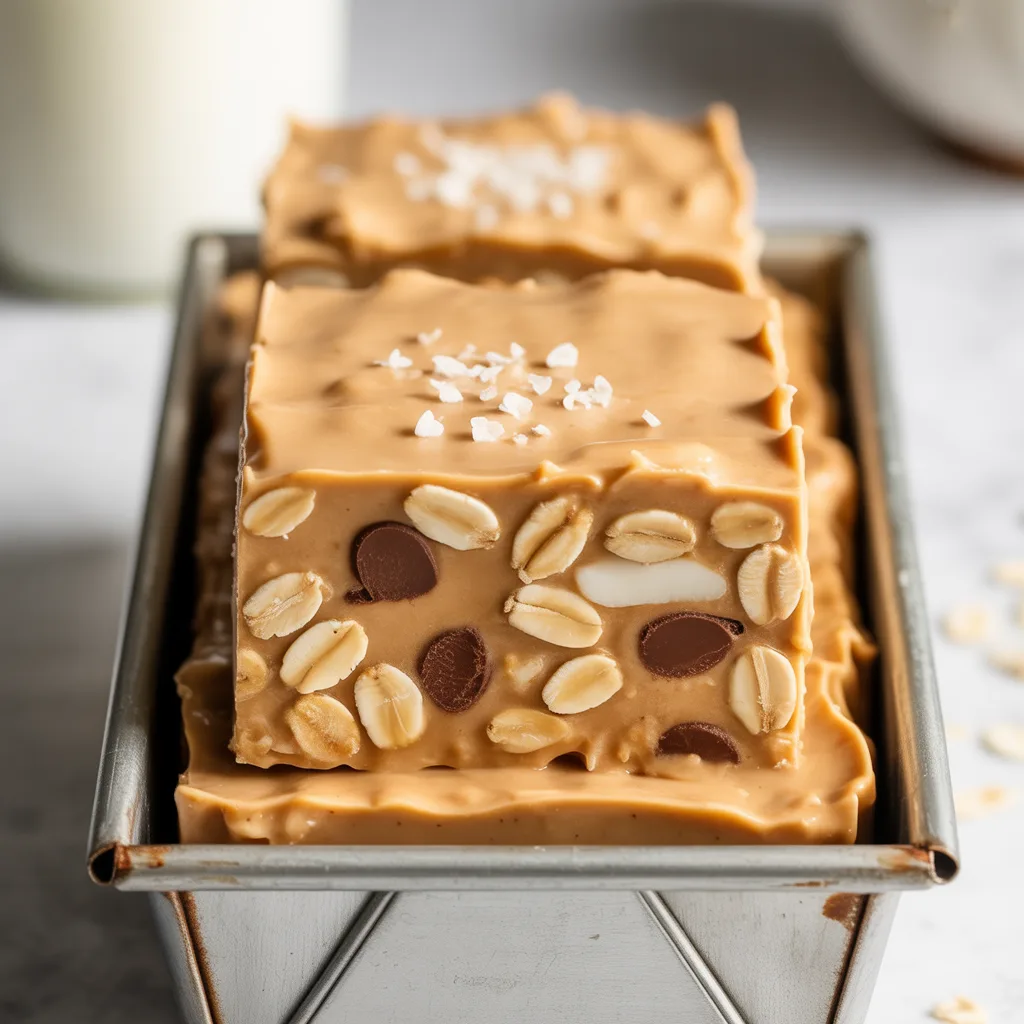
You know those days when a sweet craving hits, but the idea of turning on the oven feels like a monumental task? Or maybe you need a little something sweet that works for almost any guest? That’s where these dreamy Peanut Butter Oat Freezer Fudge Squares come in. They’re the answer to your prayers for a no-bake, fuss-free treat. Honestly, I think these little squares are one of the most satisfying, no-fuss desserts you can possibly make. And is there anything better than a dessert that’s ready in minutes and waits patiently in your freezer for you?
Top Reasons To Make It
This recipe is a true kitchen hero for so many reasons. First, there’s absolutely no baking required. You just mix, press, and freeze. It’s the perfect project to do with little helpers, as there’s no hot oven to worry about. Second, it’s incredibly versatile and can easily be adapted to be one of those wonderful gluten free dairy free desserts or vegan dessert recipes everyone can enjoy. And finally, they are just so, so satisfying. A rich, peanut buttery bite that feels like a real treat without any of the usual fuss.
Ingredients
- 1 cup creamy peanut butter: The rich, star ingredient that holds everything together.
- 1/3 cup pure maple syrup: A natural sweetener that adds a lovely depth of flavor.
- 1/4 cup coconut oil, melted: Helps the fudge set up firmly in the freezer.
- 1 teaspoon vanilla extract: A warm flavor booster that makes everything taste better.
- 1/2 cup old-fashioned rolled oats: Adds a chewy, wholesome texture.
- 1/4 cup unsweetened shredded coconut: Brings a subtle tropical note and chew.
- 1/4 cup dairy free mini chocolate chips: For those classic chocolate-peanut butter pockets.
- A pinch of sea salt: Balances the sweetness and makes the flavors pop.
Instructions
- Line a small loaf pan (about 8×4 inches) with parchment paper, leaving some overhang on the sides. This will make lifting the fudge block out so much easier later.
- In a medium-sized mixing bowl, combine the peanut butter, maple syrup, melted coconut oil, and vanilla extract. Stir until the mixture is completely smooth and silky.
- Add the rolled oats, shredded coconut, dairy free chocolate chips, and pinch of salt to the wet ingredients. Fold everything together until it’s all evenly coated and combined.
- Pour the mixture into your prepared loaf pan. Use the back of a spoon or a small piece of parchment paper to press it down firmly and evenly into all the corners.
- Sprinkle a few extra chocolate chips and a tiny bit of sea salt on top for a pretty finish, if you like.
- Place the pan in the freezer for at least 2 hours, or until the fudge is completely solid.
- Once firm, use the parchment paper to lift the whole block out of the pan. Place it on a cutting board and slice it into squares. Enjoy immediately or store them for later!
Variations & Substitutions
The beauty of this recipe is how easily you can make it your own. For a nut-free version, try using sunflower seed butter instead of peanut butter. If you don’t have maple syrup, agave nectar works wonderfully. Feel free to stir in some chopped dried cranberries or raisins instead of the chocolate chips for a different twist. You could even add a tablespoon of chia seeds or flax meal for an extra nutrient boost. It’s a fantastic base recipe for all kinds of healthy dairy free sweets.
Serving Ideas & Pairings
I love enjoying one of these squares straight from the freezer with a hot cup of coffee for an afternoon pick-me-up. They’re also a fantastic dessert to set out at a party—a platter of these alongside a bowl of fresh berries makes for such a simple yet elegant finish to a meal. For a real treat, crumble one over a bowl of dairy-free vanilla ice cream. So good.
Storage & Reheating
These squares must be stored in an airtight container in the freezer. They will stay perfectly delicious for up to 2 months. There’s no need to thaw them before eating—they are meant to be enjoyed cold and firm straight from the freezer! Just let one sit on the counter for a minute or two if you prefer a slightly softer bite. Because they are no-bake and contain coconut oil, they will become too soft if left at room temperature for long.
Pro Tips For Success
- Make sure to press the mixture into the pan very firmly. This prevents the squares from being crumbly when you cut them.
- If your coconut oil is solid, you can gently melt it in the microwave in 15-second bursts.
- For super clean cuts, run your knife under hot water and wipe it dry before slicing the frozen block.
- If you only have sweetened shredded coconut, that’s okay! The squares will just be a touch sweeter.
- Don’t skip the salt. That little pinch is the secret to making all the flavors sing.
- Have fun with it! This is a no-stress, no-worry kind of recipe.
Frequently Asked Questions
- Can I make these without oats? You can try substituting the oats with an extra 1/4 cup of shredded coconut or some crushed gluten-free cereal for a similar texture.
- Are these lactose free desserts? Absolutely! With no dairy ingredients, these are perfect lactose free desserts.
- Can I use a different pan? An 8×8 pan will work, but your squares will be much thinner. You may want to double the recipe for a fuller pan.
- Why are my squares crumbly? This usually happens if the mixture wasn’t pressed firmly enough into the pan before freezing. Give it a good, strong press next time!
- Are these considered allergy friendly desserts? They can be, depending on the allergies. They are naturally dairy free and gluten free (if you use certified GF oats), making them a great option for many. Always check your specific ingredient labels to be sure.