Rich, creamy chocolate ice cream with a deep chocolate flavor is the kind of homemade treat that turns an ordinary evening into something downright special. Made with simple ingredients and a little patience, this recipe comes together beautifully right in your own kitchen. Whether it’s cooling off after big summer meals or sneaking a scoop straight from the freezer late at night, this one always feels like a celebration.
Why You’ll Love This Homemade Chocolate Ice Cream
- Ultra Creamy Texture: Heavy cream, egg yolks, and whole milk work together to create a rich and velvety ice cream that scoops beautifully.
- Deep Chocolate Flavor: The combination of cocoa powder and semisweet chocolate gives every bite layers of bold chocolate goodness.
- Made From Scratch: There’s something mighty satisfying about turning a handful of pantry staples into homemade ice cream.
- Perfect for Gatherings: This recipe makes enough for 12 servings, making it wonderful for family dinners, celebrations, and backyard cookouts.
- Flexible Chocolate Intensity: You can easily adjust the richness by choosing darker or sweeter semisweet chocolate.
- Classic Custard Base: The cooked custard gives this ice cream its smooth texture and classic old-fashioned feel.
- Ice Cream Maker or Hand-Churned: Even if you don’t have an ice cream maker, the recipe includes a way to make it by hand.
Ingredients You’ll Need
One thing I absolutely adore about this homemade chocolate ice cream is how every ingredient pulls its weight. Nothing fancy, nothing overcomplicated—just honest ingredients coming together to make one unforgettable frozen treat. If you love easy dessert recipes that feel homemade in the very best way, this one deserves a spot in your freezer all year long.

- 2 cups heavy cream, divided: Heavy cream is the backbone of this recipe and gives the ice cream its luxurious, creamy texture. Dividing it helps create the smooth chocolate base first before everything comes together. There really isn’t a true substitute here if you want that rich consistency.
- ¼ cup unsweetened cocoa powder: Cocoa powder brings deep chocolate flavor right from the start. Whisking it with cream helps it dissolve evenly into the base so the finished ice cream tastes smooth instead of chalky. Dark cocoa powder can be used if you want a more intense chocolate flavor.
- 6 ounces semisweet chocolate, chopped: This melts directly into the warm cocoa mixture and gives the ice cream its rich chocolate body. Semisweet chocolate balances sweetness and richness beautifully. Using darker chocolate creates a bolder flavor, while milk chocolate makes the ice cream sweeter.
- 1 ½ cups whole milk: Whole milk helps balance the richness of the cream while keeping the texture smooth and scoopable. Half and half can be substituted if needed, though the final texture may be a touch richer.
- ¾ cup granulated sugar: Sugar sweetens the custard while also helping keep the ice cream soft enough to scoop after freezing. Regular white sugar or organic cane sugar both work well here.
- ⅛ teaspoon sea salt: Just a tiny bit of salt makes the chocolate flavor shine and keeps the sweetness balanced instead of overpowering.
- 3 large egg yolks, beaten: Egg yolks are a key part of the custard base and help create that silky texture homemade ice cream is famous for. They also add richness that makes every bite taste extra creamy.
- ½ teaspoon pure vanilla extract: Vanilla rounds out the chocolate flavor and adds warmth to the overall taste. Vanilla bean paste or seeded vanilla beans can be used in place of extract if preferred.
What makes this recipe so special to me is that it tastes like something straight from an old-fashioned ice cream parlor, but it’s made right at home with ingredients you can recognize. That first spoonful is rich, smooth, chocolatey, and worth every minute of chilling time.
And let me tell you—once folks realize you made this from scratch, they’ll start requesting it for every family get-together, birthday dinner, and cozy movie night from here on out.
How to Make Homemade Chocolate Ice Cream
Making homemade chocolate ice cream feels a little like slowing down and giving yourself permission to enjoy the process. There’s nothing rushed about it, and honestly, that’s part of the magic. Watching simple ingredients turn into a rich chocolate custard reminds me why homemade desserts always feel extra special around the table.
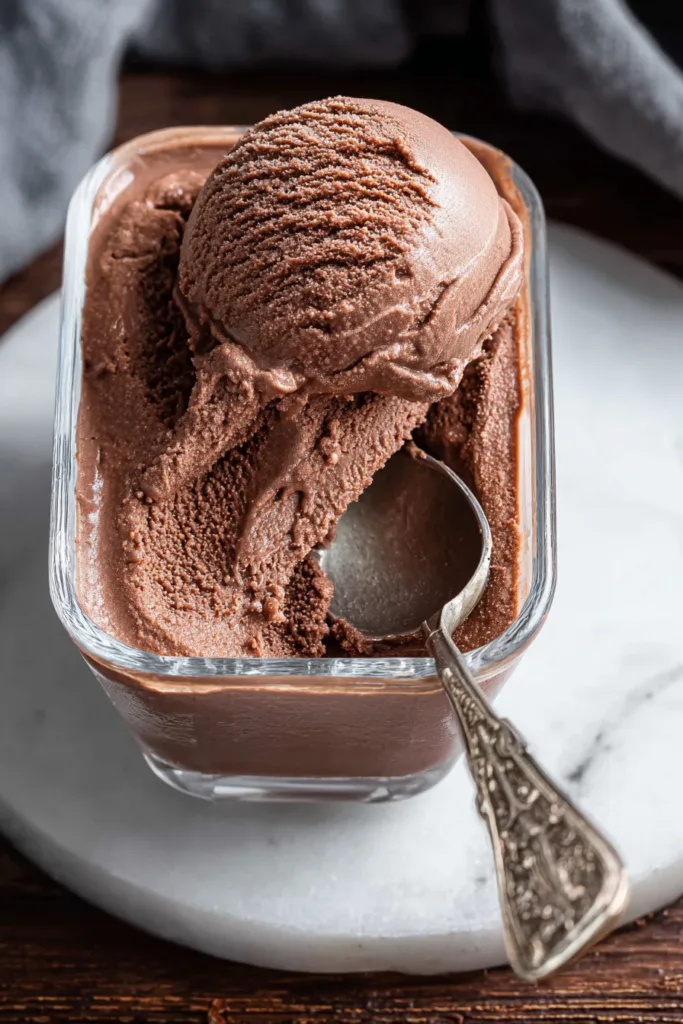
- Whisk together 1 cup of heavy cream and the cocoa powder in a saucepan until fully combined. Bring the mixture to a boil, then reduce the heat and simmer for 30 seconds while whisking constantly. Remove the pan from the heat and add the chopped semisweet chocolate, whisking until smooth before stirring in the remaining cup of heavy cream.
- Prepare the custard base by placing a fine mesh strainer over a large bowl and setting it aside. In a separate small bowl, whisk the egg yolks. In another saucepan over medium heat, whisk together the whole milk, sugar, and sea salt until slightly warm.
- Temper the egg yolks carefully by slowly adding ½ cup of the warm milk mixture into the beaten yolks while whisking continuously. Pour the milk and egg mixture back into the saucepan, whisking during the addition so everything stays smooth and combined.
- Cook the custard over medium heat, stirring constantly with a spatula until the mixture thickens enough to lightly coat the spatula. Once thickened, pour the custard through the fine mesh strainer into the chocolate mixture. Stir everything together, discard any residue left in the strainer, then add the vanilla extract and stir again.
- Chill the ice cream base by covering the bowl and refrigerating it for at least 6 hours or overnight. If you’d like to cool it faster, place the container into an ice bath and stir often until chilled.
- Churn the chilled mixture in an ice cream maker until thick and frozen, about 30–40 minutes. Transfer the finished ice cream to an airtight container and freeze for at least 6 hours before serving.
Tips for the Best Homemade Chocolate Ice Cream
- Whisk Constantly — Keeping the cocoa mixture moving while it simmers helps create a smooth chocolate base without clumps.
- Temper the Eggs Slowly — Adding the warm milk gradually into the yolks helps the custard stay silky instead of scrambling the eggs.
- Use Quality Chocolate — Since chocolate is the star here, the flavor of the semisweet chocolate you choose will make a noticeable difference in the final result.
- Don’t Skip the Chill Time — Fully chilling the custard before churning helps the ice cream freeze into a creamier texture.
- Strain the Custard — Pouring the mixture through a fine mesh strainer keeps the finished ice cream extra smooth and removes any cooked egg bits.
- Freeze Before Serving — After churning, giving the ice cream time to firm up in the freezer creates that classic scoopable texture everybody loves in homemade desserts.
Storage & Make-Ahead Tips
Fridge: The chocolate custard base can stay covered in the refrigerator overnight before churning. Keeping it chilled thoroughly helps improve the final texture once frozen.
Freezer: Store the finished homemade chocolate ice cream in an airtight container in the freezer for up to 3 months. Pressing the lid tightly closed helps prevent ice crystals from forming on top.
Make-Ahead: This recipe is wonderful for planning ahead because the base actually benefits from extra chilling time. You can prepare the custard the day before, then churn and freeze it when you’re ready to serve.
What to Serve With Homemade Chocolate Ice Cream
This rich chocolate ice cream pairs beautifully with all kinds of sweet treats and simple additions. Whether you keep it classic or dress it up a little, there are plenty of delicious ways to serve it.
- Warm brownies or chocolate cake
- Fresh berries or sliced bananas
- Chocolate chip cookies
- Whipped cream and chocolate shavings
- Waffle cones or sugar cones
- A simple cup of hot coffee or espresso
Frequently Asked Questions
Q: Why do I need egg yolks in homemade chocolate ice cream?
The egg yolks help create the rich custard base that gives this ice cream its creamy texture. They also add body and help the mixture freeze smoothly instead of becoming icy. Since the yolks are gently cooked into the warm milk mixture, they blend right into the chocolate base and create that classic homemade ice cream consistency.
Q: Can I make this without an ice cream maker?
Yes, you sure can. Once the chocolate base is fully chilled, pour it into a freezer-friendly container and freeze it. Every 30 minutes, stir or beat the mixture vigorously with a hand mixer, whisk, or spatula until frozen. It takes more effort than using an ice cream maker, but it still creates a creamy and delicious result.
Q: Why does the custard need to coat the spatula?
That coating stage is how you know the custard has thickened properly. As the mixture cooks, the egg yolks help create structure and richness. When the custard lightly coats the spatula, it means the mixture is thick enough to support that smooth and creamy texture once churned and frozen.
Q: Can I use darker chocolate in this recipe?
Absolutely. Using darker chocolate creates a more intense chocolate flavor throughout the ice cream. The recipe already uses semisweet chocolate, but you can adjust the percentage based on your preference. Milk chocolate creates a sweeter flavor, while darker chocolate gives the ice cream a richer and bolder taste.
Q: Why does the ice cream base need to chill so long?
Chilling the base completely before churning helps the mixture freeze more evenly and improves the overall texture. A cold custard base also allows the ice cream maker to work more effectively, resulting in a thicker and creamier homemade chocolate ice cream.
Q: What does the sea salt do in chocolate ice cream?
Even a tiny amount of sea salt helps balance sweetness and deepen the chocolate flavor. It doesn’t make the ice cream salty at all—it simply brings out the richness already present in the cocoa powder and melted chocolate.
Q: Is this recipe good for summer meals and gatherings?
This recipe is perfect for warm-weather get-togethers because it makes a generous batch and can be prepared ahead of time. A big container of homemade chocolate ice cream tucked into the freezer is always a welcome sight after cookouts, family dinners, and backyard celebrations.
There’s just something downright joyful about homemade ice cream sitting in the freezer waiting for you after a long day. One scoop turns into two mighty fast around here, especially when family starts gathering in the kitchen asking for “just a little taste.”
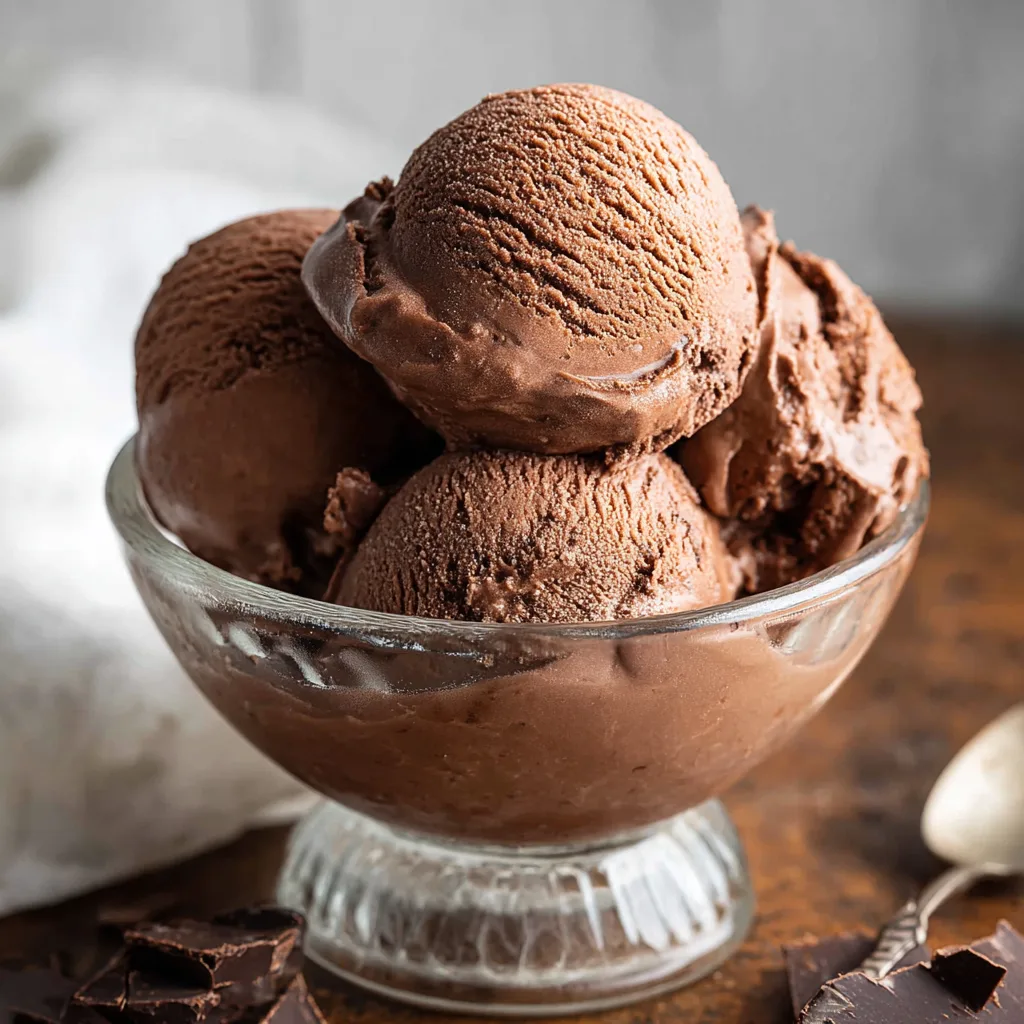
Homemade Chocolate Ice Cream
Ingredients
Method
- Whisk together 1 cup heavy cream and cocoa powder in a saucepan.
- Bring the mixture to a boil, then reduce heat and simmer for 30 seconds while whisking constantly.
- Remove from heat and whisk in the chopped semisweet chocolate until smooth.
- Add the remaining 1 cup heavy cream and whisk to combine.
- Transfer the mixture to a large bowl and place a fine mesh strainer over the bowl.
- Whisk the egg yolks in a small bowl.
- In a saucepan over medium heat, whisk together whole milk, granulated sugar, and sea salt until slightly warm.
- Slowly whisk 1/2 cup of the warm milk mixture into the beaten egg yolks.
- Pour the milk and egg mixture back into the saucepan while whisking.
- Cook the custard over medium heat, stirring constantly with a spatula until it thickens and lightly coats the spatula.
- Pour the thickened custard through the fine mesh strainer into the chocolate mixture.
- Discard any residue left in the strainer and stir the mixture until combined.
- Add the vanilla extract and stir to combine.
- Cover and refrigerate the mixture for at least 6 hours or overnight.
- Churn the chilled mixture in an ice cream maker for 30–40 minutes until thick and frozen.
- Transfer the ice cream to an airtight container and freeze for at least 6 hours.
- Serve the homemade chocolate ice cream.